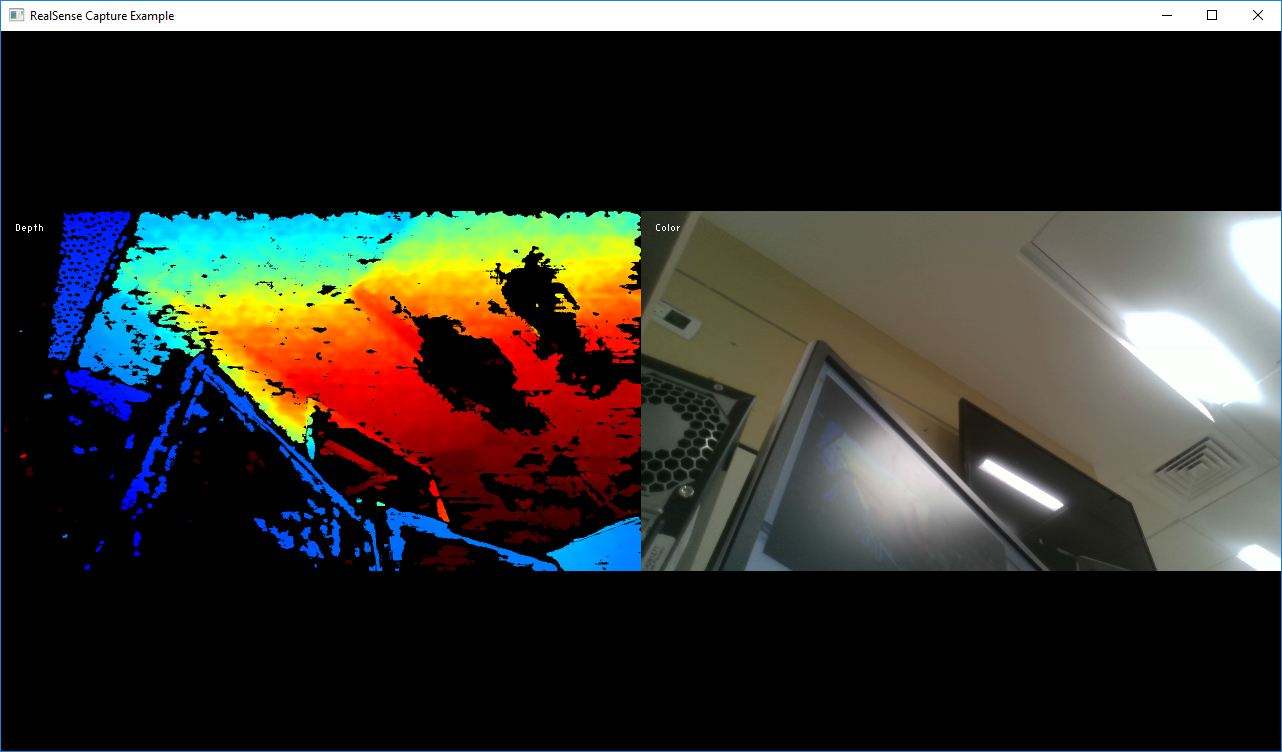
This sample demonstrates how to configure the camera for streaming and rendering Depth & RGB data to the screen.
We use OpenGL for cross-platform rendering and GLFW for window management.
If you are using OpenCV, imshow is a good alternative.
First, we include the Intel® RealSense™ Cross-Platform API.
All but advanced functionality is provided through a single header:
#include <librealsense2/rs.hpp> // Include RealSense Cross Platform APINext, we include a very short helper library to encapsulate OpenGL rendering and window management:
#include "example.hpp" // Include a short list of convenience functions for renderingThis header lets us easily open a new window and prepare textures for rendering.
The texture class is designed to hold video frame data for rendering.
// Create a simple OpenGL window for rendering:
window app(1280, 720, "RealSense Capture Example");
// Declare two textures on the GPU, one for depth and one for color
texture depth_image, color_image;
Depth data is usually provided on a 12-bit grayscale which is not very useful for visualization.
To enhance visualization, we provide an API that converts the grayscale image to RGB:
// Declare depth colorizer for enhanced color visualization of depth data
rs2::colorizer color_map;
The SDK API entry point is the pipeline class:
// Declare the RealSense pipeline, encapsulating the actual device and sensors
rs2::pipeline pipe;
// Start streaming with the default recommended configuration
pipe.start();
Next, we wait for the next set of frames, effectively blocking the program:
rs2::frameset data = pipe.wait_for_frames(); // Wait for next set of frames from the cameraUsing the frameset object we find the first depth frame and the first color frame in the set:
rs2::frame depth = color_map(data.get_depth_frame()); // Find and colorize the depth data
rs2::frame color = data.get_color_frame();            // Find the color data
Finally, depth and color rendering is implemented by the texture class from example.hpp
// Render depth on to the first half of the screen and color on to the second
depth_image.render(depth, { 0,               0, app.width() / 2, app.height() });
color_image.render(color, { app.width() / 2, 0, app.width() / 2, app.height() });