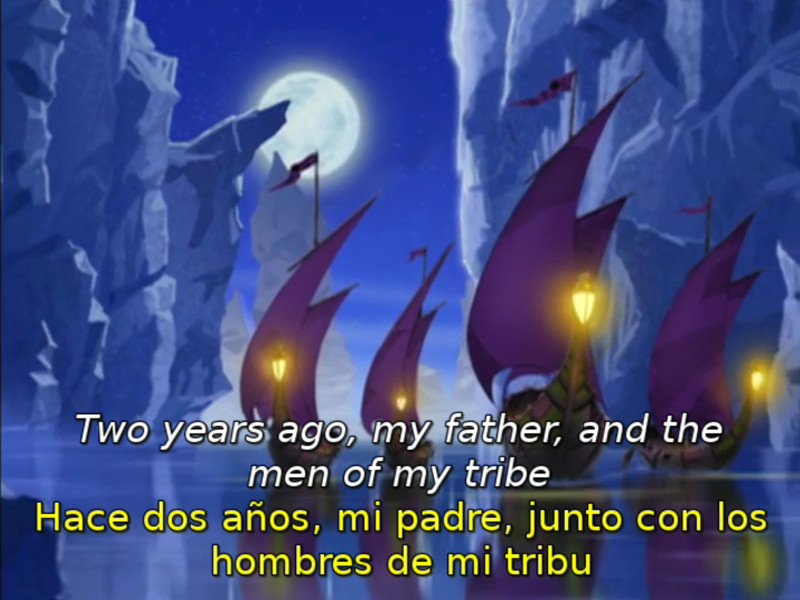
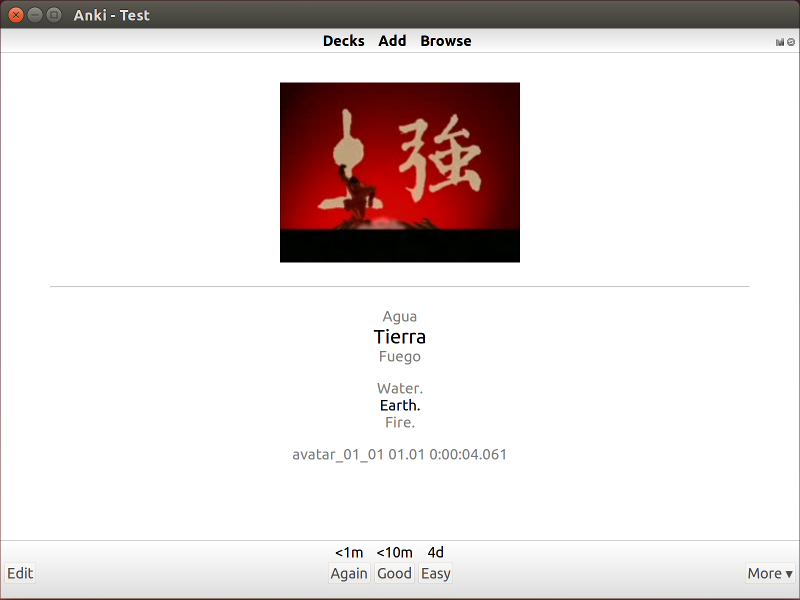
This is an experimental command-line tool to help language-learners exploit parallel subtitles in various ways. Among other things, it can generate bilingual subtitles, review pages, and decks of Anki cards:


Here's an overview of substudy, with screenshots and advice on how to use it:
Example usage:
# Transcribe audio from a video file (requires an `OPENAI_API_KEY`).
substudy transcribe episode_01_01.mkv --related-text=short-text.txt >
    episode_01_01.es.srt
For the OPENAI_API_KEY environment variable, see below.
short-text.txt contains a short example (50-200 words) related to the content of the video: some lyrics of a song, a few lines of a movie, the introduction of a TV show, etc. This must be in the language we wish to transcribe, and it is used to provide context to the transcriber.
Alternatively, if you have approximately correct text, you can use --expected-text to provide it. This works especially well for songs where you have the lyrics:
substudy transcribe song.mp3 --expected-text=lyrics.txt > song.es.srtWhen using --expected-text, substudy will also respect the provided line breaks.
# Translate a subtitle file (requires an `OPENAI_API_KEY`).
substudy translate episode_01_01.es.srt --native-lang=en >
    episode_01_01.en.srt

# Create a bilingual subtitle file.
substudy combine episode_01_01.es.srt episode_01_01.en.srt >
    episode_01_01.bilingual.srt

# Export images, audio clips and subtitles as a web page.
substudy export review episode_01_01.mkv \
    episode_01_01.es.srt episode_01_01.en.srt

# Export directly to Anki with help from the AnkiConnect plugin.:
# https://ankiweb.net/shared/info/2055492159
substudy export anki episode_01_01.mkv \
    episode_01_01.es.srt episode_01_01.en.srt \
    --deck="Español" --skip-duplicates --tag="TV"

# Export as CSV and media files, in a mostly Anki-friendly format.
substudy export csv episode_01_01.mkv \
    episode_01_01.es.srt episode_01_01.en.srt

# Export as MP3 tracks and a playlist, cutting out all the non-dialog bits.
substudy export tracks episode_01_01.mkv episode_01_01.es.srt

# List other commands.
substudy --helpYou will need to know some command-line basics: How to open your terminal, how to install command-line tools, how to configure you PATH, how to change directories, and how to set environment variables. But you shouldn't need much more than that, because substudy is designed to be a friendly command-line tool, as such things go.
substudy is developed on Linux. We have automated tests for MacOS and Windows, but we probably can't give you much advice if you run into problems.
Also, substudy assumes that your media is in decent shape. If you have a bunch of audio tracks that are tagged with the wrong language, or something like that, you'll probably need to fix that first using other tools. Similarly, substudy cannot timeshift existing SRT subtitles if they're off by 5 seconds.
To use substudy, you'll need to have the ffmpeg command-line tools installed on your system. You can find official packages for most platforms at the FFmpeg site. But here are some instructions for specific
platforms:
# Ubuntu 16.04 and later.
sudo apt update
sudo apt install ffmpeg

# MacOS X with `brew` installed.
brew install ffmpeg
If you're running Windows, or if you're a Mac user who's never heard of brew, then you'll probably want to download your packages from the FFmpeg site. Note that these configurations haven't been tested much, so if you run into problems, please report an issue so that we can fix it.
The easiest way to install substudy is to use an official binary release for your platform. Download the appropriate *.zip file, open it, and install the binary somewhere your operating system can find it. Here are some instructions for common platforms:
# Linux x86_64 and MacOS X.
unzip substudy-*.zip
sudo cp substudy /usr/local/bin
The Linux binaries are statically linked, so they should work on any reaonably modern x86_64 distribution. For other architectures, you might try to install using cargo as described below.
For Windows, you'll have to figure it out yourself for now. But if you do, please file an issue and tell us how you did it, so that we can update the instructions!
Linux trusts you to run software you download.
Normally, MacOS and Windows want all programs to be signed by a developer. This would cost me money every year ($99/year for MacOS, and around $300–400/year for an EV certificate for Windows). You might be able to work around this by following these instructions:
- MacOS: Open an app from an unidentified developer
- OK Windows 10, we get it: You really do not want us to install this unsigned application. But 7 steps borders on ridiculous
Obviously, you should only do this if you trust me, and you should always download the binaries from the official releases page. And if you have up-to-date instructions for how to do this, please file an issue and tell us how you did it.
Several commands, including substudy transcribe and substudy translate, require an OPENAI_API_KEY environment variable. You can get one by signing up for the OpenAI GPT-3 API. Once you have an API key, you can set it in your shell like this:
# Linux and Mac.
export OPENAI_API_KEY=your-key-here

# Windows.
set OPENAI_API_KEY=your-key-here

# Windows PowerShell.
$env:OPENAI_API_KEY="your-key-here"
Alternatively, substudy supports .env files. Just place a file somewhere in your working directory (or in a parent directory) with the following contents:
OPENAI_API_KEY=your-key-hereNote that the OpenAI-based features will cost you money. I pay about US$0.15 to transcribe a 22-minute episode of a TV show, and several cents to translate it. Your costs may vary, so pay attention to your billing limits!
You can skip this section if you're not planning to work on substudy itself.
To build substudy, you'll need a recent version of Rust. If you already have rustup installed, you can run:
rustup update stableIf you've never heard of rustup, you can look at the instructions on the rustup page, or you can just run the following:
# Mac and Linux only.  Windows see above.
curl https://sh.rustup.rs -sSf | sh
Assuming you have Rust and the other dependencies installed as described above, you can run:
git clone https://github.com/emk/subtitles-rs.git
cd subtitles-rs/substudy
cargo build
If this fails, please feel free to submit an issue.
Please feel welcome to send me a pull request or submit an issue!
Make sure everything continues to work with your changes:
cargo testThings which I'd love to see substudy support include:
- Creating various sorts of parallel media: subtitles, Anki cards, etc.
- (2017 goal) Automatic vobsub to
*.srtconversion, using OCR and character databases. There are several open source Windows tools which tackle this, but it should be theoretically possible to do a lot better.
Things which I'll probably merge if they come with clean code and solid test suites:
- Better character set conversion.
- Various sorts of subtitle cleanups.
- Formats other than
*.srt. - Better algorithms for repairing timings and alignment.
I'm happy to leave serious, interactive subtitle editing to Subtitle Edit, and to focus on cases related to language learning, and to things which are convenient to call from the command line. I'd also be happy to have implementations of the most useful subs2srs features in command-line form—it's a wonderful and useful program, but it has too many configuration options and it requires too much work using external utilities.
This code is distributed under the Apache 2.0 license. Our test suites contain a half-dozen lines of subtitles from copyrighted TV shows, which should presumably fall under de minimis, fair use or equivalent exceptions in most jurisdictions.
Earlier versions of this code were distributed under the CC0 1.0 Universal public domain grant (plus fallback license). This may give you additional rights in certain jurisdictions, but you'd have to check with a legal professional.

