Create Sources
Sources represent locations holding available product stock. Any location with available stock and capable of order fulfillment can be added as a source. These locations can include warehouses, brick-and-mortar stores, distribution centers, and drop shippers.
- Location Information - Each source includes the name, country, physical address of the location, and a point of contact. Future releases for MSI will include additional types and information for sources.
- Enabling Resources - You can enable and disable sources as needed. Only enable a source if it accepts and fulfills orders and backorders.
- Available Inventory - Assign and update inventory quantities for each source through the product page. The inventory quantities are calculated, provided, and reserved through the source and stock mapping.
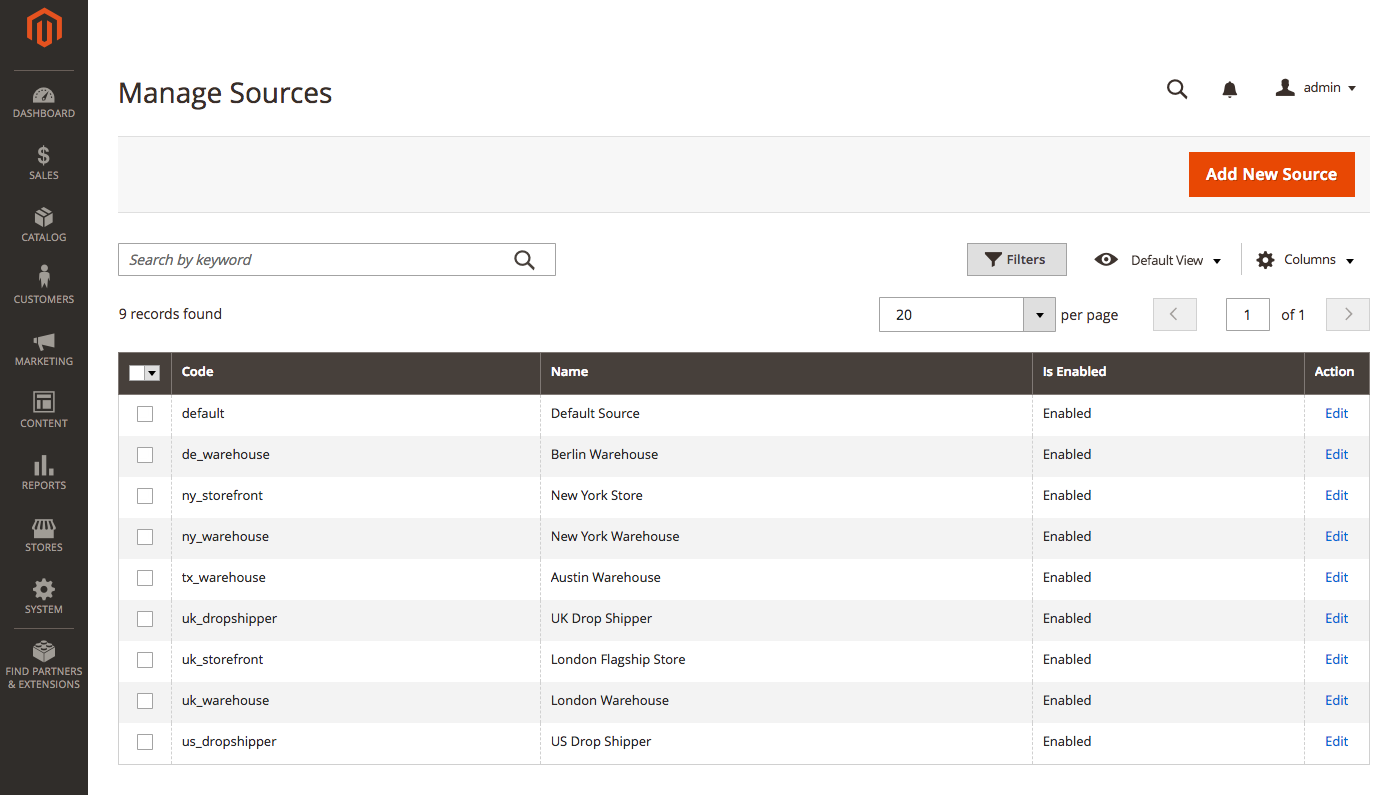
Add and manage sources through the Manage Sources page, available through the Stores menu. All stores begin with a Default Source. You can edit this source for a default location for all or a majority of your stock.
If you are a Single Source merchant, meaning you ship all products from one location, edit and use the Default Source. This source has all product inventories associated to the source by default, requiring only location details and configurations entered.
If you are a Multi Source merchant, meaning you ship products from multiple locations, create new sources for each location. You can edit the Default Source or leave it alone.
After creating sources, you can assign product stock and set inventory amounts.
- On the Admin sidebar, tap Stores. Then under Settings, choose Manage Sources.
 |
|---|
| Manage Sources |
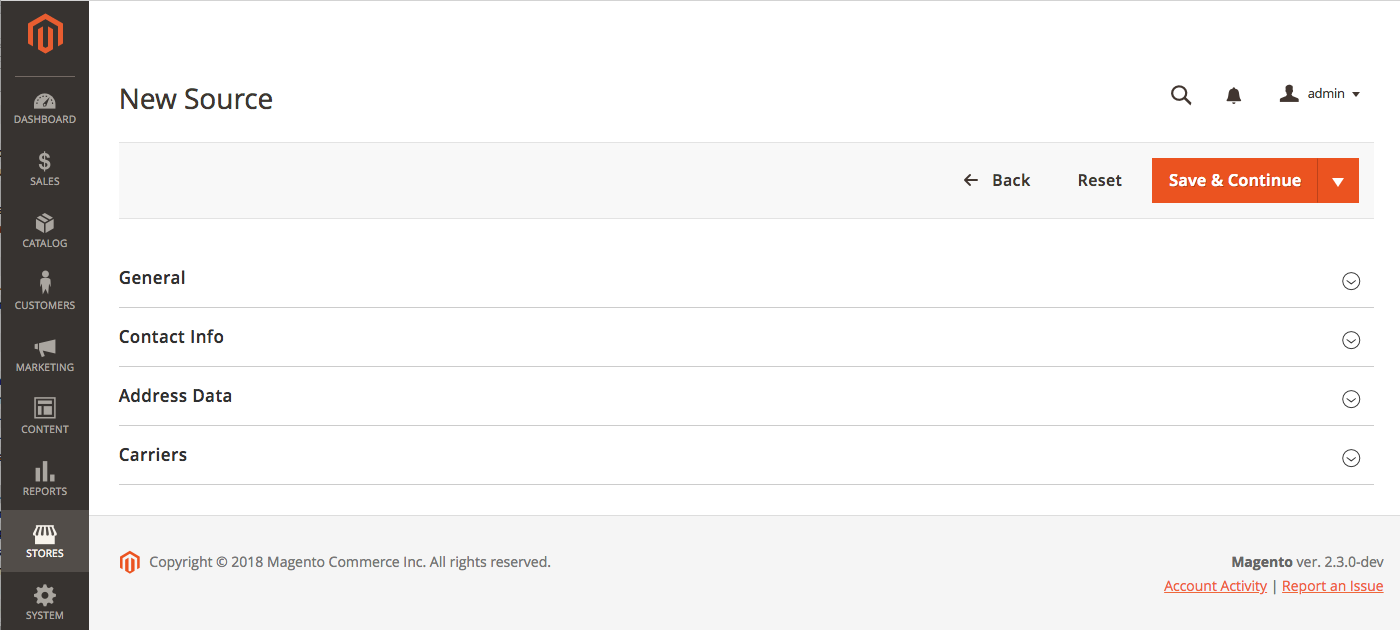
- In the upper-right corner, tap Add New Source.
 |
|---|
| New Source |
-
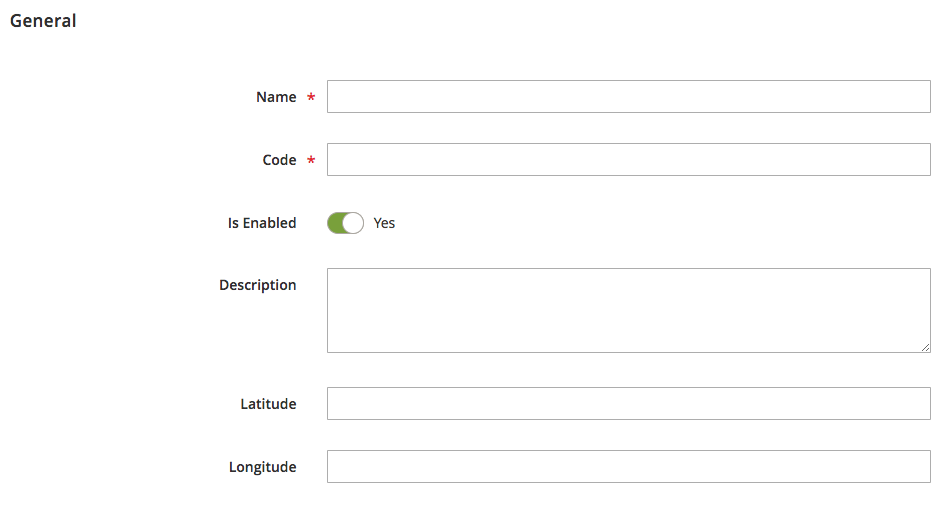
Enter General information for the source:
-
(Required) Enter a unique Name to identify the inventory source.
-
(Required) Enter a unique Code in lowercase characters. If necessary, you can use a hyphen instead of a space. The code is used when allocating stock to a source.
-
Select Enable if this source will fulfill orders as soon as products are assigned. The source must have assigned stock for one or more websites.
-
Enter a brief Description of this inventory source for reference. This can be helpful if you have multiple warehouses or stores in a city or country.
-
Enter the Latitude and Longitude for the Global Positioning System (GPS) coordinates of the facility location. You can use Google Maps to find the GPS coordinates. In Google Maps, enter the address in the Search box. Right-click the marker on the map and choose What’s here? The GPS coordinates appear in the details box below the street address.
-
 |
|---|
| General |
-
Enter Contact Info for a primary contact at the location:
-
Enter the Contact Name of the primary contact.
-
Enter the Email address of the primary contact.
-
In the Phone field, enter the area code and phone number of the primary contact.
-
In the Fax field, enter the area code and phone number of the fax if available.
-
 |
|---|
| Contact Info |
-
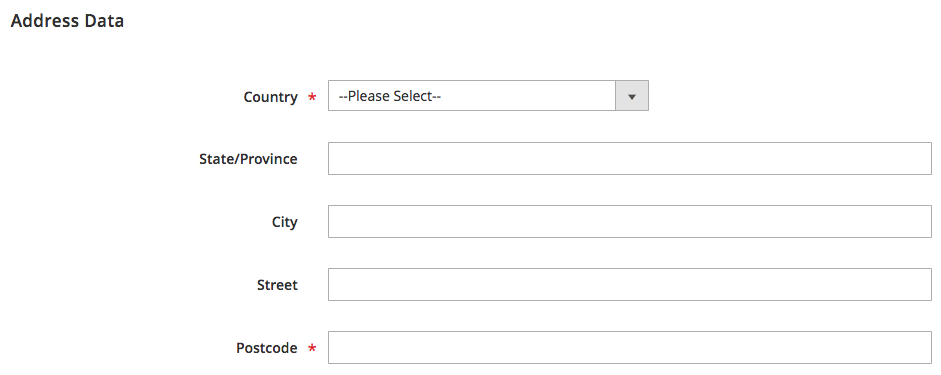
Enter the physical Address Data for the location:
-
(Required) Choose the Country where the inventory source is located.
-
In the State/Province field, enter the two-letter abbreviation for the state or province where the inventory source is located.
-
Enter the City.
-
Enter the physical Street address.
-
In the Postcode field, enter the ZIP or postal code.
-
 |
|---|
| Address Data |
- Save your work:
- To save your work and continue editing, tap Save & Continue.
- To save your work and return to the Manage Sources page, click the down arrow and choose Save & Close.
- To save your work on the current source record and enter a new source, choose Save & New.
With your sources created, you can create stocks and set inventory amounts.