Create Sources
 This guide provides merchant information on Magento Multi Source Inventory (MSI) features and project. This information is in-progress and supports all MSI development.
Sources represent locations storing and shipping available product stock. Any location with available stock and capable of order fulfillment can be added as a source. These locations can include warehouses, brick-and-mortar stores, distribution centers, and drop shippers.
- Location Information - Each source includes the name, country, physical address of the location, and a point of contact. Future releases for MSI will include additional types and information for sources.
- Enabling Resources - You can enable and disable sources as needed. Only enable a source if it accepts and fulfills orders and backorders.
- Available Inventory - Assign and update inventory quantities for each source through the product page. The inventory quantities are calculated, provided, and reserved through the source and stock mapping.
All stores begin with a Default Source that must remain enabled:
- It is used when installing or upgrading to MSI, automatically assigning products to the default source and stock for immediate access to inventory management.
- It is used by Single Source merchants for their single point of inventory location and shipments.
- New products are assigned to the Default Source until configured with additional sources.
- Bundle and Grouped products currently do not support multi-sourcing and must be assigned to Default Source and Default Stock.
- You cannot edit the code, the unique ID for the source. You can update the address, GPS location, and point of contact information.
For an overview of features, see MSI features and processes.
If you are a Single Source merchant, meaning you ship all products from one location, edit and use the Default Source. This source has all product inventories associated to the source by default, requiring only location details and configurations entered.
When a Single Source merchant wants to expand with new locations, add custom sources for each new location. For details, see Becoming a Multi Source merchant.
If you are a Multi Source merchant, meaning you ship products from multiple locations, create new sources for each location. You can edit the Default Source or leave it alone.
-
On the Admin sidebar, tap Stores. Then under Inventory, choose Sources.
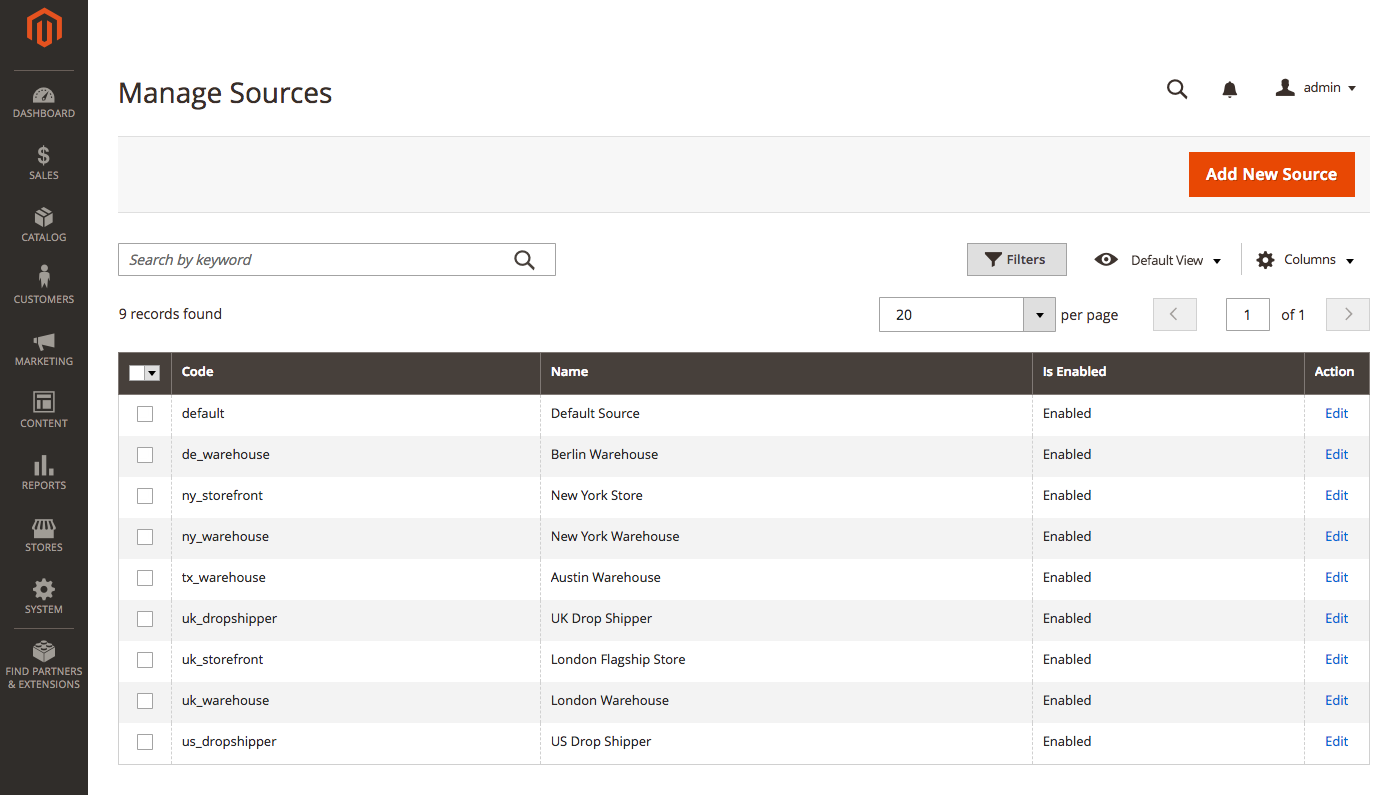
Manage Sources -
In the upper-right corner, tap Add New Source.
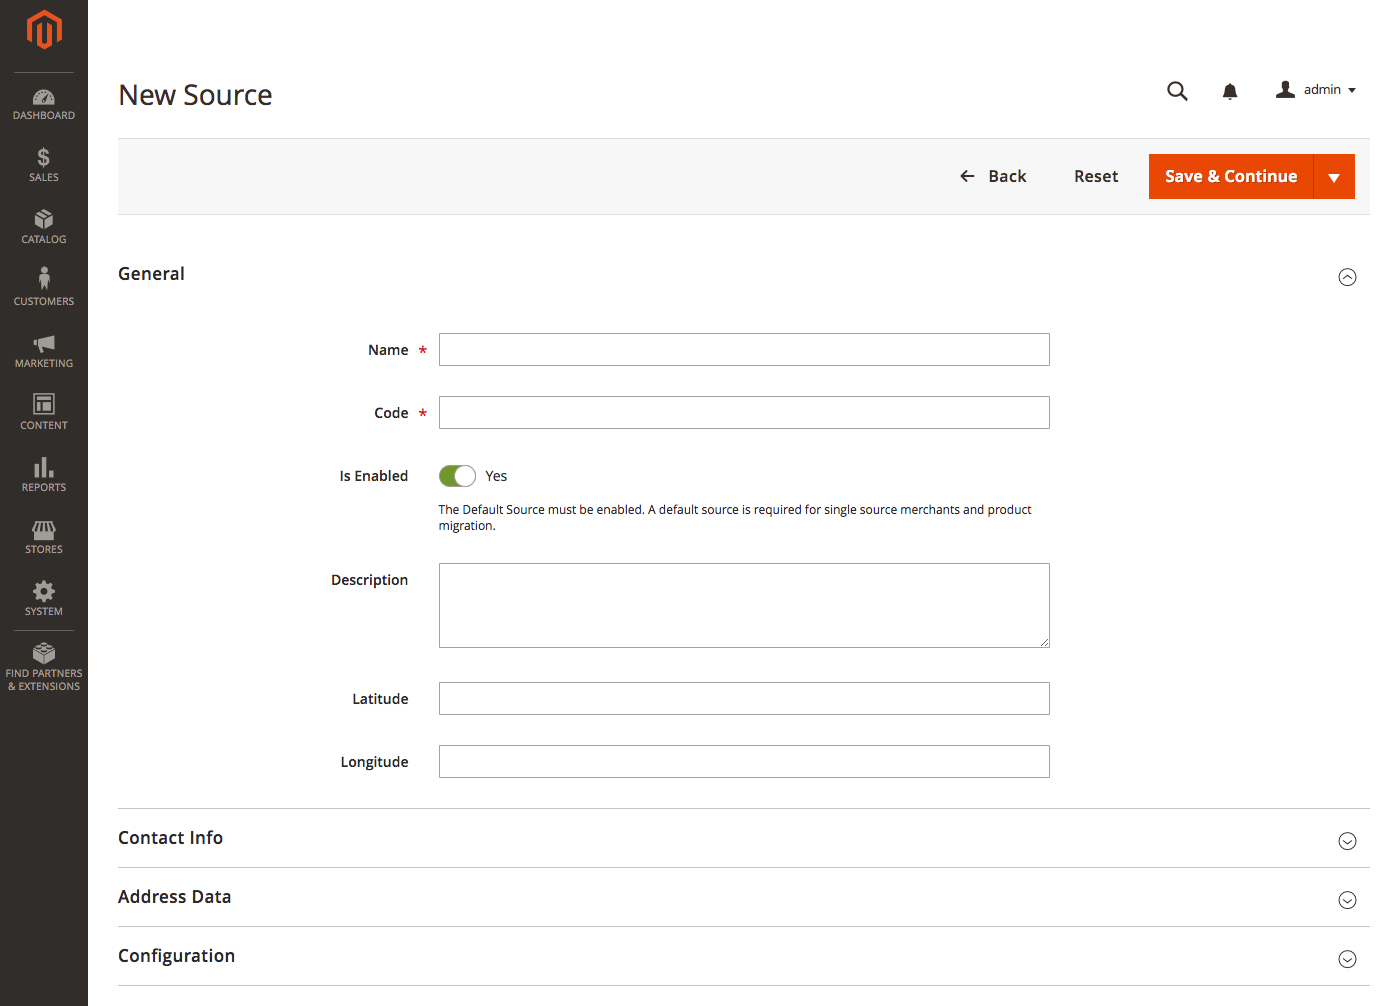
New Source -
Enter General information for the source:
-
(Required) Enter a unique Name to identify the inventory source.
-
(Required) Enter a unique Code. The code supports upper and lower case letters, numbers, dashes, and underscores. The code is a unique ID used when assigning to stock and exporting-importing data.
You cannot change the code after initially saving the source. -
Select Enable if this source will fulfill orders as soon as products are assigned. The source must have assigned stock for one or more websites. The Default Source cannot be disabled.
-
Enter a brief Description of this inventory source for reference. This can be helpful if you have multiple warehouses or stores in a city or country.
-
Enter the Latitude and Longitude for the Global Positioning System (GPS) coordinates of the facility location.
You can use Google Maps to find the GPS coordinates. In Google Maps, enter the address in the Search box. Right-click the marker on the map and choose What’s here? The GPS coordinates appear in the details box below the street address.
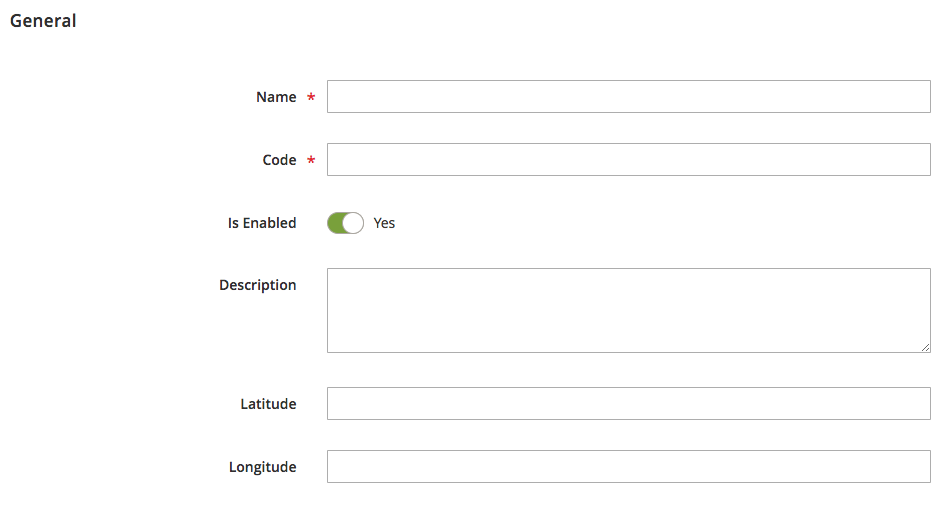
General -
-
Enter Contact Info for a primary contact at the location:
-
Enter the Contact Name of the primary contact.
-
Enter the Email address of the primary contact.
-
In the Phone field, enter the area code and phone number of the primary contact.
-
In the Fax field, enter the area code and phone number of the fax if available.

Contact Info -
-
Enter the physical Address Data for the location:
-
(Required) Choose the Country where the inventory source is located.
-
In the State/Province field, enter the two-letter abbreviation for the state or province where the inventory source is located.
-
Enter the City.
-
Enter the physical Street address.
-
(Required) In the Postcode field, enter the ZIP or postal code.
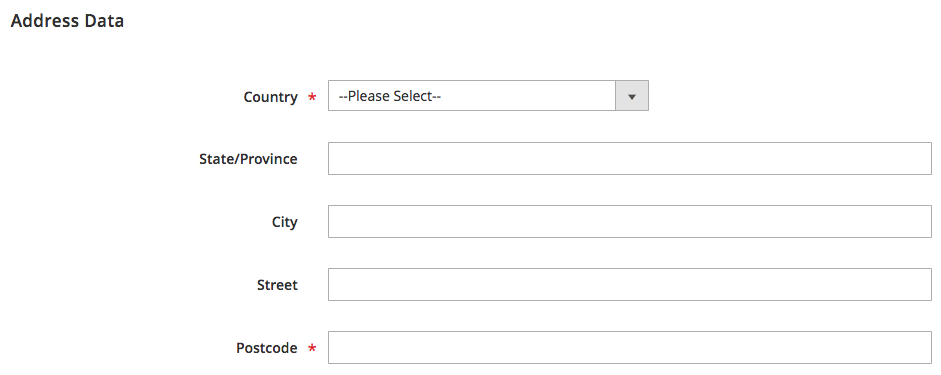
Address Data -
-
Save your work:
- To save your work and continue editing, tap Save & Continue.
- To save your work and return to the Manage Sources page, click the down arrow and choose Save & Close.
- To save your work on the current source record and enter a new source, choose Save & New.
With your sources created, you can create stocks and assign inventory amounts.
Sources may not be deleted to ensure all order data retains in Magento. Sources, orders, and shipments are directly connected to each other. You can disable sources and modify information including location and point of contact.
Depending on the status of your locations, you may need to disable a source. A disabled source retains all assignments per stocks and products but is not accessed for inventory and orders:
When disabled:
- MSI ignores and does not list the source for shipment or order processing
- Stocks do not access inventory quantities from the source for aggregated inventory totals
- Order shipments cannot be assigned to disabled locations.
(https://raw.githubusercontent.com/wiki/magento-engcom/msi/images/info.png) You cannot disable the Default Source. You can enable sources at any time. MSI automatically continues using the source without additional changes needed.
This option is helpful for the following situations:
- Adding a new store or warehouse: As you open new storefronts or bring new warehouses and shipment locations online, add a source entry to set up product inventory using import and connect to potential stocks.
- Seasonal shipments: Holidays can be an extremely busy time of the year. You may want to restrict shipping only from specific shipment locations such as warehouses to keep brick-and-mortar locations well stocked and focused on local shoppers. Or you may add new shipment locations for a limited time to handle higher rates of sales and incoming orders.
- Closing a location: When closing a location for movement to new facilities or permanently, disable to stop new shipments from the location.
The Default Source cannot be disabled.
To disable a source:
-
On the Admin sidebar, tap Stores. Then under Inventory, choose Sources.
-
Locate a source and tap Edit.
-
In the General section, toggle Is Enabled to No.
To reenable, edit the source and change Is Enabled to Yes.
-
Select Save and Close.
All entered information for all sources can be modified except the code. This value cannot be changed. It connects the source to inventory, stocks, orders, shipments, and much more.
As your business grows and changes, you may need to update the GPS location, the point of contact, and physical address. MSI uses this information for current and planned features, and help you monitor and manage your locations.
If editing the Default Source, you can update all configurations except the name and code. Single Source merchants should update and add information for their shipping location.
-
On the Admin sidebar, tap Stores. Then under Inventory, choose Sources.
-
Locate a source and tap Edit.
-
Make changes as needed. If you make changes to the code, make sure to update any files used for exports/imports.
-
Select Save and Close.