Your online safety and anonymity guaranteed by a trusted developer.
Website |
Reddit |
Twitter |
Telegram


- AdGuard VPN CLI is not an open source project. We use GitHub as an open bug tracker for users to see what developers are working on. However, we at AdGuard create a lot of open source software.
- Privacy policy: https://adguard-vpn.com/privacy.html
AdGuard VPN CLI provides a command-line interface for managing VPN connection.
To install the latest version of AdGuard VPN CLI, run the following command:
Release channel:
curl -fsSL https://raw.githubusercontent.com/AdguardTeam/AdGuardVPNCLI/HEAD/scripts/release/install.sh | sh -s -- -vBeta channel:
curl -fsSL https://raw.githubusercontent.com/AdguardTeam/AdGuardVPNCLI/HEAD/scripts/beta/install.sh | sh -s -- -vNightly channel:
curl -fsSL https://raw.githubusercontent.com/AdguardTeam/AdGuardVPNCLI/HEAD/scripts/nightly/install.sh | sh -s -- -vInside an archive file there's a small file with .sig extension which contains the signature data. In a hypothetic
situation when the binary file inside an archive is replaced by someone, you'll know that it isn't an official release
from AdGuard.
To verify the signature, you need to have the gpg tool installed.
First, import the AdGuard public key:
gpg --keyserver 'keys.openpgp.org' --recv-key '28645AC9776EC4C00BCE2AFC0FE641E7235E2EC6'Then, verify the signature:
gpg --verify /opt/adguardvpn_cli/adguardvpn-cli.sig If you use custom installation path, replace /opt/adguardvpn_cli/adguardvpn-cli.sig with the path to the signature
file. It should be in the same directory as the binary file.
You'll see something like this:
gpg: assuming signed data in 'adguardvpn-cli'
gpg: Signature made Wed Feb 28 19:24:43 2024 +08
gpg:                using RSA key 28645AC9776EC4C00BCE2AFC0FE641E7235E2EC6
gpg:                issuer "[email protected]"
gpg: Good signature from "AdGuard <[email protected]>" [ultimate]
Check the following:
- RSA key: must be
28645AC9776EC4C00BCE2AFC0FE641E7235E2EC6; - issuer name: must be
AdGuard; - E-mail address: must be
[email protected];
There may also be the following warning:
gpg: WARNING: The key's User ID is not certified with a trusted signature!
gpg:          There is no indication that the signature belongs to the owner.
Primary key fingerprint: 2864 5AC9 776E C4C0 0BCE  2AFC 0FE6 41E7 235E 2EC6
Run adguardvpn-cli [command] to use the VPN service. Below are the available commands and their options:
-h, --help: Print the help message and exit.--help-all: Expand all help.-v, --version: Display program version information and exit.
Each subcommand has its own set of options. Run adguardvpn-cli [command] --help to see the list of available options.
Log in to the VPN service.
-u, --username TEXT: Username for login.-p, --password TEXT: Password for login.
Log out from the VPN service.
List all available VPN locations.
count INT: Number of locations to display, sorted by ping.--bash-completion TEXT: List suggestions for bash-completion.
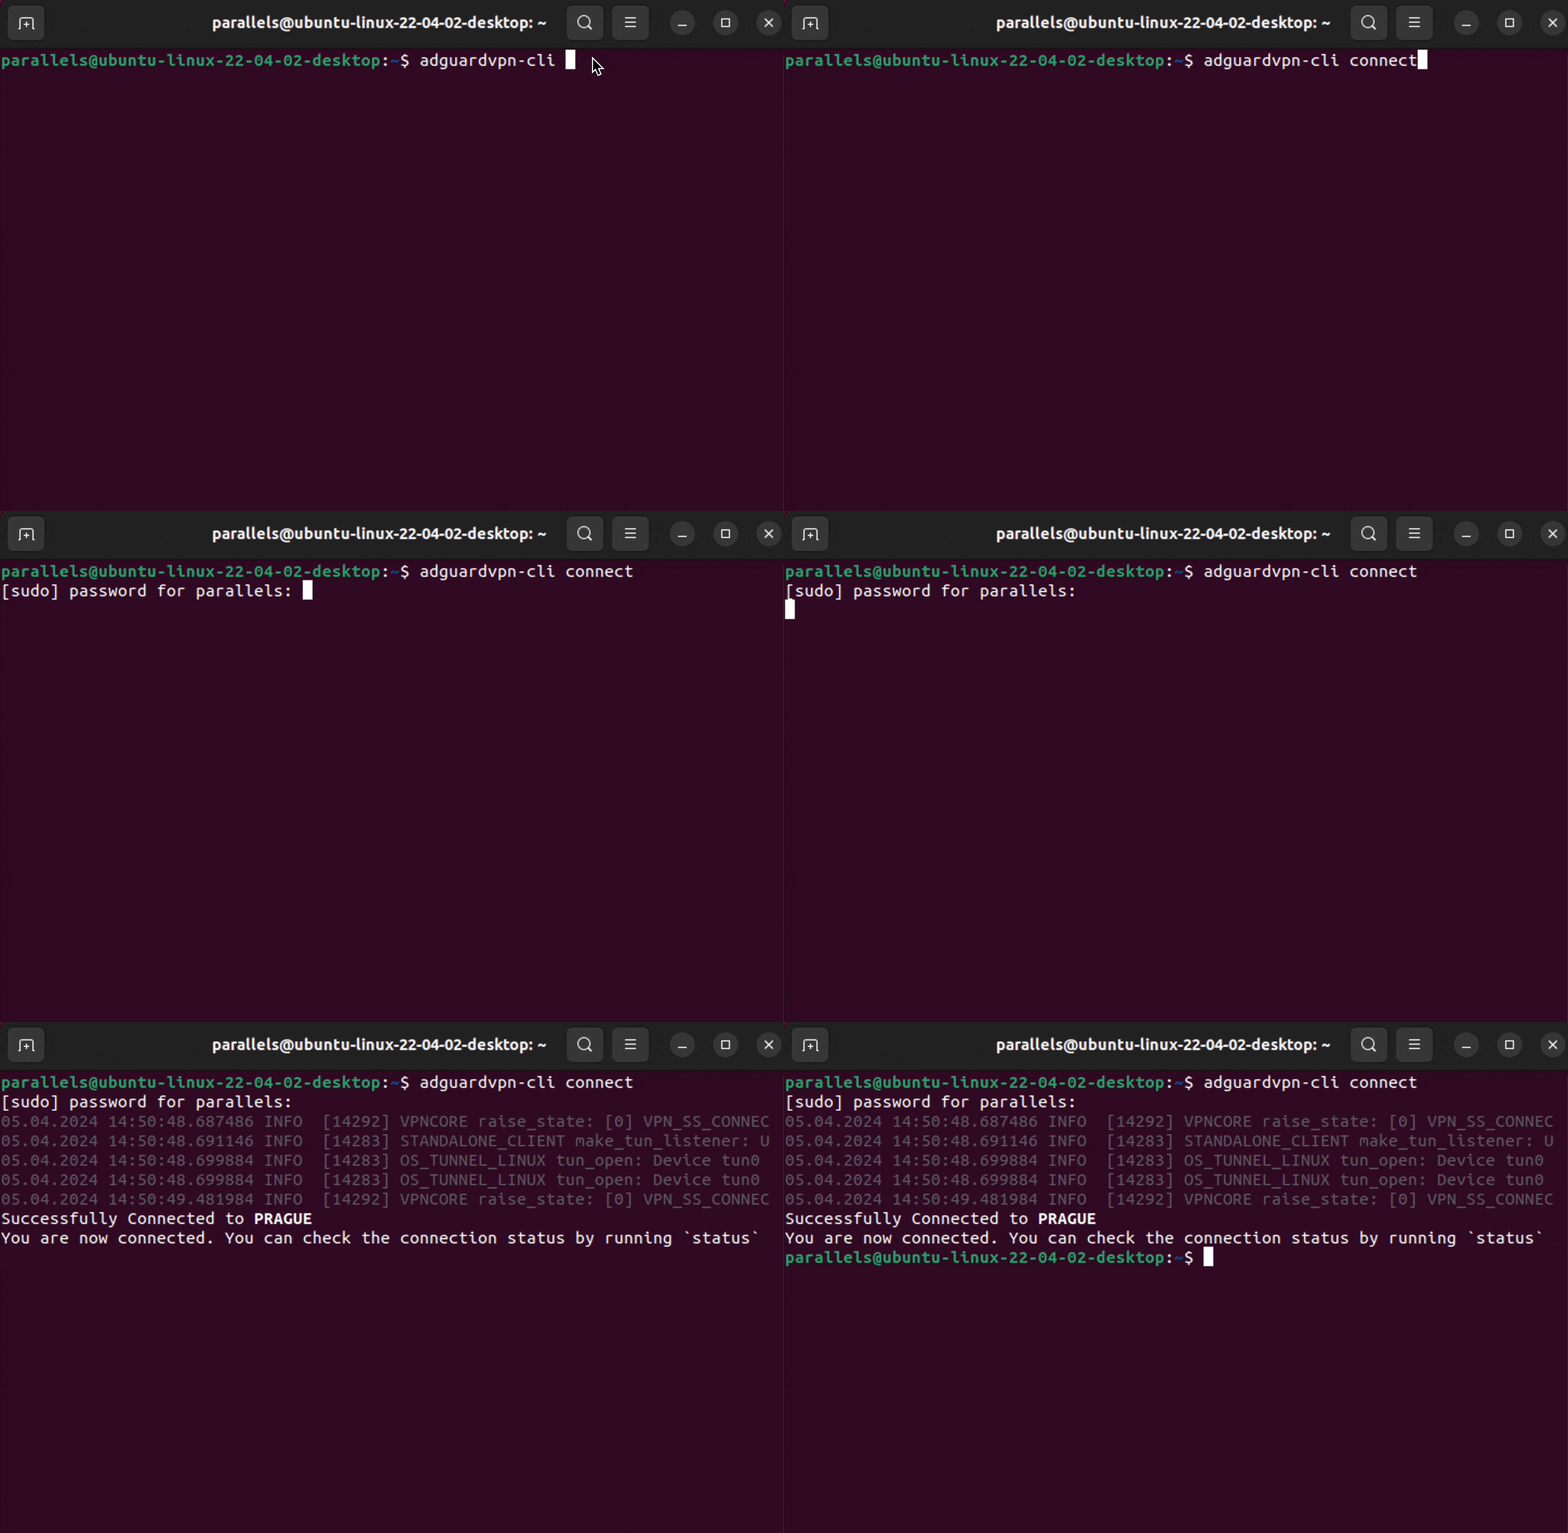
Connect to the VPN service.
-l, --location TEXT: Specify the location to connect to (city name, country name, or ISO code). Defaults to the last used location.-f, --fastest: Connect to the fastest available location.-v, --verbose: Show log from the VPN service.--no-fork: Do not fork the VPN service to the background.-y, --yes: Automatically answer 'yes' to all questions.-4, --ipv4only: Force the application to connect only to IPv4 servers.-6, --ipv6only: Force the application to connect only to IPv6 servers.
Stop the VPN service.
Display the current status of the VPN service.
Get license information.
Configure the VPN service with the following subcommands:
set-mode: Set VPN operating mode (TUN/SOCKS). SOCKS default address is127.0.0.1:1080. You can adjust the port number.set-dns: Set the DNS upstream server.set-socks-port: Set the SOCKS port.set-socks-host: Set the SOCKS listen host. For non-localhost addresses, you need to protect the proxy with a username and password.set-socks-username: Set the SOCKS username.set-socks-password: Set the SOCKS password.clear-socks-auth: Clear the SOCKS username and password.set-system-dns: Set the system DNS servers.set-tun-routing-mode: Set VPN tunnel routing mode (AUTO/SCRIPT/NONE).create-route-script: Create a route script with proper permissions.send-reports: Send crash reports to developers.set-update-channel: Set the update channel (release, beta, nightly).set-use-quic: Set whether to use QUIC protocol.set-show-hints: Show hints after command execution.set-debug-logging: Enable or disable debug logging.set-show-notifications: Show notifications about the VPN connection status.show: Show the current configuration.
Check for updates to the VPN service.
Export logs to a zip file.
-o, --output TEXT: Path to the output artifact. Can be a directory.-f, --force: Overwrite the output artifact without asking.
Install the latest version if available.
-v, --verbose: Show update script output.-y, --yes: Automatically answer 'yes' to all questions.
Control site exclusions with the following subcommands:
add: Add specified exclusions.remove: Remove specified exclusions.show: Show all exclusions.clear: Clear all exclusions.mode: Set VPN exclusion mode (general/selective) or show the current mode if no options are passed.
