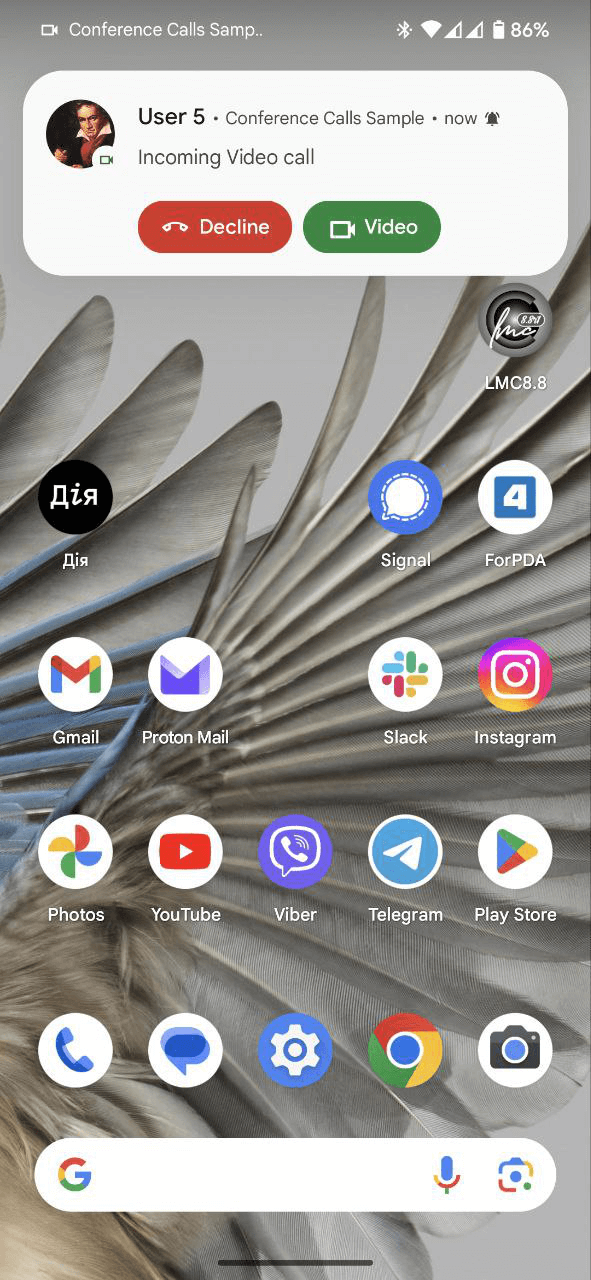
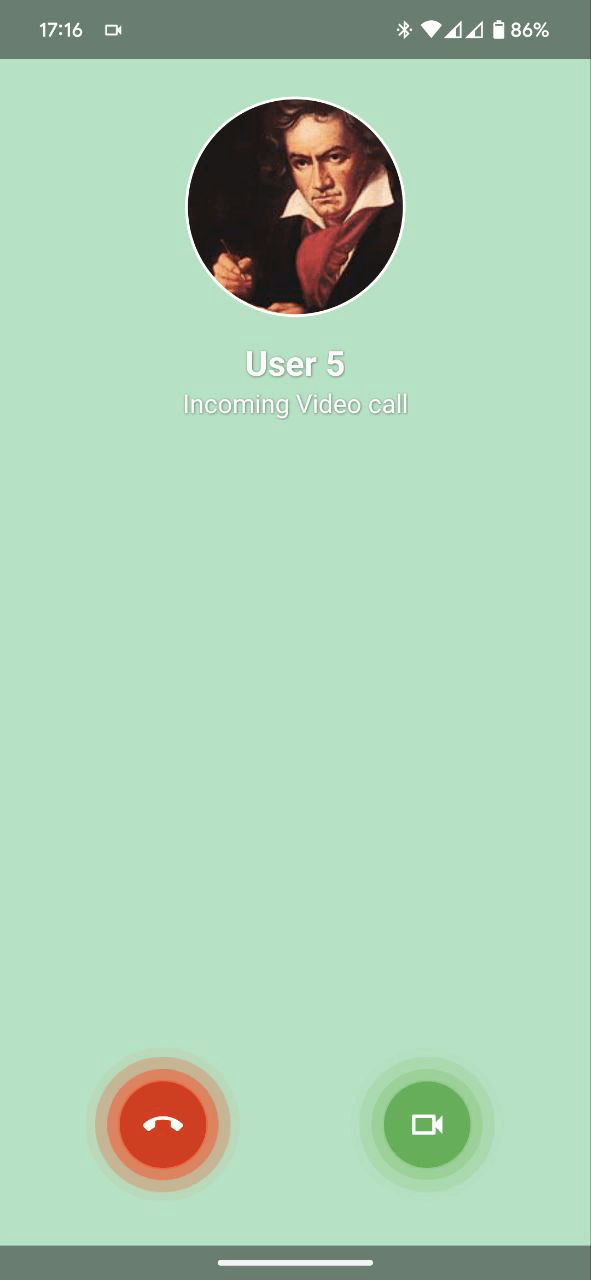
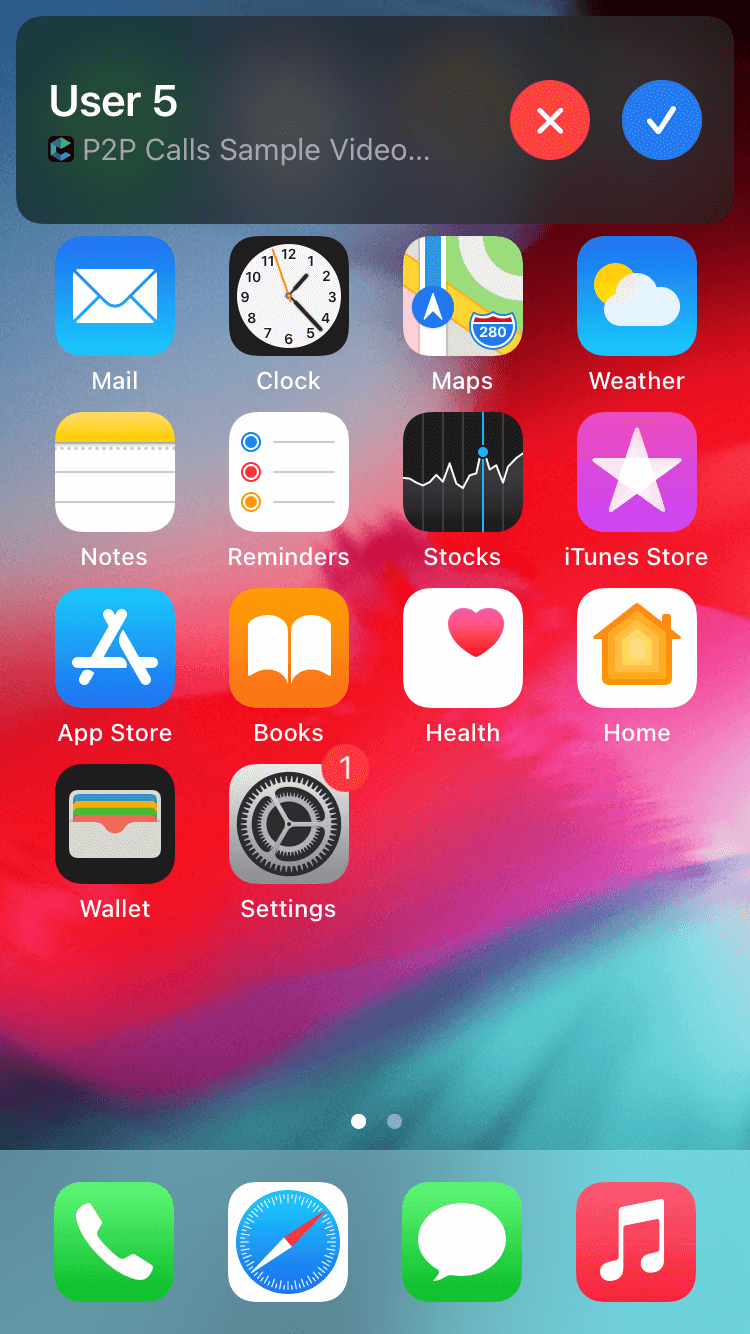
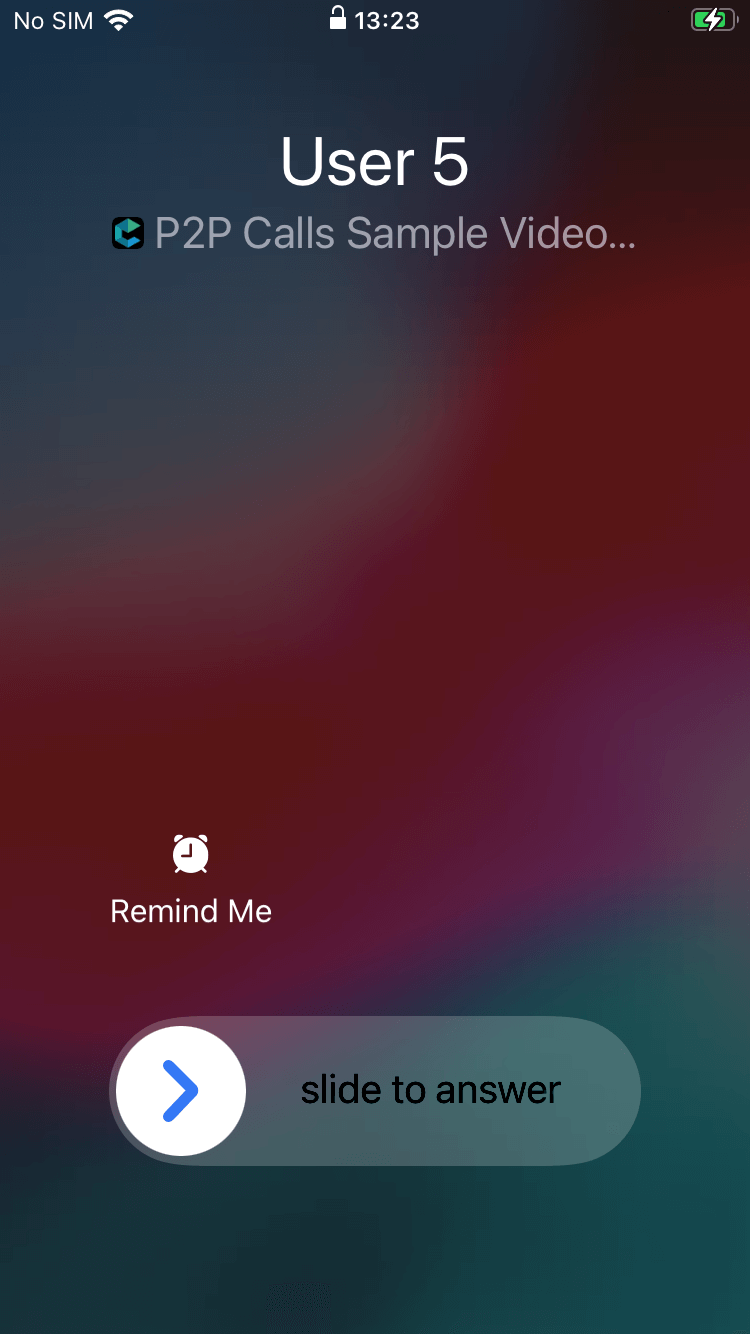
A Flutter plugin for displaying call screen when the app is in the background or terminated. It provides a complex solution for implementation the background calls feature in your app including getting token and displaying the Incoming call screen.
- Android
- iOS
- access device token (FCM for Android and VoIP for iOS)
- notifying the app about token refreshing via callback
- displaying the Incoming call screen when push notification was delivered on the device
- notifying the app about user action performed on the Incoming call screen (accept, reject, mute (for iOS))
- providing the methods for manual managing of the Incoming screen including the manual showing the Incoming call screen
- getting the data about the current call during the call session
- some customizations according to your app needs (ringtone, app icon, accent color(for Android))
- checking and changing the access to the
Manifest.permission.USE_FULL_SCREEN_INTENTpermission (for Android 14 and above)
This plugin doesn't require complicated configs, just connect it as usual flutter plugin to your app and do the next simple actions:
- add the Google services config file
google-services.jsonby pathyour_app/android/app/ - add next string at the end of your build.gradle file by path
your_app/android/app/build.gradle:
apply plugin: 'com.google.gms.google-services'If your app is targeted to targetSdkVersion 31 and above and you need to start the app by clicking the Accept
button you should request the permission SYSTEM_ALERT_WINDOW from the user first. For it, you can use
the plugin permission_handler.
If your app is targeted to targetSdkVersion 33 and above you should request the permission
POST_NOTIFICATIONS from the user first.
- add next strings to your Info.plist file by path
your_app/ios/Runner/Info.plist:
<key>UIBackgroundModes</key>
<array>
    <string>remote-notification</string>
    <string>voip</string>
</array>
The plugin returns the VoIP token for the iOS platform and the FCM token for the Android platform.
Get token from the system:
ConnectycubeFlutterCallKit.getToken().then((token) {
    // use received token for subscription on push notifications on your server
});
Listen to the refresh token event:
ConnectycubeFlutterCallKit.onTokenRefreshed = (token) {
    // use refreshed token for resubscription on your server
};We added a helpful method for customization the plugin according to your needs. At this moment you can customize the ringtone, application icon, noitification small icon (Android only) and notification accent color (Android only). Use the next method for it:
ConnectycubeFlutterCallKit.instance.updateConfig(
  ringtone: 'custom_ringtone',
  icon: Platform.isAndroid ? 'default_avatar' : 'CallKitIcon', // is used as an avatar placeholder for Android and as the app icon for iOS
color: '#07711e');You can set different icons for Audion and Video calls, add suitable resources to your
android/app/src/main/AndroidManifest.xml to the application section for it:
<meta-data
    android:name="com.connectycube.flutter.connectycube_flutter_call_kit.audio_call_notification_icon"
    android:resource="@drawable/ic_notification_audio_call" />

<meta-data
    android:name="com.connectycube.flutter.connectycube_flutter_call_kit.video_call_notification_icon"
    android:resource="@drawable/ic_notification_video_call" />
If you don't need it, add only the default notification icon:
<meta-data
    android:name="com.connectycube.flutter.connectycube_flutter_call_kit.app_notification_icon"
android:resource="@drawable/ic_notification" />P2PCallSession incomingCall; // the call received somewhere
CallEvent callEvent = CallEvent(
sessionId: incomingCall.sessionId,
callType: incomingCall.callType,
callerId: incomingCall.callerId,
callerName: 'Caller Name',
opponentsIds: incomingCall.opponentsIds,
callPhoto: 'https://i.imgur.com/KwrDil8b.jpg',
userInfo: {'customParameter1': 'value1'});
ConnectycubeFlutterCallKit.showCallNotification(callEvent);Add the listeners during initialization of the plugin:
ConnectycubeFlutterCallKit.instance.init(
    onCallAccepted: _onCallAccepted,
    onCallRejected: _onCallRejected,
    onCallIncoming: _onCallIncoming,
);

Future<void> _onCallAccepted(CallEvent callEvent) async {
    // the call was accepted
}

Future<void> _onCallRejected(CallEvent callEvent) async {
    // the call was rejected
}

Future<void> _onCallRejected(CallEvent callEvent) async {
    // the Incoming call screen/notification was shown for user
}ConnectycubeFlutterCallKit.onCallRejectedWhenTerminated = onCallRejectedWhenTerminated;
ConnectycubeFlutterCallKit.onCallAcceptedWhenTerminated = onCallAcceptedWhenTerminated;
ConnectycubeFlutterCallKit.onCallIncomingWhenTerminated = onCallIncomingWhenTerminated;!> Attention: the functions onCallRejectedWhenTerminated, onCallAcceptedWhenTerminated and onCallIncomingWhenTerminated must
be a top-level functions and cannot be anonymous. Mark these callbacks with the @pragma('vm:entry-point')
annotation to allow using them from the native code.
ConnectycubeFlutterCallKit.onCallMuted = onCallMuted;

Future<void> onCallMuted(bool mute, String uuid) async {
  // [mute] - `true` - the call was muted on the CallKit screen, `false` - the call was unmuted
  // [uuid] - the id of the muted/unmuted call
}var callState = await ConnectycubeFlutterCallKit.getCallState(sessionId: sessionId);ConnectycubeFlutterCallKit.getCallData(sessionId: sessionId).then((callData) {
});It is helpful for some cases to know the id of the last received call. You can get it via:
var sessionId = await ConnectycubeFlutterCallKit.getLastCallId();Then you can get the state of this call using getCallState.
For dismissing the Incoming call screen (or the Call Kit for iOS) you should notify the plugin about these events. Use next functions for it:
ConnectycubeFlutterCallKit.reportCallAccepted(sessionId: uuid);
ConnectycubeFlutterCallKit.reportCallEnded(sessionId: uuid);
Notifying the plugin about muting/unmuting the call (iOS only):
var muted = true; // set `true` if the call was muted or `false` if the call was unmuted

ConnectycubeFlutterCallKit.reportCallMuted(sessionId: uuid, muted: muted);After finishing the call you can clear all data on the plugin side related to this call, call the next code for it
await ConnectycubeFlutterCallKit.clearCallData(sessionId: sessionId);In case you need to show your app after accepting the call from the lock screen you can do it using the method
ConnectycubeFlutterCallKit.setOnLockScreenVisibility(isVisible: true);After finishing that call you should hide your app under the lock screen, do it via
ConnectycubeFlutterCallKit.setOnLockScreenVisibility(isVisible: false);var canUseFullScreenIntent = await ConnectycubeFlutterCallKit.canUseFullScreenIntent();Request the access to the Manifest.permission.USE_FULL_SCREEN_INTENT permission (Android 14 and above)
ConnectycubeFlutterCallKit.provideFullScreenIntentAccess();The function moves the user to the specific setting for your app where you can grant or deny this permission for your app.
In case you want to display the Incoming call screen automatically by push notification you can do it easily. For it, the caller should send the push notification to all call members. This push notification should contain some required parameters. If you use the Connectycube Flutter SDK, you can do it using the next code:
CreateEventParams params = CreateEventParams();
params.parameters = {
    'message': "Incoming ${currentCall.callType == CallType.VIDEO_CALL ? "Video" : "Audio"} call",
    'call_type': currentCall.callType,
    'session_id': currentCall.sessionId,
    'caller_id': currentCall.callerId,
    'caller_name': callerName,
    'call_opponents': currentCall.opponentsIds.join(','),
    'photo_url': 'https://i.imgur.com/KwrDil8b.jpg'
    'signal_type': 'startCall',
    'ios_voip': 1,
 };

params.notificationType = NotificationType.PUSH;
params.environment = CubeEnvironment.DEVELOPMENT; // not important
params.usersIds = currentCall.opponentsIds.toList();

createEvent(params.getEventForRequest()).then((cubeEvent) {
      // event was created
}).catchError((error) {
      // something went wrong during event creation
});
For hiding the Incoming call screen via push notification use a similar request but with a
different signal_type, it can be 'endCall' or 'rejectCall'.
Starting from Android Build.VERSION_CODES.UPSIDE_DOWN_CAKE, apps may not have permission to use
Manifest.permission.USE_FULL_SCREEN_INTENT. If permission is denied, the call notification will
show up as an expanded heads up notification on lockscreen. The plugin provides the API for checking
the access state and moves to the System setting for enabling it. Please follow the next code
snippet to manage it:
var canUseFullScreenIntent = await ConnectycubeFlutterCallKit.canUseFullScreenIntent();

if (!canUseFullScreenIntent){
  ConnectycubeFlutterCallKit.provideFullScreenIntentAccess();
}
You can check how this plugin works in our P2P Calls code sample.
Got troubles with integration? Create an issue at Issues page.
See LICENSE


