Ethereum 2.0 is the next step in the evolution of Ethereum. It brings with it many changes, including Proof-of-Stake, Sharding, new client implementations, new cryptography and more.
- have learned the essentials by watching 'Intro to Eth2 & Staking for Beginners' by Superphiz
- have passed or is actively enrolled in the Eth2 Study Master course
- and have read the 8 Things Every Eth2 validator should know.
- Operating system: 64-bit Linux (i.e. Ubuntu 20.04 LTS Server or Desktop)
- Processor: Quad core CPU, Intel Core i7–4770 (3,40 GHz / Cores: 4 Threads: 8) or AMD FX-8310 or better
- Memory: 16GB DDR4 RAM or more
- Storage: 2TB NVMe or more, IOPS: 10,000 (medium speed) and 16,000 (fast)
- Internet: Broadband internet connections with speeds at least 10 Mbps without data limit.
- Power: Reliable electrical power with uninterruptible power supply (UPS)
- ETH balance: at least 32 ETH and some ETH for deposit transaction fees
- Wallet: Metamask installed
Having your own hardware First solution, buy equipment optimized for our needs and run it at home.
| ✅ Benefits | ❌ Disadvantages |
|---|---|
| Cost optimization | Electricity and internet suppliers reliability |
| Possibility of reselling the equipment | Price of electricity |
| Optimal participation to decentralization | Equipment maintenance |
| Physical security | Risk of having unsuitable equipment |
Using a dedicated server
| ✅ Benefits | ❌ Disadvantages |
|---|---|
| Electrical, network, and hardware security | Premium to pay |
| Upgradability | Money invested is wasted |
| No additional cost on your electricity bill | Less decentralization but mostly 99% up-time |
| Physical security | Risk of having unsuitable equipment |
Regarding physical security: https://docs.ovh.com/gb/en/dedicated/securing-a-dedicated-server/
Go to https://www.ovhcloud.com/en/bare-metal/prices/
Compare
Advance-1 gen2 for fast sync and Rise-1 for medium sync speed, you can decide
Note We have chosen Advance-1 Gen2 with 1Gbit/s unmetered, guaranteed traffic and enough disk space to keep up with the chain increase for a while.
Rent for 24 months and pay all upfront to earn in total 15% discount + free setup fee
It will take around 24h until the dedicated server is ready for setup
Note Price for an Advance-1 Gen2 Server 2816.47 € over 2 years
Monthly Price 117,35 €
Still profitable, at the current Ethereum price
Once you got an email regarding the successful creation of the server, go to your dedicated server dashboard and start the initial setup.
Go to: https://www.ovh.com/manager/#/dedicated/server/..
Install the preferred OS, via “Last operating system (OS) installed by OVHcloud”
Note Creating a server requires you to add an SSH Key, follow the guide https://docs.ovh.com/gb/en/dedicated/creating-ssh-keys-dedicated/
We recommend Ubuntu Server 20.04 LTS "Focal Fossa" - ubuntu2004-server 64 bit. In the last step you must set the SSH key and host name, before you are able to install the OS.
sudo useradd -m -s /bin/bash ethereum
Set the password for ethereum user
sudo passwd ethereum
Add ethereum to the sudo group
sudo usermod -aG sudo ethereum
The basic rules of hardening SSH are:
- No password for SSH access (use private key)
- Don't allow root to SSH (the appropriate users should SSH in, then su or sudo)
- Use sudo for users so commands are logged
- Log unauthorized login attempts (and consider software to block/ban users who try to access your server too many times, like fail2ban)
- Lock down SSH to only the ip range your require (if you feel like it)
Transfer the public key to your remote node. Update keyname.pub appropriately.
ssh-copy-id -i $HOME/.ssh/keyname.pub [email protected]
Login with your new ethereum user
Disable root login and password based login. Edit the /etc/ssh/sshd_config file
sudo nano /etc/ssh/sshd_config
Locate ChallengeResponseAuthentication and update to no
ChallengeResponseAuthentication no

Locate PasswordAuthentication update to no
PasswordAuthentication no

Locate PermitRootLogin and update to prohibit-password
PermitRootLogin prohibit-password

Locate PermitEmptyPasswords and update to no
PermitEmptyPasswords no

Locate Port and customize it your random port.
Use a random port # from 1024 thru 49141. Check for possible conflicts.

Port <port number>
Validate the syntax of your new SSH configuration.
sudo sshd -t
If no errors with the syntax validation, restart the SSH process
sudo systemctl restart sshd
Verify the login still works and login with ssh
ssh [email protected] -p <custom port number>
It's critically important to keep your system up-to-date with the latest patches to prevent intruders from accessing your system.
sudo apt-get update -y && sudo apt dist-upgrade -y
sudo apt-get autoremove
sudo apt-get autoclean
Enable automatic updates so you don't have to manually install them.
sudo apt-get install unattended-upgrades
sudo dpkg-reconfigure -plow unattended-upgrades
System admins should not frequently log in as root in order to maintain server security. Instead, you can use sudo execute that require low-level privileges.
# To disable the root account, simply use the -l option.
sudo passwd -l root
# If for some valid reason you need to re-enable the account, simply use the -u option.
sudo passwd -u root
One of the first things you should do is secure the shared memory used on the system. If you're unaware, shared memory can be used in an attack against a running service. Because of this, secure that portion of system memory.
Edit /etc/fstab
sudo nano /etc/fstab
Insert the following line to the bottom of the file and save/close. This sets shared memory into read-only mode.
tmpfs /run/shm tmpfs ro,noexec,nosuid 0 0
Reboot the node in order for changes to take effect.
sudo reboot
Fail2ban is an intrusion-prevention system that monitors log files and searches for particular patterns that correspond to a failed login attempt. If a certain number of failed logins are detected from a specific IP address (within a specified amount of time), fail2ban blocks access from that IP address.
sudo apt-get install fail2ban -y
Edit a config file that monitors SSH logins.
sudo nano /etc/fail2ban/jail.local
Add the following lines to the bottom of the file.
Whitelisting IP address tip: The ignoreip parameter accepts IP addresses, IP ranges or DNS hosts that you can specify to be allowed to connect. This is where you want to specify your local machine, local IP range or local domain, separated by spaces.
# Example
ignoreip = 192.168.1.0/24 127.0.0.1/8

[sshd]
enabled = true
port = <22 or your random port number>
filter = sshd
logpath = /var/log/auth.log
maxretry = 3
# whitelisted IP addresses
ignoreip = <list of whitelisted IP address, your local daily laptop/pc>
Save/close file.
Restart fail2ban for settings to take effect.
sudo systemctl restart fail2ban
The standard UFW firewall can be used to control network access to your node. With any new installation, ufw is disabled by default. Enable it with the following settings.
Prysm
# By default, deny all incoming and outgoing traffic
sudo ufw default deny incoming
sudo ufw default allow outgoing
# Allow ssh access
sudo ufw allow ssh #<port 22 or your random ssh port number>/tcp
# Allow p2p ports
sudo ufw allow 13000/tcp
sudo ufw allow 12000/udp
# Allow eth1 port
sudo ufw allow 30303/tcp
sudo ufw allow 30303/udp
# Enable firewall
sudo ufw enable
Note It is dangerous to open 3000 / 9090 for Grafana or Prometheus on a VPS/cloud node.
If you want to maintain a secure server, you should validate the listening network ports every once in a while. This will provide you essential information about your network.
sudo ss -tulpn or sudo netstat -tulpn
Note Further tips can be found here: https://www.ubuntupit.com/best-linux-hardening-security-tips-a-comprehensive-checklist/
Run the following command:
timedatectl
✅ Check if NTP Service is active.
✅ Check if Local time, Time zone, and Universal time are all correct.
✅ If NTP Service is not active, run:
sudo timedatectl set-ntp on
If you see error message Failed to set ntp: NTP not supported, you may need to install chrony or ntp package.
Note by default, VMs may disable NTP so you may need to find a work-around for your environment.
A jwtsecret file contains a hexadecimal string that is passed to both Execution Layer client and Consensus Layer clients, and is used to ensure authenticated communications between both clients.
#store the jwtsecret file at /secrets
sudo mkdir -p /secrets
#create the jwtsecret file
openssl rand -hex 32 | tr -d "\n" | sudo tee /secrets/jwtsecret
#enable read access
sudo chmod 644 /secrets/jwtsecret
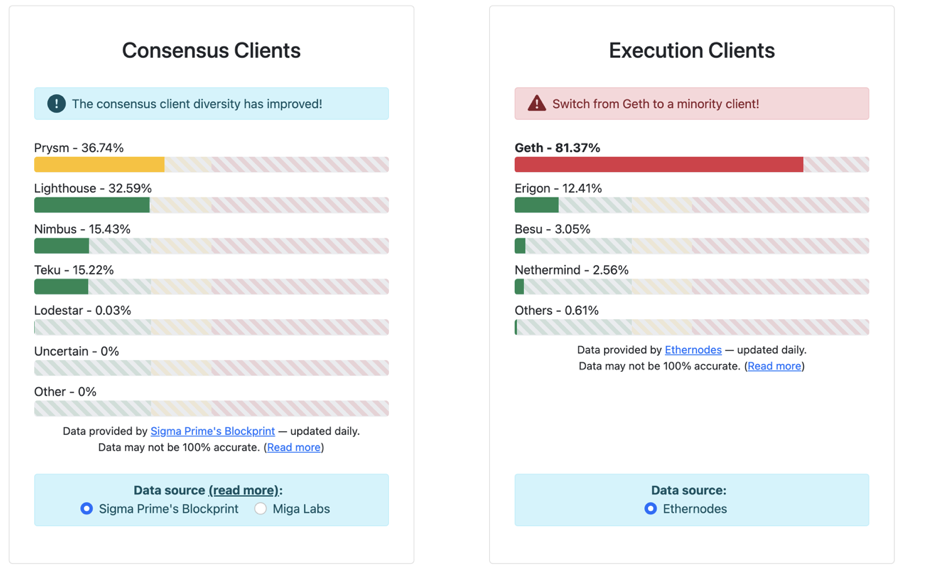
To process incoming validator deposits from the execution layer (formerly 'Eth1' chain), you'll need to run an execution client as well as your consensus client (formerly 'Eth2'). You can use a third-party service like Infura, but we recommend running your own client to keep the network as decentralized as possible. Go Ethereum is one of the three original implementations (along with C++ and Python) of the Ethereum protocol. It is written in Go, fully open source and licensed under the GNU LGPL v3.
| Client | Type | CPU Usage | Minimum RAM Usage | Sync Time |
|---|---|---|---|---|
| Geth | Full | Moderate | 4 GB | Moderate |
| Besu | Full | Moderate | 8 GB | Slow |
| Nethermind | Full | Moderate | 16 GB | Fast |
We have chosen Geth, as it’s the most stable and used client.
The easiest way to install Geth on Ubuntu-based distributions is with the built-in launchpad PPAs (Personal Package Archives). A single PPA repository is provided, containing stable and development releases for Ubuntu versions xenial, trusty, impish, focal, bionic.
sudo add-apt-repository -y ppa:ethereum/ethereum
sudo apt-get update -y
sudo apt-get install ethereum -y
Setup and configure systemd
Run the following to create a unit file to define your eth1.service configuration. Simply copy/paste the following.
cat > $HOME/eth1.service << EOF
[Unit]
Description=Geth Execution Layer Client service
Wants=network-online.target
After=network-online.target
[Service]
Type=simple
User=$USER
Restart=on-failure
RestartSec=3
TimeoutSec=300
ExecStart=/usr/bin/geth \
--mainnet \
--metrics \
--pprof \
--authrpc.jwtsecret=/secrets/jwtsecret
[Install]
WantedBy=multi-user.target
EOF
Move the unit file to /etc/systemd/system and give it permissions.
sudo mv $HOME/eth1.service /etc/systemd/system/eth1.service
sudo chmod 644 /etc/systemd/system/eth1.service
Run the following to enable auto-start at boot time.
sudo systemctl daemon-reload
sudo systemctl enable eth1
Start geth
sudo systemctl start eth1
When is my geth node synched?
Your execution client is fully sync'd when these events occur. Geth: Imported new chain segment
- Attach to the geth console with: geth attach
- Type the following:
eth.syncing - If it returns false, your geth node is synched.
To view and follow eth1 logs
journalctl -fu eth1
Note With OVHCloud Dedicated Server Advance-1 we got a sync after 6 hours. Syncing an execution client can take up to 1 week. On high-end machines with gigabit internet, expect syncing to take less than a day.
install the Ethereum Foundation deposit tool and generate your two sets of key pairs.
You have the choice of downloading the pre-built Ethereum staking deposit tool or building it from source. Alternatively, if you have a Ledger Nano X/S or Trezor Model T, you're able to generate deposit files with keys managed by a hardware wallet.
If using staking-deposit-cli, follow the prompts and pick a KEYSTORE password. This password encrypts your keystore files. Write down your mnemonic and keep this safe and offline.
Visit and choose your operating system to generate the keys OFFLINE
https://github.com/ethereum/staking-deposit-cli
Follow the CLI commands

If you’re successfully done, you will see the rhino!

Note Everything is now saved within the validator_keys folders, keep them as you will need the files in the next step.
| Client | Type | CPU Usage | Minimum RAM Usage | Sync Time |
|---|---|---|---|---|
| Geth | Full | Moderate | 4 GB | Moderate |
| Besu | Full | Moderate | 8 GB | Slow |
| Nethermind | Full | Moderate | 16 GB | Fast |
Install Prysm
mkdir ~/prysm && cd ~/prysm
curl https://raw.githubusercontent.com/prysmaticlabs/prysm/master/prysm.sh --output prysm.sh && chmod +x prysm.sh
Configure port forwarding and/or firewall
Specific to your networking setup or cloud provider settings, ensure your validator's firewall ports are open and reachable.
- Prysm consensus client will use port 12000 for udp and port 13000 for tcp
- Execution client requires port 30303 for tcp and udp
Note You'll need to forward and open ports to your validator. Verify it's working with https://www.yougetsignal.com/tools/open-ports/ or https://canyouseeme.org/ .
Import validator key
$HOME/prysm/prysm.sh validator accounts import --mainnet --keys-dir=$HOME/staking-deposit-cli/validator_keys
- Type "accept" to accept terms of use
- Press enter to accept default wallet location
- Enter a new prysm-only password to encrypt your local prysm wallet files
- and enter the keystore password for your imported accounts.
Verify your validators imported successfully.
$HOME/prysm/prysm.sh validator accounts list --mainnet
Setup systemd service
Create a systemd unit file to define yourbeacon-chain.service configuration.
sudo nano /etc/systemd/system/beacon-chain.service
Paste the following configuration into the file.
# The eth beacon chain service (part of systemd)
# file: /etc/systemd/system/beacon-chain.service

[Unit]
Description=eth consensus layer beacon chain service
Wants=network-online.target
After=network-online.target

[Service]
Type=simple
User=<USER>
Restart=on-failure
ExecStart=<HOME>/prysm/prysm.sh beacon-chain \
  --mainnet \
  --checkpoint-sync-url=https://beaconstate.info \
  --genesis-beacon-api-url=https://beaconstate.info \
  --execution-endpoint=http://localhost:8551 \
  --jwt-secret=/secrets/jwtsecret \
  --suggested-fee-recipient=0x_CHANGE_THIS_TO_MY_ETH_FEE_RECIPIENT_ADDRESS \
  --accept-terms-of-use

[Install]
WantedBy=multi-user.target
Replace0x_CHANGE_THIS_TO_MY_ETH_FEE_RECIPIENT_ADDRESS with your own Ethereum address that you control. Tips are sent to this address and are immediately spendable, unlike the validator's attestation and block proposal rewards. To exit and save, press Ctrl + X, then Y, thenEnter. Update the configuration file with your current user's home path and user name.
sudo sed -i /etc/systemd/system/beacon-chain.service -e "s:<HOME>:${HOME}:g"
sudo sed -i /etc/systemd/system/beacon-chain.service -e "s:<USER>:${USER}:g"
Update file permissions.
sudo chmod 644 /etc/systemd/system/beacon-chain.service
Run the following to enable auto-start at boot time and then start your beacon node service.
sudo systemctl daemon-reload
sudo systemctl enable beacon-chain
sudo systemctl start beacon-chain
Store your prysm-only password in a file and make it read-only. This is required so that Prysm can decrypt and load your validators.
Replace <my_password_goes_here> with your prysm-only password.
echo '<my_password_goes_here>' > $HOME/.eth2validators/validators-password.txt
sudo chmod 600 $HOME/.eth2validators/validators-password.txt
Verify your password is correct.
cat $HOME/.eth2validators/validators-password.txt
Clear the bash history in order to remove traces of your prysm-only password.
shred -u ~/.bash_history && touch ~/.bash_history
Setup systemd service Create a systemd unit file to define your validator.service configuration.
sudo nano /etc/systemd/system/validator.service
Paste the following configuration into the file.
# The eth validator service (part of systemd)
# file: /etc/systemd/system/validator.service
[Unit]
Description=eth validator service
Wants=network-online.target beacon-chain.service
After=network-online.target
[Service]
Type=simple
User=<USER>
Restart=on-failure
ExecStart=<HOME>/prysm/prysm.sh validator \
--mainnet \
--graffiti "<MY_GRAFFITI>" \
--accept-terms-of-use \
--wallet-password-file <HOME>/.eth2validators/validators-password.txt \
--suggested-fee-recipient 0x_CHANGE_THIS_TO_MY_ETH_FEE_RECIPIENT_ADDRESS \
--enable-doppelganger
[Install]
WantedBy=multi-user.target
- Replace0x_CHANGE_THIS_TO_MY_ETH_FEE_RECIPIENT_ADDRESS with your own Ethereum address that you control. Tips are sent to this address and are immediately spendable, unlike the validator's attestation and block proposal rewards.
- Replace <MY_GRAFFITI> with your own graffiti message. However for privacy and opsec reasons, avoid personal information. Optionally, leave it blank by deleting the flag option.
To exit and save, press Ctrl + X, then Y, thenEnter.
Update the configuration file with your current user's home path and user name.
sudo sed -i /etc/systemd/system/validator.service -e "s:<HOME>:${HOME}:g"
sudo sed -i /etc/systemd/system/validator.service -e "s:<USER>:${USER}:g"
Update file permissions.
sudo chmod 644 /etc/systemd/system/validator.service
Run the following to enable auto-start at boot time and then start your validator.
sudo systemctl daemon-reload
sudo systemctl enable validator
sudo systemctl start validator
#view and follow the log
journalctl --unit=beacon-chain -f
#view and follow the log
journalctl --unit=validator -f
Prometheus is a monitoring platform that collects metrics from monitored targets by scraping metrics HTTP endpoints on these targets. Official documentation is available here. Grafana is a dashboard used to visualize the collected data.
sudo apt-get install -y prometheus prometheus-node-exporter
wget -q -O - https://packages.grafana.com/gpg.key | sudo apt-key add -
echo "deb https://packages.grafana.com/oss/deb stable main" > grafana.list
sudo mv grafana.list /etc/apt/sources.list.d/grafana.list
sudo apt-get update && sudo apt-get install -y grafana
Enable services so they start automatically.
sudo systemctl enable grafana-server.service prometheus.service prometheus-node-exporter.service
Create the prometheus.yml config file. Choose the tab for your eth client. Simply copy and paste.
cat > $HOME/prometheus.yml << EOF
global:
  scrape_interval:     15s # By default, scrape targets every 15 seconds.

  # Attach these labels to any time series or alerts when communicating with
  # external systems (federation, remote storage, Alertmanager).
  external_labels:
    monitor: 'codelab-monitor'

# A scrape configuration containing exactly one endpoint to scrape:
# Here it's Prometheus itself.
scrape_configs:
   - job_name: 'node_exporter'
     static_configs:
       - targets: ['localhost:9100']
   - job_name: 'validator'
     static_configs:
       - targets: ['localhost:8081']
   - job_name: 'beacon node'
     static_configs:
       - targets: ['localhost:8080']
   - job_name: 'slasher'
     static_configs:
       - targets: ['localhost:8082']
EOF
Setup prometheus for your execution client. Start by editing prometheus.yml
nano $HOME/prometheus.yml
Append the applicable job snippet for your execution client to the end of prometheus.yml. Save the file.
   - job_name: 'geth'
     scrape_interval: 15s
     scrape_timeout: 10s
     metrics_path: /debug/metrics/prometheus
     scheme: http
     static_configs:
     - targets: ['localhost:6060']
Move it to /etc/prometheus/prometheus.yml
sudo mv $HOME/prometheus.yml /etc/prometheus/prometheus.yml
Update file permissions.
sudo chmod 644 /etc/prometheus/prometheus.yml
Finally, restart the services.
sudo systemctl restart grafana-server.service prometheus.service prometheus-node-exporter.service
Verify that the services are running properly:
sudo systemctl status grafana-server.service prometheus.service prometheus-node-exporter.service
Note It is dangerous to open 3000 / 9090 for Grafana or Prometheus on a VPS/cloud node. Better to connect via wireguard to the server or setup between monitoring server and node a wireguard ssh connection https://www.digitalocean.com/community/tutorials/how-to-set-up-wireguard-on-ubuntu-20-04
Recommended to watch the following repository https://github.com/prysmaticlabs/prysm/releases
#Simply restart the processes
sudo systemctl reload-or-restart beacon-chain validator
Check the logs to verify the services are working properly and ensure there are no errors.
sudo systemctl status beacon-chain validator
sudo systemctl status beacon-chain
Stop your execution client process. This can take a few minutes.
sudo systemctl stop eth1
Update the execution client package or binaries.
sudo apt update
sudo apt dist-upgrade -y
Check the logs to verify the services are working properly and ensure there are no errors.
sudo systemctl status eth1 beacon-chain validator
sudo systemctl status eth1 beacon-chain
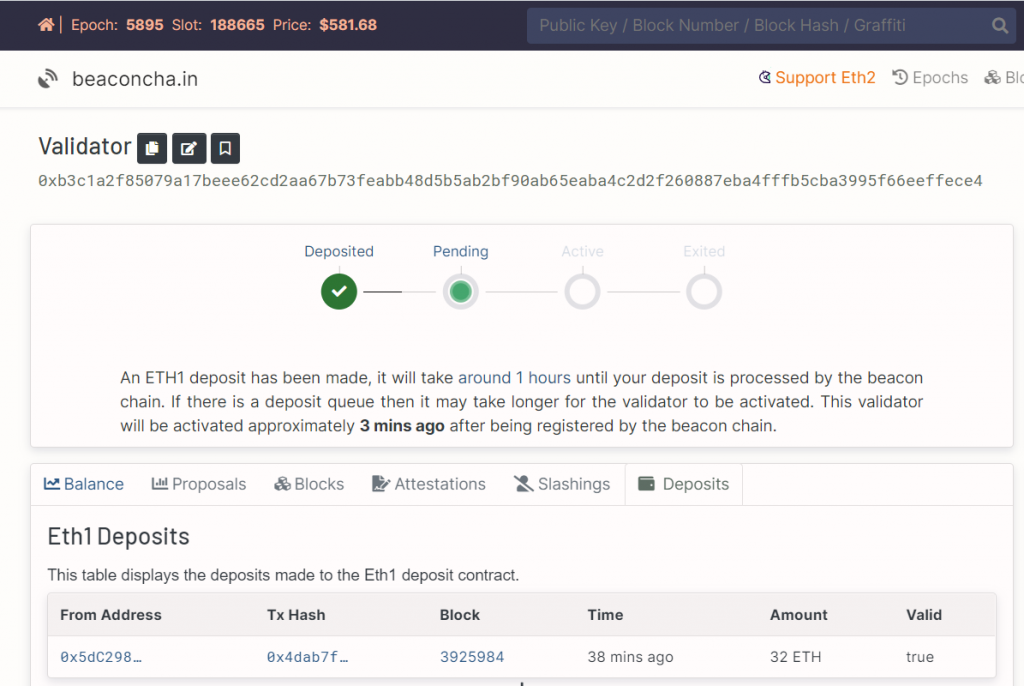
To be an ETH 2.0 validator, one has to make a deposit through the launchpad’s website.
https://launchpad.ethereum.org/en/overview
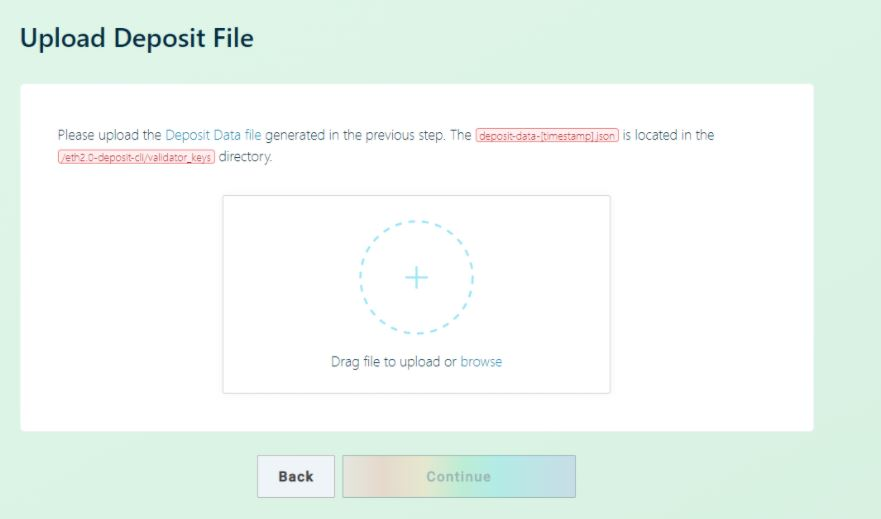
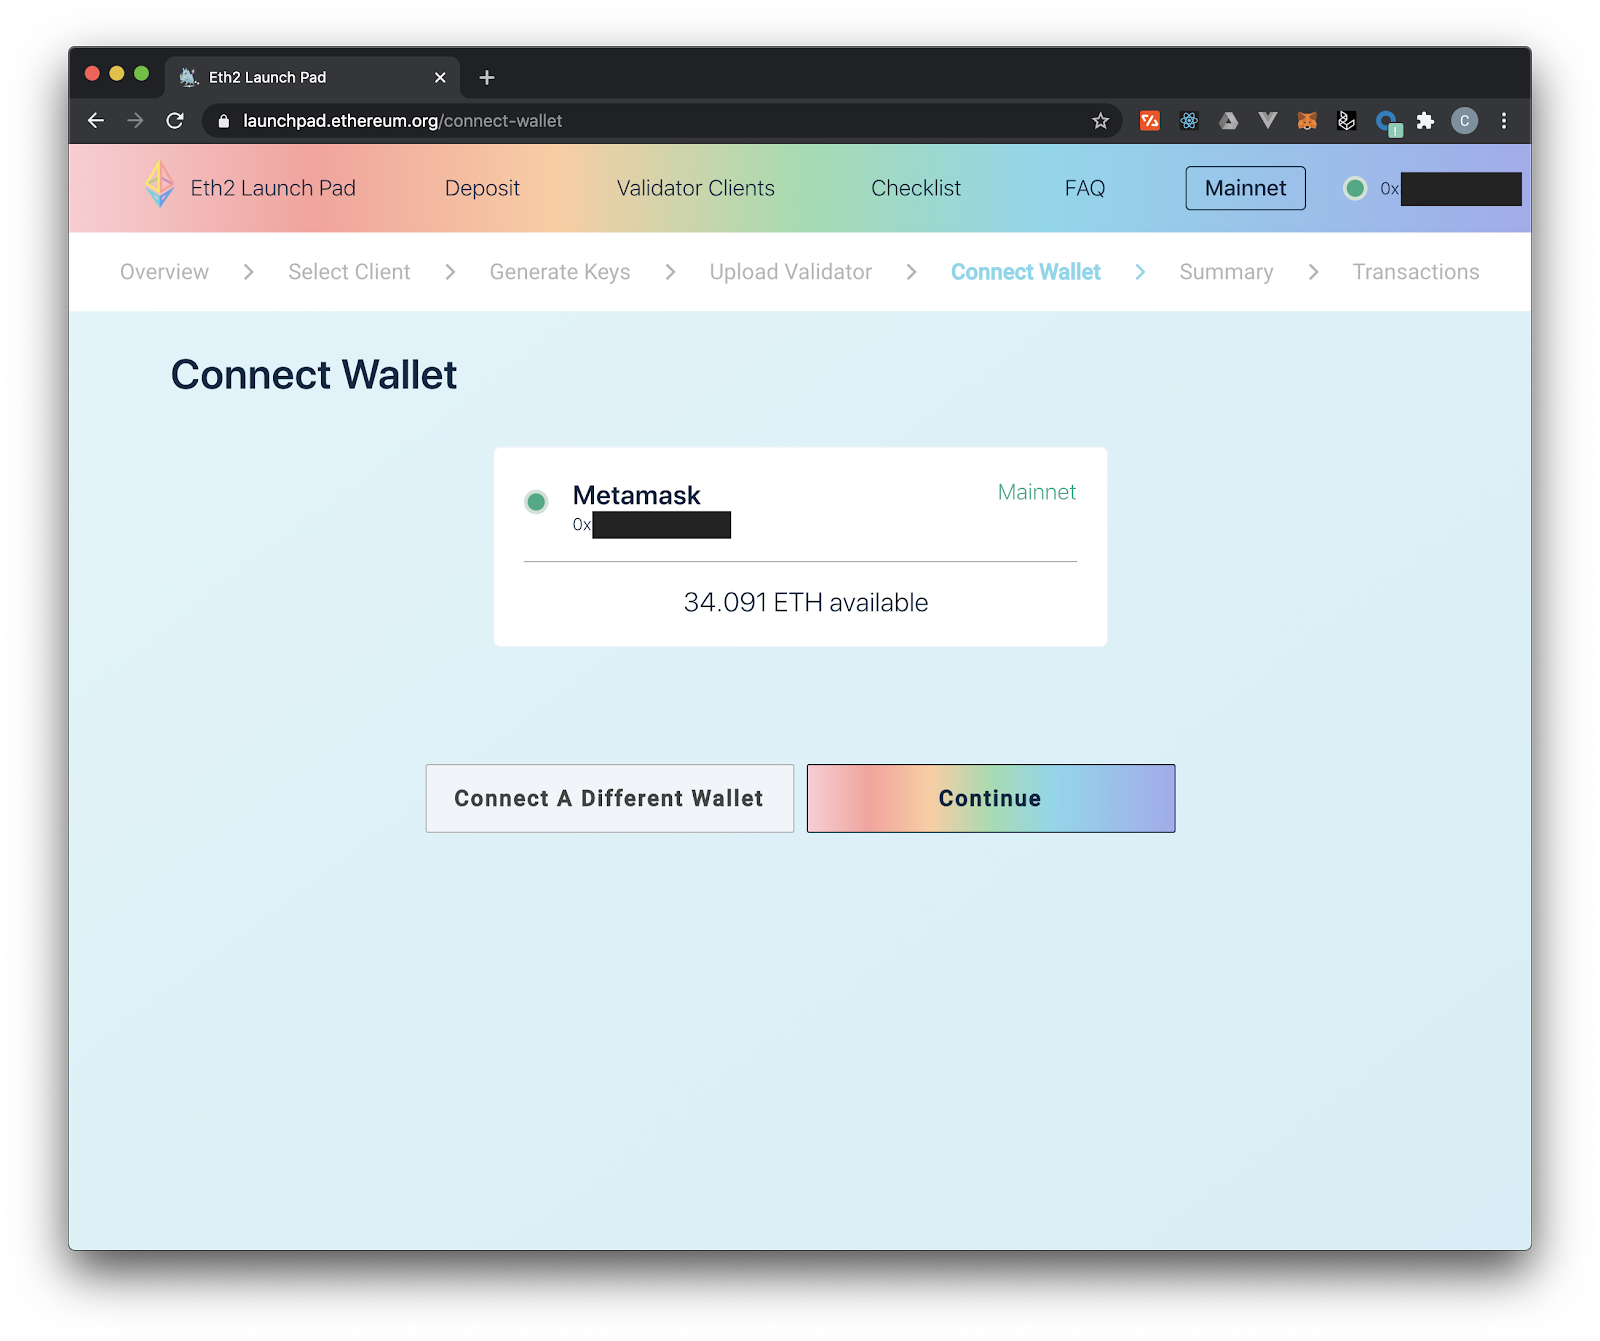
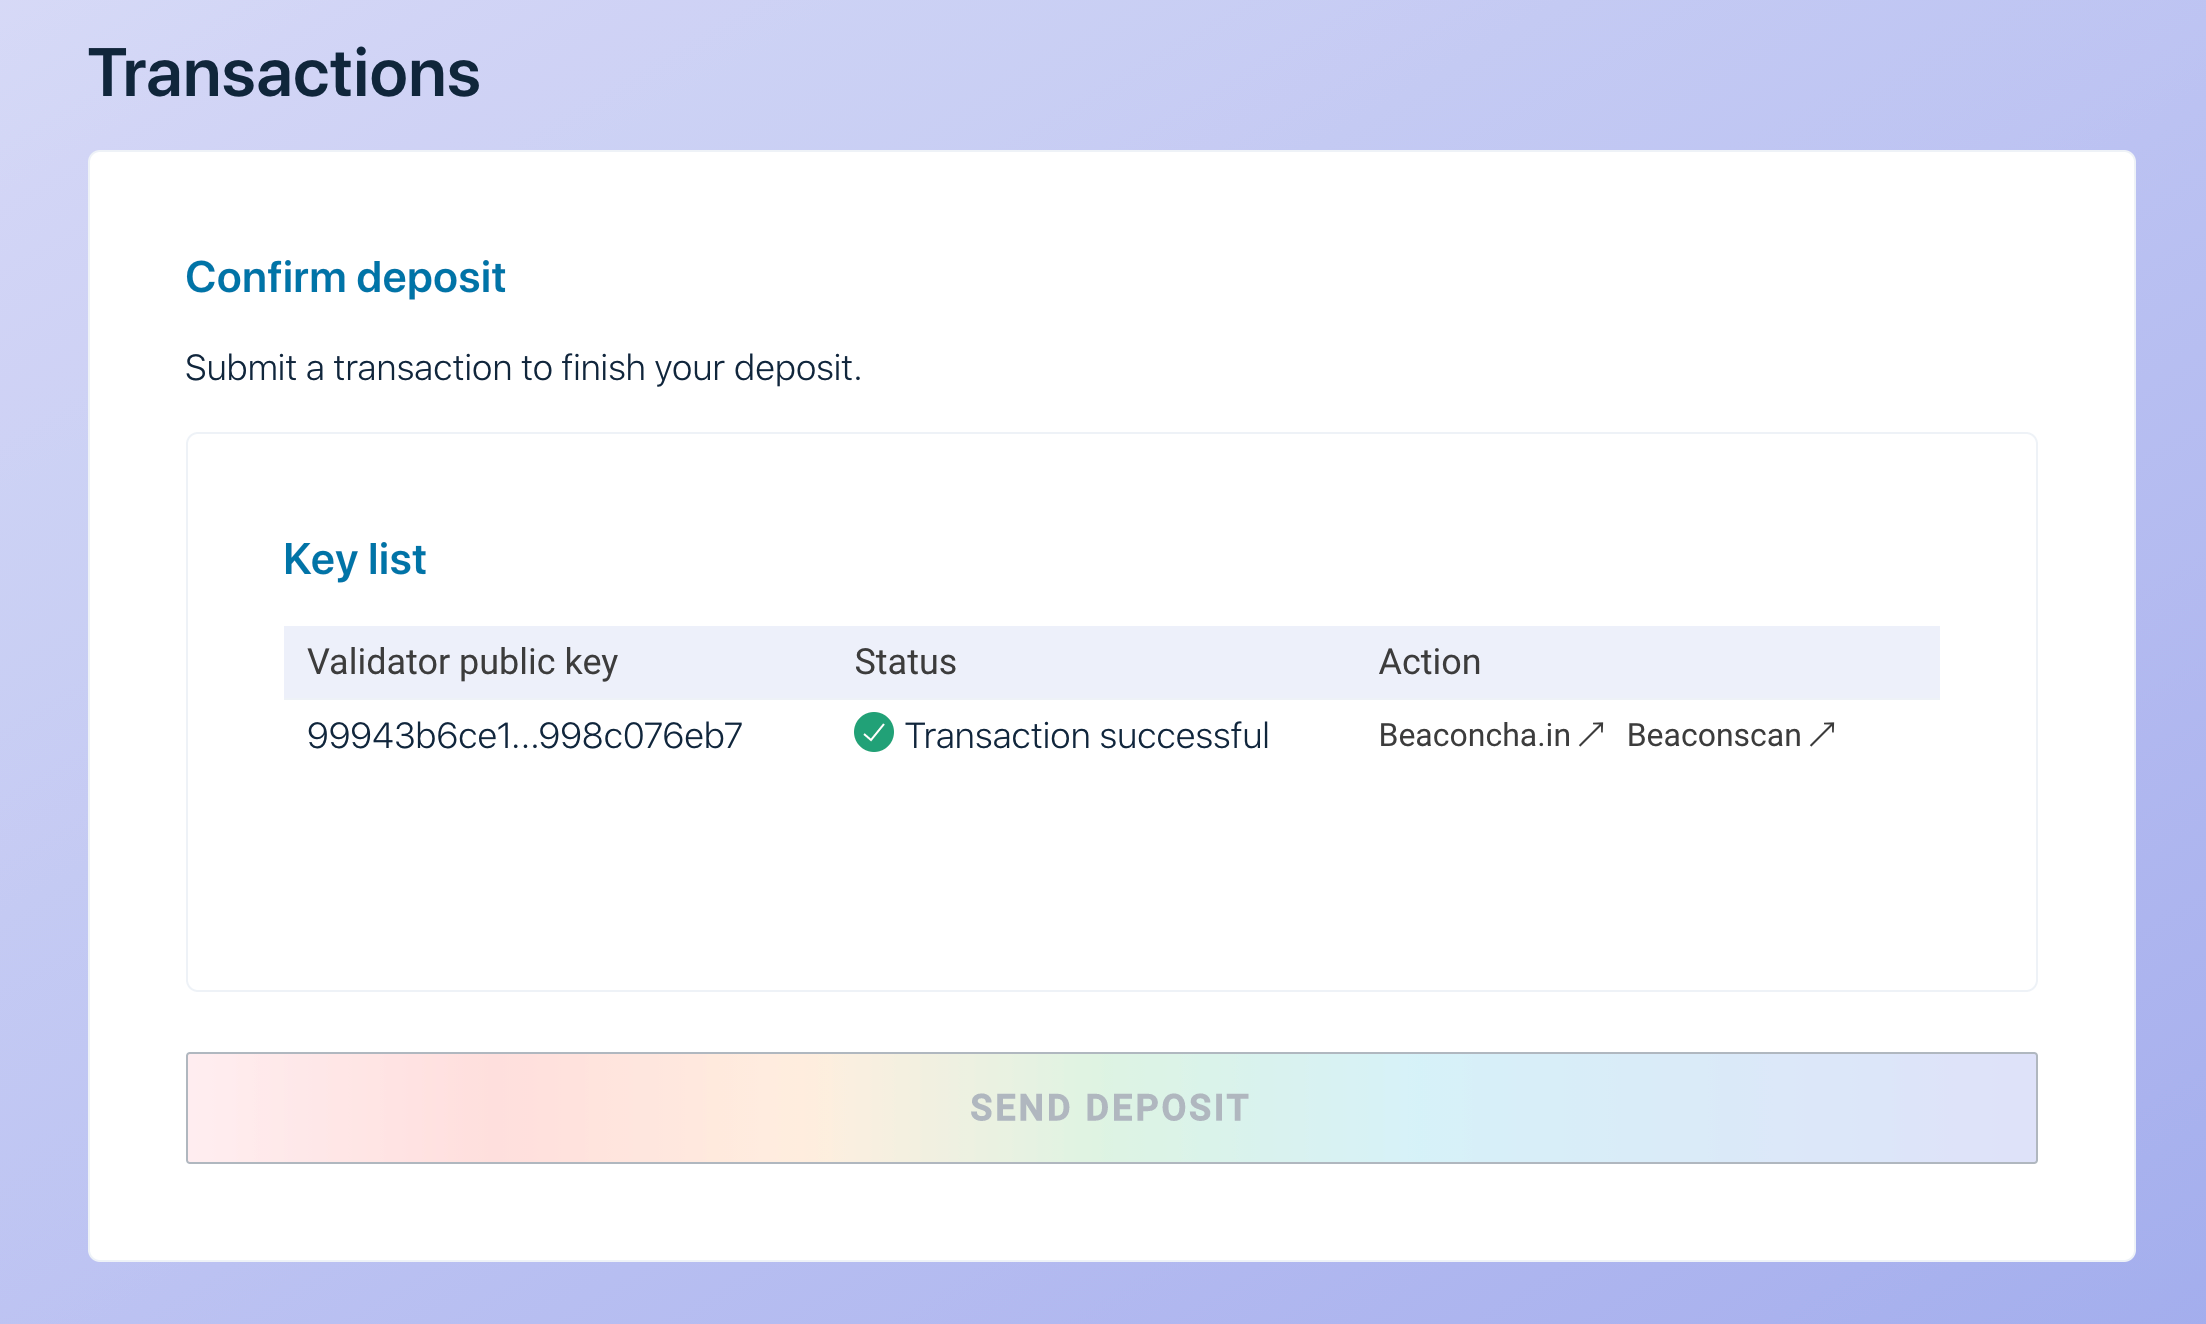
6.1 Check all steps before connecting to the launchpad with your Metamask wallet, review and accept terms.
🎉 You are now officially an Ethereum 2.0 validator, congrats! 🎉
A validators is required to
- propose new blocks on shards to which the validator is assigned.
- Participate in committees by signing attestations on blocks proposed by other validators within the committee.
- Aggregrate attestations from other validators on a committee when assigned for broadcasting to the beacon chain.
- Maintain an RPC connection to a trusted beacon node to listen for validator assignment/shuffling.
- Sync assigned shard with beacon chain for each proof of custody period.
Knowledge Base
Links to aggregators of knowledge with additional information on topics above and more- ConsenSys: https://consensys.net/knowledge-base/ethereum-2
- BeaconChain: https://kb.beaconcha.in
- Ethhub: https://docs.ethhub.io/ethereum-roadmap/ethereum-2.0/eth-2.0-phases/
- Calculator + resources: https://docs.google.com/spreadsheets/d/15tmPOvOgi3wKxJw7KQJKoUe-uonbYR6HF7u83LR5Mj4/edit#gid=1548910165
Ethereum 2.0 block explorers
- Etherscan: https://beaconscan.com
- Beacon Chain: https://beaconcha.in
Validator stats
- Eth2stats: https://eth2stats.io/medalla-testnet
Ethereum 2.0 client implementations
- Prysm (Go): https://github.com/prysmaticlabs/prysm
- Lighthouse (Rust) https://github.com/sigp/lighthouse
- Teku (Java): https://github.com/PegaSysEng/teku
- LodeStart (TypeScript): https://github.com/ChainSafe/lodestar
- Trinity (Python): https://github.com/ethereum/trinity
Useful links
- https://kb.beaconcha.in/staking-and-hardware
- https://launchpad.ethereum.org/en/checklist#section-one
- https://medium.com/simplystaking/setting-up-an-eth-2-0-validator-node-simply-staking-40b5f96a9e8d
- https://www.coincashew.com/coins/overview-eth/guide-or-how-to-setup-a-validator-on-eth2-mainnet/part-i-installation/prerequisites
- https://www.stakingrewards.com/calculator/


