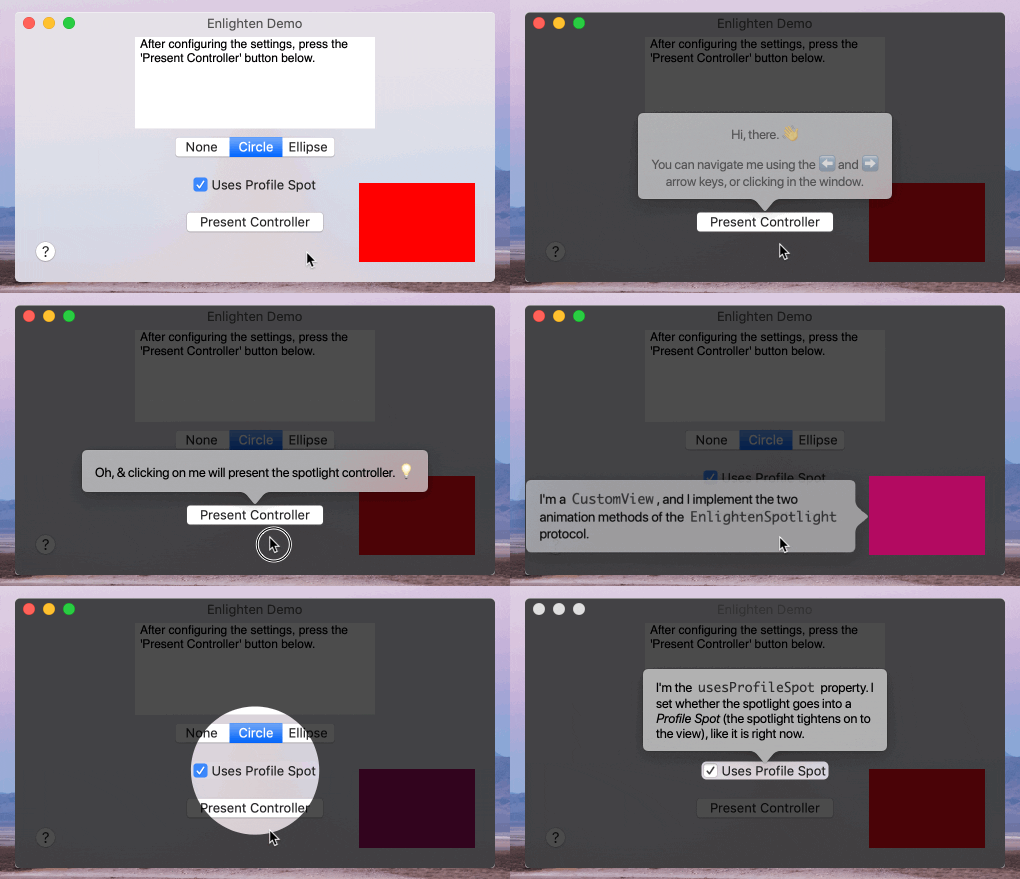


An integrated spotlight-based onboarding and help library for macOS, written in Swift.
- A Floating Action Button for macOS? Check out Fab. 🛍️.
- An Expanding Bubble Text Field for macOS? Check out BubbleTextField 💬.
-
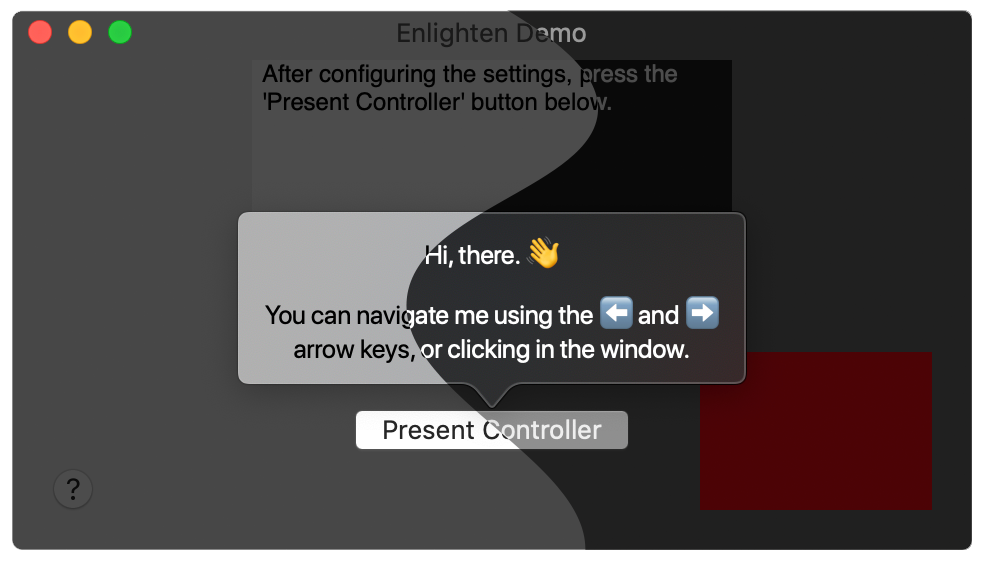
Integrated onboarding using a spotlight and rendered CommonMark Markdown strings/files.
-
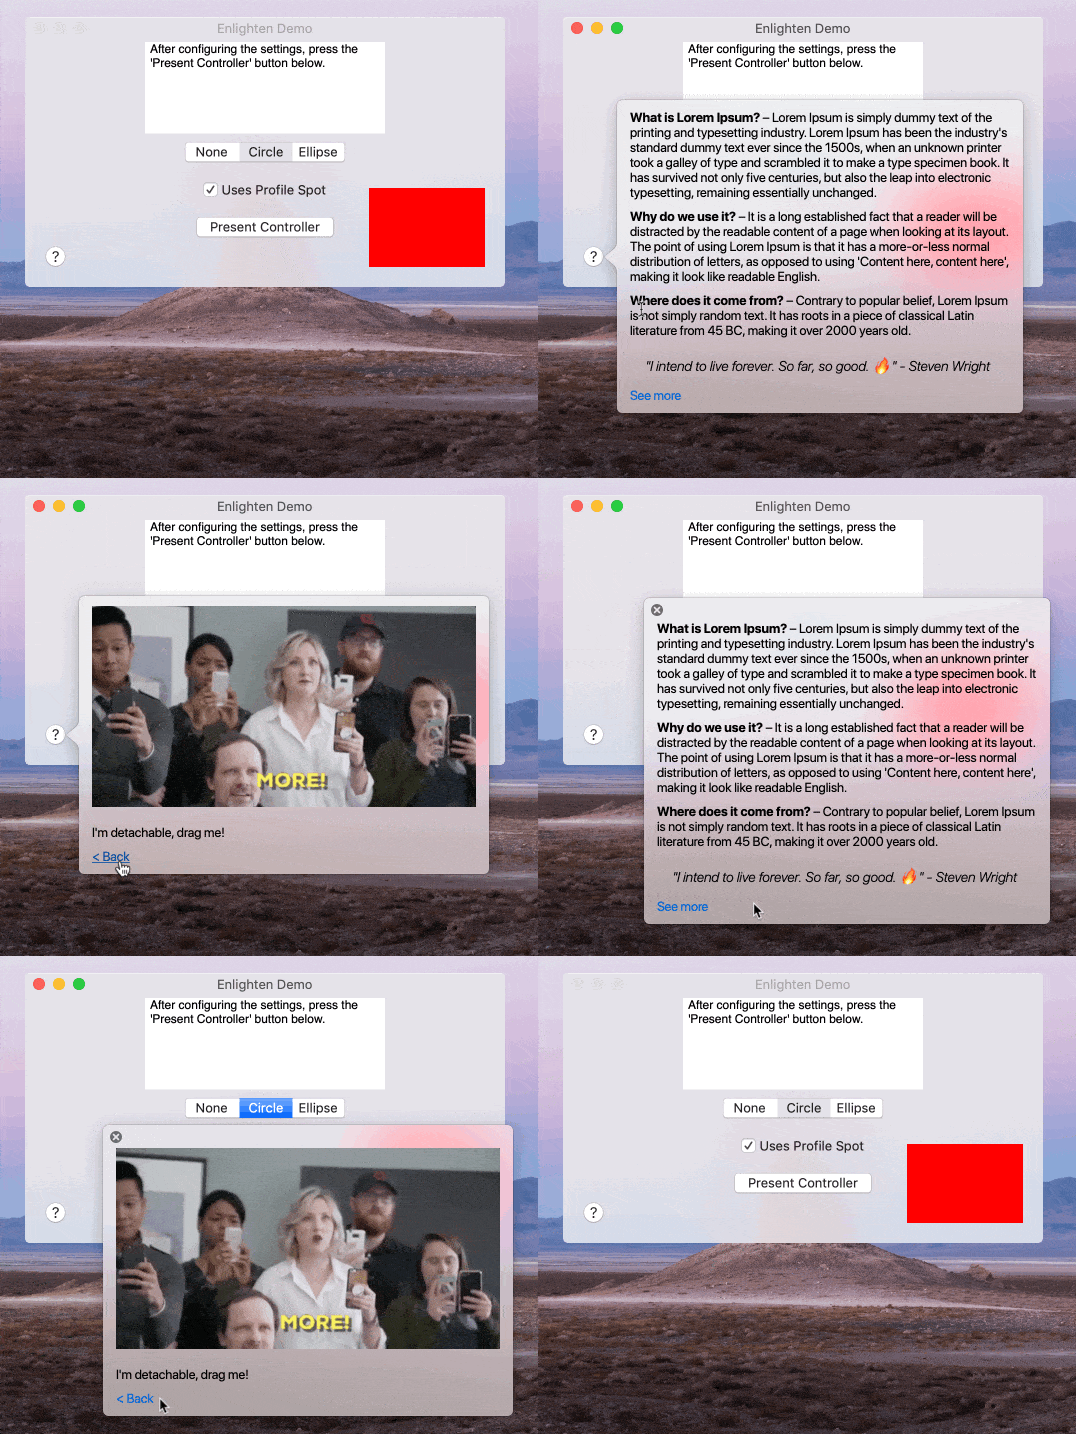
A help button that presents a popover with app-specific help documentation rendered from CommonMark Markdown strings/files.
-
Use a CommonMark Markdown string/file as a tooltip.
-
Dark mode ready.
Enlighten is available for installation using CocoaPods or Carthage.
Using Carthage
github "chriszielinski/Enlighten"Using CocoaPods
pod "Enlighten"- macOS 10.12+ (10.13+ for the custom URL scheme handler)
-
Stage — A single "step" in the onboarding spotlight presentation. It consists of a Markdown string rendered inside the popover.
-
Iris — A class that encapsulates the behavior of the spotlight for a particular view. It encapsulates at least one stage; optionally, more. All the stages of the iris share the iris' configuration, unless they override the appropriate property (e.g. the
popoverMaxWidthproperty). The focus/unfocus animation groups/methods are invoked upon presenting the iris' first stage and leaving the iris' last stage, respectively. -
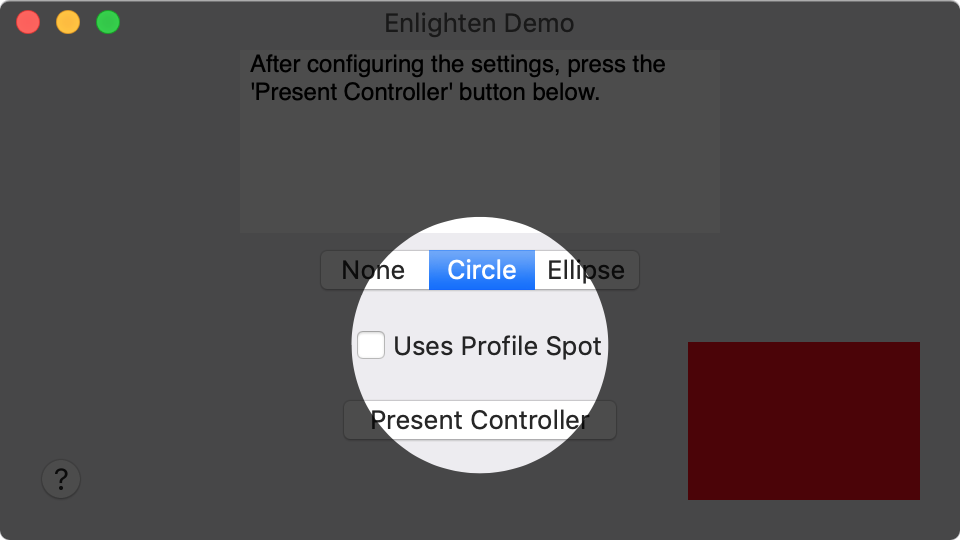
Followspot — A wider, more encompassing spotlight used during the animated transitioning from one view (or iris) to the next.
-
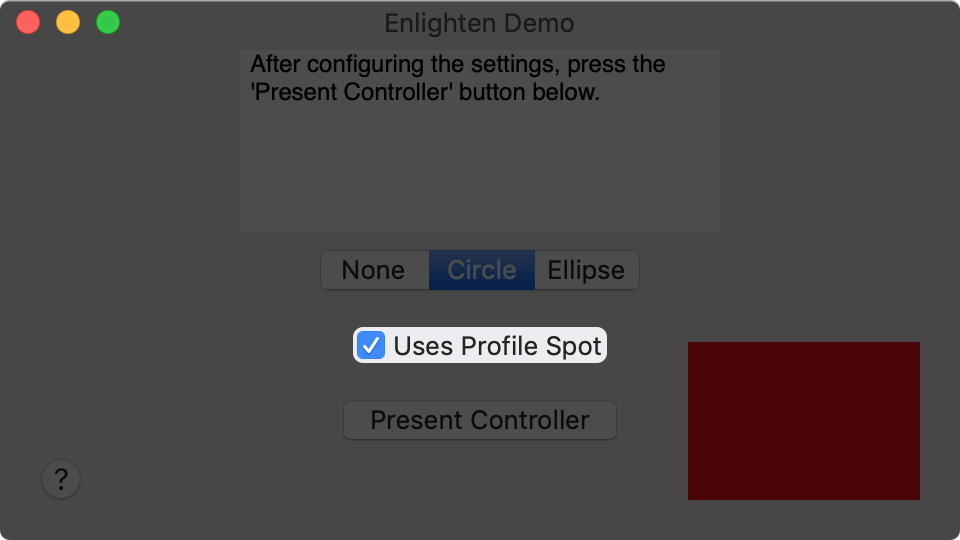
Profile Spot — A tighter, "smaller", focused spotlight used to draw attention to a particular view (or iris).
The demo project provides a comprehensive, documentented example of how to integrate and configure the various components of the Enlighten library.
There are two spotlight controllers available to use:
EnlightenSpotlightController— The basic controller that presents the irises in the order they are added.EnlightenKeyedSpotlightController— The keyed controller that allows the presentation order of the irises to be specified by the case order of anEnlightenSpotlightControllerKeys-conforming enumeration.
The code below will create a four-stage EnlightenSpotlightController comprised of two irises. It illustrates the various ways of creating/adding irises and stages.
📣 Note: The irises will be presented in the order they are added to the spotlight controller. In this example, the
firstIris(and its stages) will be presented first, with thesecondIrisfollowing.
// Create the controller.
let spotlightController = EnlightenSpotlightController()

// Create an iris with a single stage.
let firstIris = EnlightenIris(view: aView, markdownString: "This is a `NSView`.")
// Add another stage to the iris.
firstIris.addAdditionalStage(using: "This is the iris' second stage.")
// Create a third stage.
let thirdStage = EnlightenIrisStage(markdownString: "This is the **third** stage!")
// Add the third stage to the iris.
firstIris.addAdditional(stage: thirdStage)
// Add the iris to the spotlight controller.
spotlightController.addSpotlight(iris: firstIris)

// This is a convenience method for creating and adding an iris to the controller.
let secondIris = spotlightController.addSpotlight(view: anotherView, markdownString: "This is another `NSView`.")The methods used above are also available for the EnlightenKeyedSpotlightController with only a few requiring an additional argument—the key. But first, we must define a key enumeration whose case declaration order will correspond directly to the owning iris' presentation order.
🎡 Try: Switch the order of the
SpotlightKeycases to change the presentation order.
// The keys that define the presentation order of the keyed spotlight controller's irises. The keys can also be used for identification purposes.
enum SpotlightKey: String, EnlightenSpotlightControllerKeys {
    // The controller will begin with the iris that corresponds to this key.
    case firstView
    // And finish with the iris that corresponds to this key.
    case secondView
}

/// Create a keyed spotlight controller using the `SpotlightKey` enum to specify the presentation order.
let keyedSpotlightController = EnlightenKeyedSpotlightController(keys: SpotlightKey.self)

// Create a keyed iris with a single stage.
let firstIris = EnlightenKeyedIris(presentationOrderKey: SpotlightKey.firstView,
                                   view: aView,
                                   markdownString: "This is a `NSView`.")
// Add another stage to the keyed iris.
firstIris.addAdditionalStage(using: "This is the iris' second stage.")
// Create a third stage.
let thirdStage = EnlightenIrisStage(markdownString: "This is the **third** stage!")
// Add the third stage to the keyed iris.
firstIris.addAdditional(stage: thirdStage)
// Add the keyed iris to the keyed spotlight controller.
keyedSpotlightController.addSpotlight(iris: firstIris)

// This is a convenience method for creating and adding a keyed iris to the keyed controller.
let secondIris = keyedSpotlightController.addSpotlight(presentationOrderKey: .secondView,
                                                       view: anotherView,
markdownString: "This is another `NSView`.")Presenting and dismissing a spotlight controller is simple.
📣 Note: The controller dismisses itself upon navigating through all the stages.
aSpotlightController.present()
aSpotlightController.dismiss()Configure the followspot shape (the larger, moving spotlight).
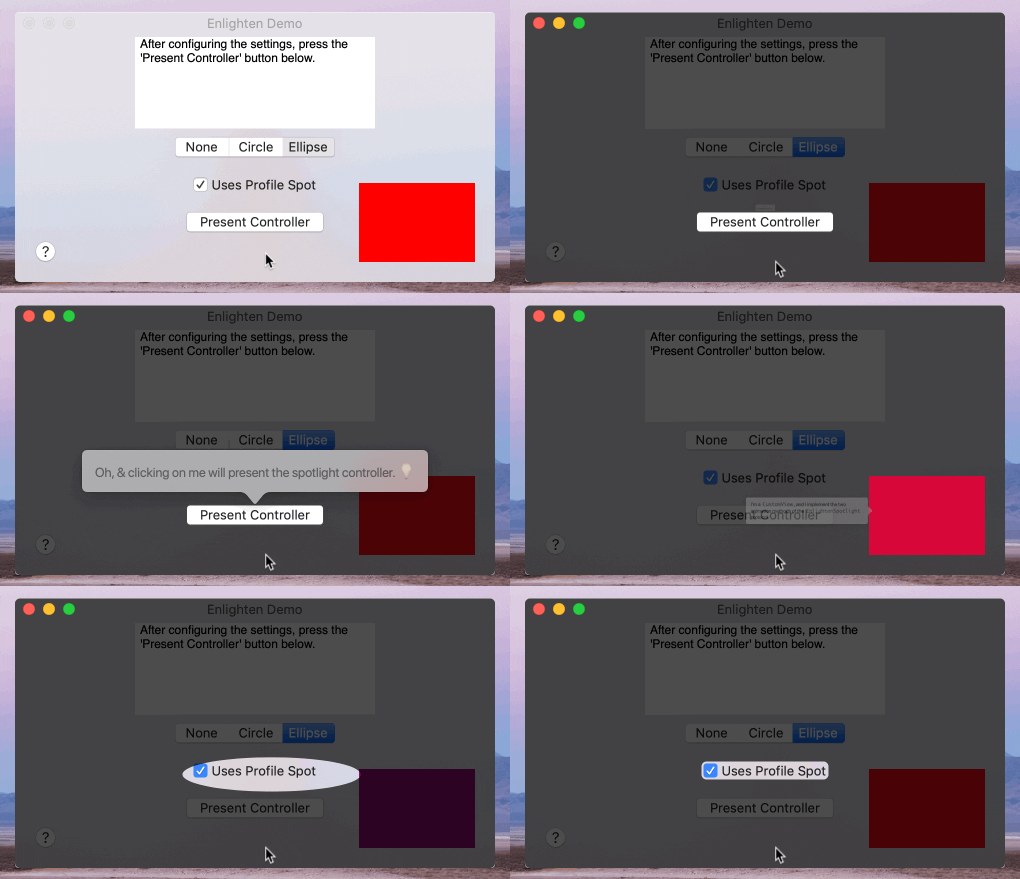
spotlightController.followspotShape = .circleThe followspot shape can be set to the following values:
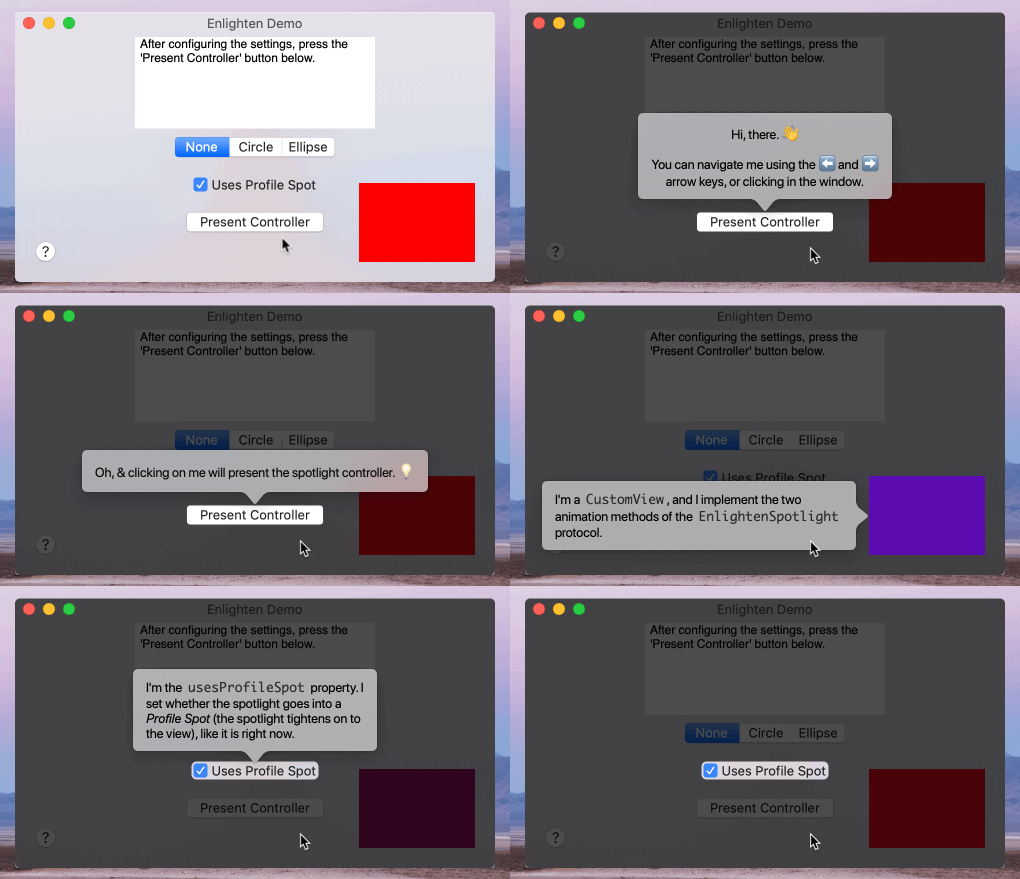
When using a circle or ellipse followspot, the profile spot is optional. You can specify your preference by setting the controller's usesProfileSpot property. It has a default value of true.
A .circle followspot with no profile spot looks like so:
You can set the spotlight controller's delegate to an EnlightenSpotlightControllerDelegate-conforming class to receive events.
spotlightController.delegate = selfThe set of optional methods that Enlighten spotlight controller delegates can implement:
/// Invoked before the controller shows a stage.
func spotlightControllerWillShow(stage: Int, in iris: EnlightenIris, navigating: EnlightenSpotlightController.NavigationDirection) {}

/// Invoked when the controller has finished dismissing.
func spotlightControllerDidDismiss() {}

/// Invoked when a Markdown string fails to load, this method optionally returns a replacement.
///
/// If the delegate does not implement this method or returns nil, the spotlight stage is skipped.
///
/// - Note: This delegate method should not be necessary if appropriate testing procedures are employed to ensure
///         that all Markdown strings load successfully (i.e. `EnlightenSpotlightController.validateMarkdownStrings()`
///         testing method).
func spotlightControllerFailedToLoad(markdownString: String, for iris: EnlightenIris, with error: Error) -> String? {}A help button that displays a popover with app-specific help documentation rendered from a CommonMark Markdown string.
There are two ways to create an EnlightenHelpButton: Interface Builder, or programmatically. The demo uses a multi-page EnlightenHelpButton created in the Interface Builder.
Programmatically, it would look something like this.
📣 Note: If you enjoy making financial transactions on a public wifi network over an HTTP connection, go ahead and use that
try!. You're gonna have to use some really funky Markdown to throw an error.
// The Markdown string to render.
let helpButtonMarkdownString = "**Need help?** – Something that's helpful."
// Create the help button.
let enlightenHelpButton = try! EnlightenHelpButton(markdownString: helpButtonMarkdownString)
// And that's it... you still need to add it to the view hierarchy, of course.

// Optionally, you can have the popover be detachable, which allows the popover to be dragged into its own _floating_ window.
enlightenHelpButton.canDetach = trueYou can set the help button's delegate to an EnlightenPopoverDelegate-conforming class to receive events.
enlightenHelpButton.enlightenPopoverDelegate = selfThe set of optional methods that Enlighten popover delegates can implement:
/// Invoked when an Enlighten URL scheme was clicked in the popover.
func enlightenPopover(didClickEnlighten url: URL) {}

/// Invoked when a Markdown string fails to load, this method optionally returns a replacement.
func enlightenPopoverFailedToLoad(downError: Error) -> String? {}It may be useful to craft your spotlight controller stages' Markdown content in such a way that they can also be used as plaintext tooltips.
🔥 Kill two birds with one stone.
You can set a NSView's tooltip from a Markdown string as so:
📣 Note: If you enjoy eating raw cookie dough and refueling your car with the engine on, go ahead and use that
try!. You're gonna have to use some really funky Markdown to throw an error.
let helpButtonToolTip = """
    # Need help?

    **This is a Markdown string**, stripped of any _styling_.
    """
try? aView.enlightenTooltip(markdownString: helpButtonToolTip)
And from the Markdown file named 'tooltip.md' located in the main bundle:
try? aView.enlightenTooltip(markdownFilename: "tooltip", in: Bundle.main)There's a basket of other configurable properties available to make your onboarding experience/help documentation perfect. You can explore the docs here.
- Tests.
- Found a bug? Open an issue.
- Feature idea?
Open an issue.Do it yourself & PR when done 😅 (or you can open an issue 🙄). - Want to contribute? Submit a pull request.
- Chris Zielinski — Original author.
Enlighten depends on the wonderful contributions of the Swift community, namely:
- iwasrobbed/Down — Blazing fast Markdown/CommonMark rendering in Swift, built upon cmark.
- realm/jazzy — Soulful docs for Swift & Objective-C.
- realm/SwiftLint — A tool to enforce Swift style and conventions.
Enlighten is available under the MIT license, see the LICENSE file for more information.
