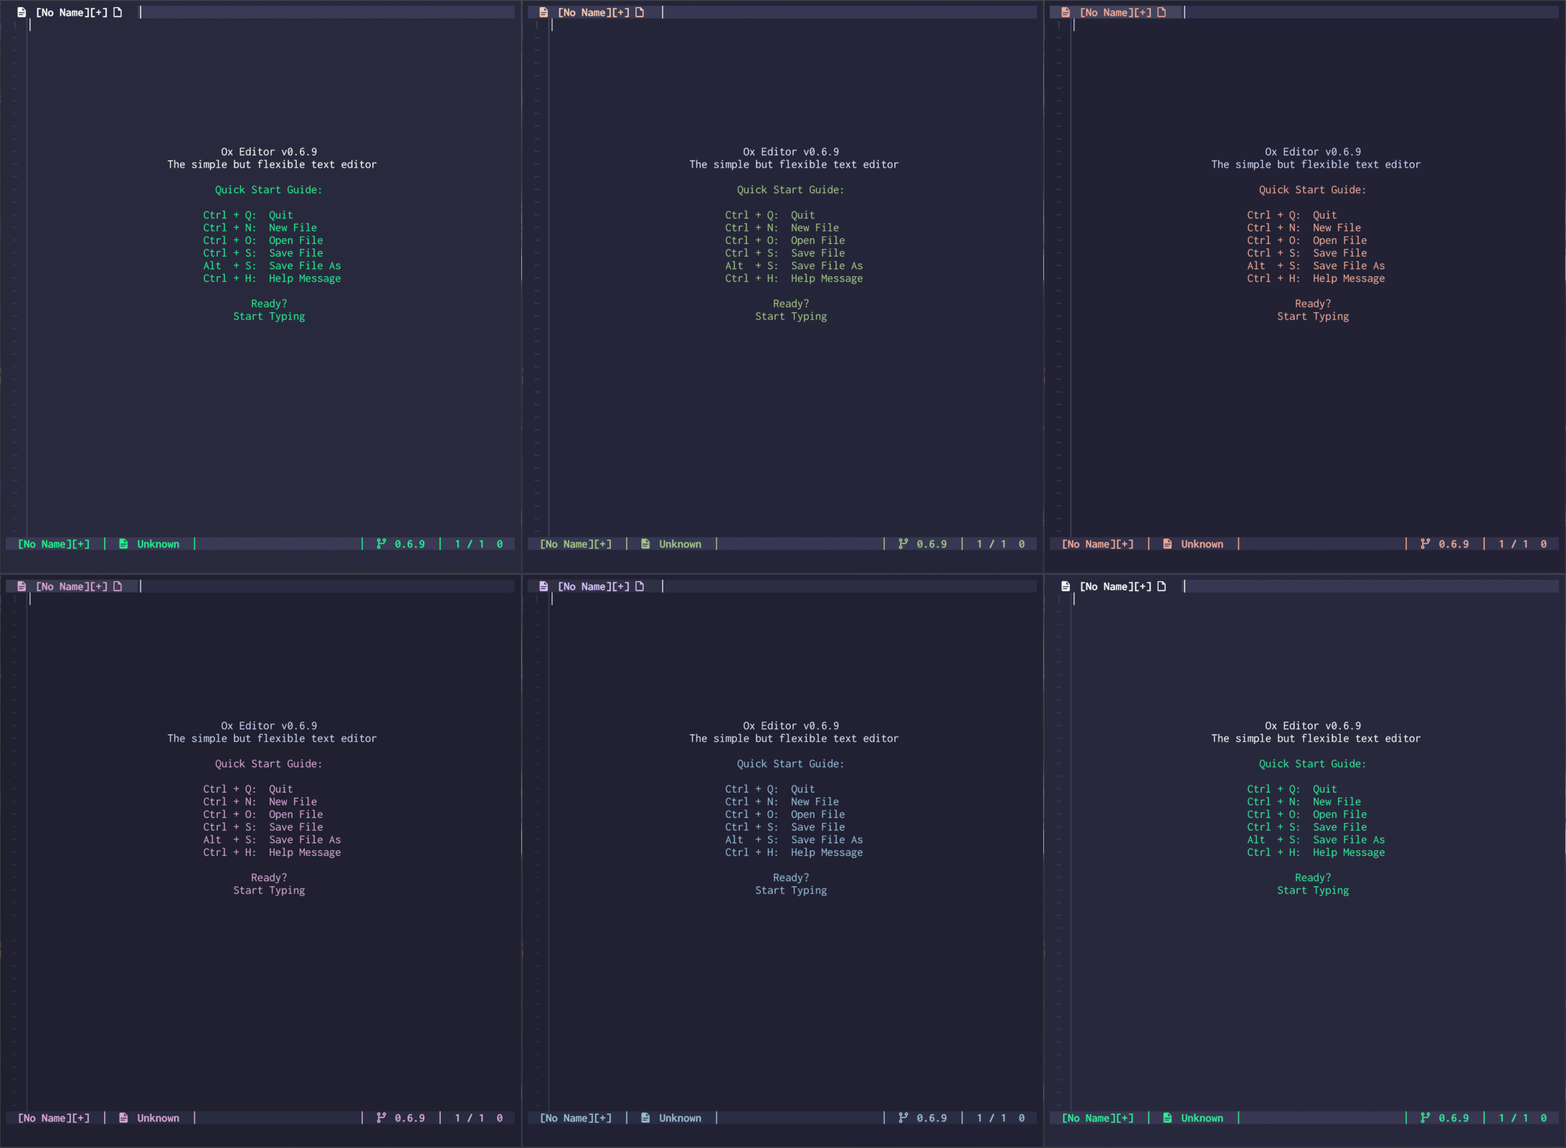
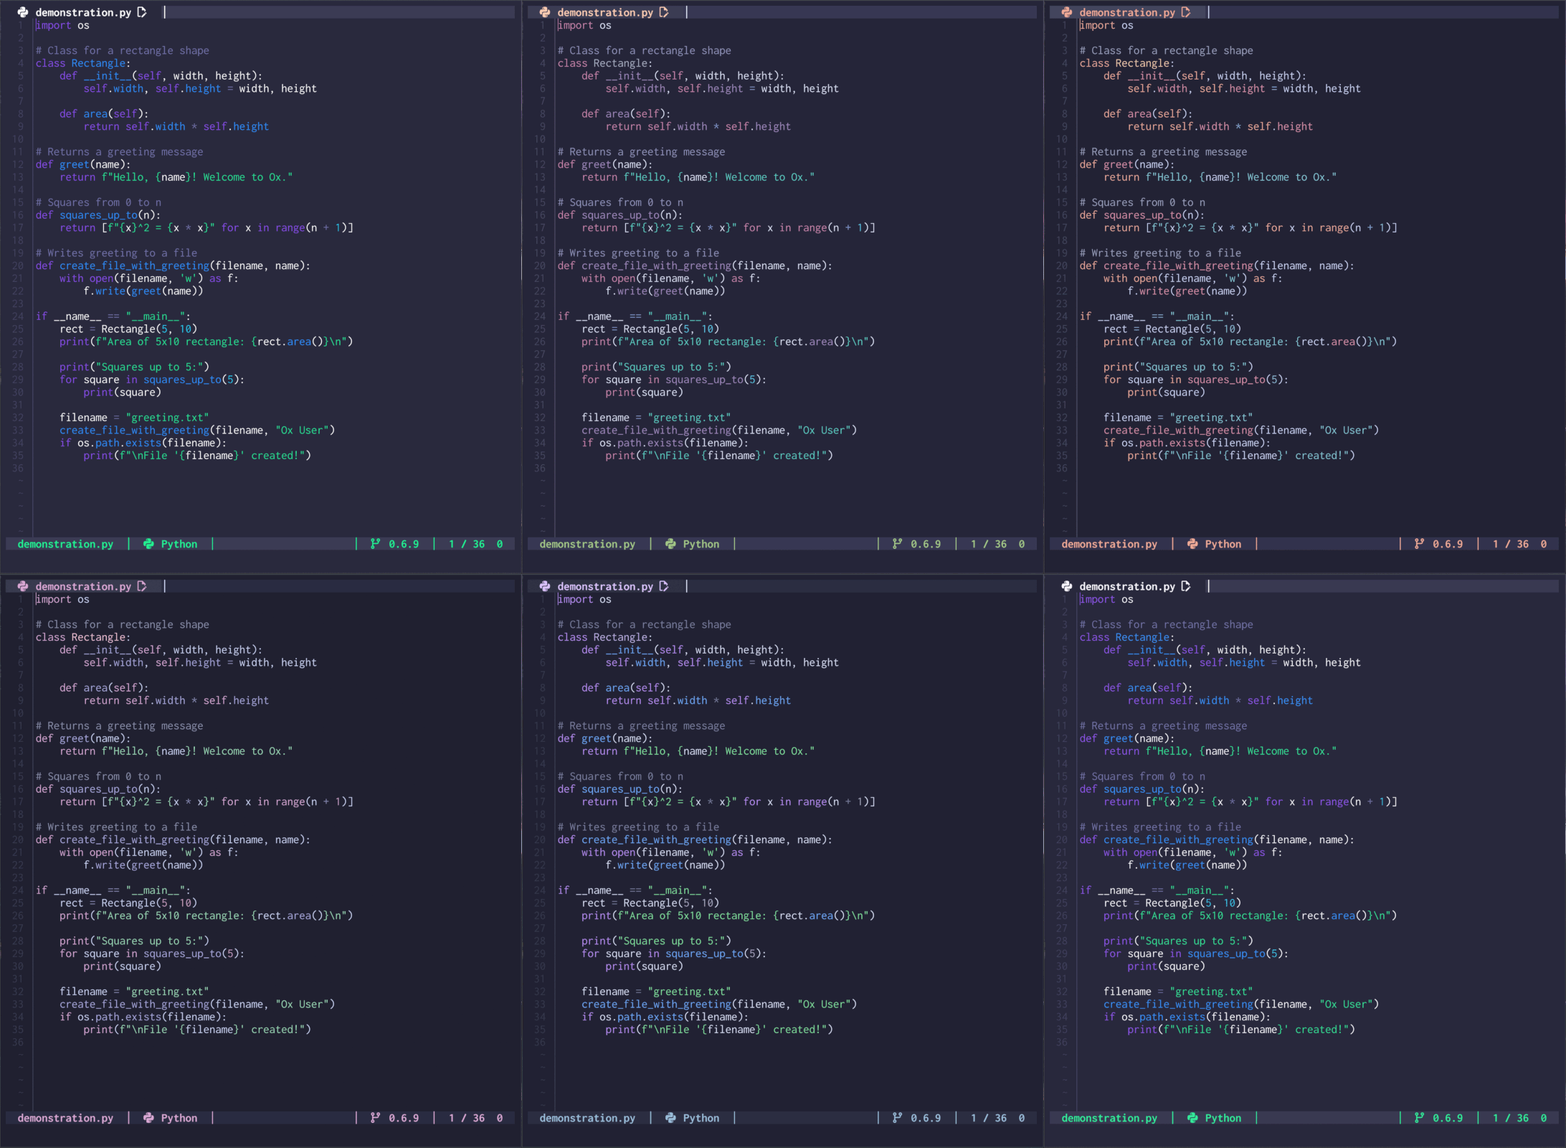
The simple but flexible text editor
Ox is an independent text editor that can be used to write everything from text to code.
If you're looking for a text editor that...
- 🪶 Is lightweight and efficient
- 🔧 Can be configured to your heart's content
- 📦 Has features out of the box, including
- syntax highlighting
- undo and redo
- search and replace
- line numbers
- opening multiple files
- full mouse cursor interaction
...then Ox is right up your street
It runs in your terminal as a text-user-interface, just like vim, nano and micro, however, it is not based on any existing editors and has been built from the ground up.
It works best on linux, but macOS and Windows are also supported.
- 🪶 Ox is lightweight, with the precompiled binary taking up roughly 5mb in storage space.
- 🪢 It uses a
ropedata structure which allows incremental editing, file reading and file writing, which will speed up performance, particularly on huge files. - 🦀 It was built in Rust, which is a quick lower-level language that has a strong reputation in the performance department.
- 🔌 Plug-In system where you can write your own plug-ins or integrate other people's
- 🔧 A wide number of options for configuration with everything from colours to the status line to syntax highlighting being open to customisation
- 🌔 Ox uses Lua as a configuration language for familiarity when scripting and configuring
- 🤝 A configuration assistant to quickly get Ox set up for you from the get-go
- 🖌️ Syntax highlighting
- ↪️ Undo and redo
- 🔍 Search and replace text
- 📁 Opening multiple files at once
- 👁️ UI that shows you the state of the editor and file
- 🖱️ You can move the cursor and select text with your mouse
- ✍️ Convenient shortcuts when writing code
- 🌐 Handles double-width unicode characters like a charm, including those of the Chinese, Korean and Japanese languages and emojis
- 🥊 Backend has been thoroughly tested via automated unit tests
- 🌈 Automatically adapts your colour schemes to work on terminals with limited colours
To get started, please click on your operating system
Here are the list of available methods for installing on Linux:
Install one of the following from the AUR:
ox-bin- install the pre-compiled binary (fastest)ox-git- compile from source (best)
You can find an RPM in the releases page
Install using the following command:
sudo dnf install /path/to/rpm/fileYou can find a deb file in the releases page
Install using the following command:
sudo dpkg -i /path/to/deb/fileHere are the list of available methods for installing on Windows:
Here are the list of available methods for installing on macOS:
Install ox from Homebrew core tap.
brew install oxOn macOS, you can install ox via MacPorts
sudo port selfupdate
sudo port install oxThere are precompiled binaries available for all platforms in the releases page.
- For Linux: download the
oxexecutable and copy it to/usr/bin/ox, then runsudo chmod +x /usr/bin/ox - For MacOS: download the
ox-macosexecutable and copy it to/usr/local/bin/ox, then runsudo chmod +x /usr/local/bin/ox - For Windows: download the
ox.exeexecutable and copy it into a location inPATHsee this guide for how to do it
This is the absolute best way to install Ox, it will ensure you always have the latest version and everything works for your system.
You must have a working installation of the Rust compiler to use this method. Visit the website for rustup and follow the instructions there for your operating system.
Now with a working version of rust, you can run the command:
cargo install --git https://github.com/curlpipe/oxThis will take at worst around 2 minutes. On some more modern systems, it will take around 30 seconds.
Please note that you should add .cargo/bin to your path, which is where the ox executable will live, although rustup will likely do that for you, so no need to worry too much.
This is just a quick guide to help get you up to speed quickly with how to use the editor. You dive into more details in the documentation section below, but this quick start guide is a good place to start.
At the moment, you can open ox by using the command
oxThis will open up an empty document.
However, if you've just downloaded Ox, the configuration assistant will automatically start up and help you configure the editor initially.
If you wish to open a file straight from the command line, you can run
ox /path/to/fileTo open and edit a file. You can provide multiple arguments of files if you wish to open more than one, for example:
ox file1.txt file2.txtYou can also open a file from within Ox by using the Ctrl + O key binding
If at any time, you wish to create a new file, you can use Ctrl + N to do so.
You can find more command line options for Ox by typing:
ox --helpWhen you open multiple files, notice the tabs at the top.
You can close the file you're looking at using the Ctrl + Q key binding. When no more documents are open, the editor will automatically close for you.
If you want to move tabs and look at other files that are open, you can use Shift + Left and Shift + Right to move back and forth respectively.
There are no modes in Ox, so you can just type straight into an open file, just as you would Nano, or Windows notepad.
You can move the cursor around the file using the standard arrow keys.
You can also use:
- PageUp - Move up a page in the viewport
- PageDown - Move down a page in the viewport
- Home - Go to the start of the current line
- End - Go to the end of the current line
- Ctrl + Left - Go to the previous word
- Ctrl + Right - Go to the next word
- Ctrl + Up - Go to the top of the document
- Ctrl + Down - Go to the bottom of the document
No surprises here, to insert characters, use the letters and numbers on your keyboard. Enter will put a new line in, Tab will create a tab (or indent) and Backspace / Delete to delete characters.
If you modify a file, you may notice a [+] symbol, this means the file has been modified without saving. You can save a document in many ways, including Ctrl + S to save it to the file it was opened from. Ctrl + A to save all files that are open and Alt + S to save as, where a prompt for a new file name to write to will be shown.
We've covered most keyboard shortcuts, but there are some other features you might want to make use of, the following table shows the keyboard shortcuts we haven't covered yet.
| Keybinding | What it does |
|---|---|
Ctrl + F |
Searches the document for a search query. Allows pressing of ← to move the cursor to the previous occurrence of the query and → to move to the next occurrence of the query. Press Return or Esc to leave the search. Note: you can use regular expressions for search queries. |
Ctrl + Z |
Undoes your last action. The changes are committed to the undo stack every time you press the space bar, create / destroy a new line and when there is no activity after a certain period of time which can be used to capture points where you pause for thought or grab a coffee etc... |
Ctrl + Y |
Redoes your last action. The changes are committed to the undo stack every time you press the space bar, create / destroy a new line and when there is no activity after a certain period of time which can be used to capture points where you pause for thought or grab a coffee etc... |
Ctrl + R |
Allows replacing of occurrences in the document. Uses the same keybindings as the search feature: ← to move the cursor to the previous occurrence of the query and → to move to the next occurrence of the query. You can also press Return to carry out the replace action. To exit replace mode once you're finished, you can press Esc. You can also use Tab to replace every instance in the document at once. Note: you can use regular expressions for search queries. |
Ctrl + K |
Opens the command line. |
Ctrl + W |
Shortcut to delete a whole word. |
Alt + Up |
Move the current line up. |
Alt + Down |
Move the current line down. |
Ctrl + D |
Delete the current line. |
Ctrl + C |
Copy selected text. |
Alt + Left |
Move to the previous tab. |
Alt + Right |
Move to the next tab. |
Ox features a configuration system that allows the editor to be modified and personalised.
By default, you will be greeted by a configuration assistant when first starting Ox, when no configuration file is in place. This will help you generate a configuration file.
By default, Ox will look for a file here: $XDG_CONFIG_HOME/.oxrc or ~/.oxrc.
On Windows, Ox will try to look here C:/Users/user/ox/.oxrc (where user is the user name of your account)
Ox's configuration language is Lua.
For reference, there is a default config in the config folder in the repository. You can either download it and place it in the default config directory or create your own using the example ones as a reference.
If you've been through the quick start guide above, but are looking for more detail, you can find in-depth documentation on the wiki page
This will take you step-by-step in great detail through 6 different stages:
- Installation - advice and how-tos on installation
- Configuring - changing the layout, adding to and changing the syntax highlighting
- General Editing - editing a document and controlling the editor
- Command Line - using the command line interface
- Plugins - installing or uninstalling community plug-ins and writing or distributing your own plug-ins
- Roadmap - planned features
Hopefully, it contains everything you need to take you from a beginner to a power user.
Distributed under the GNU GPLv2 License. See LICENSE for more information.
You can contact me on Discord at my handle curlpipe. I'll be happy to answer any questions you may have!
- Luke (curlpipe), principal developer
- HKalbasi, key contributor
- Spike (spikecodes), for the logo
- The community, for the stars, ideas, suggestions and bug reports
The creators of the following technologies:


