3 Selecting properties

Now that the user uploaded a specification successfully, it's time to select the properties that needs to be mapped. The specification is marked as Uploaded and the user can begin working on the properties, to select those that are going to be part of the mapping. It might be all, or not. And this screen also allows to edit a property, with information that's useful for the export.
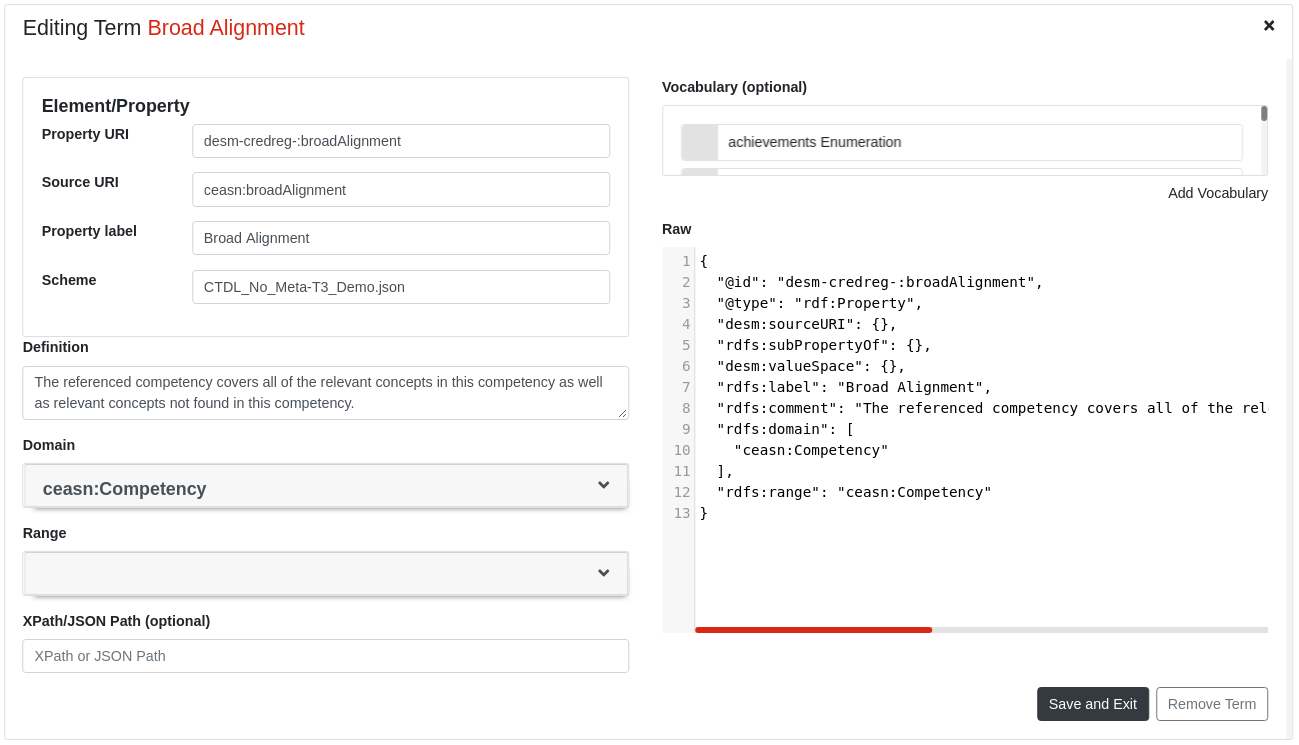
The tool allows to see all the information that could be gathered about a property during the process of the uploaded file. The user can change each attribute of the property and see the changes in the raw window at the right side of this screen.
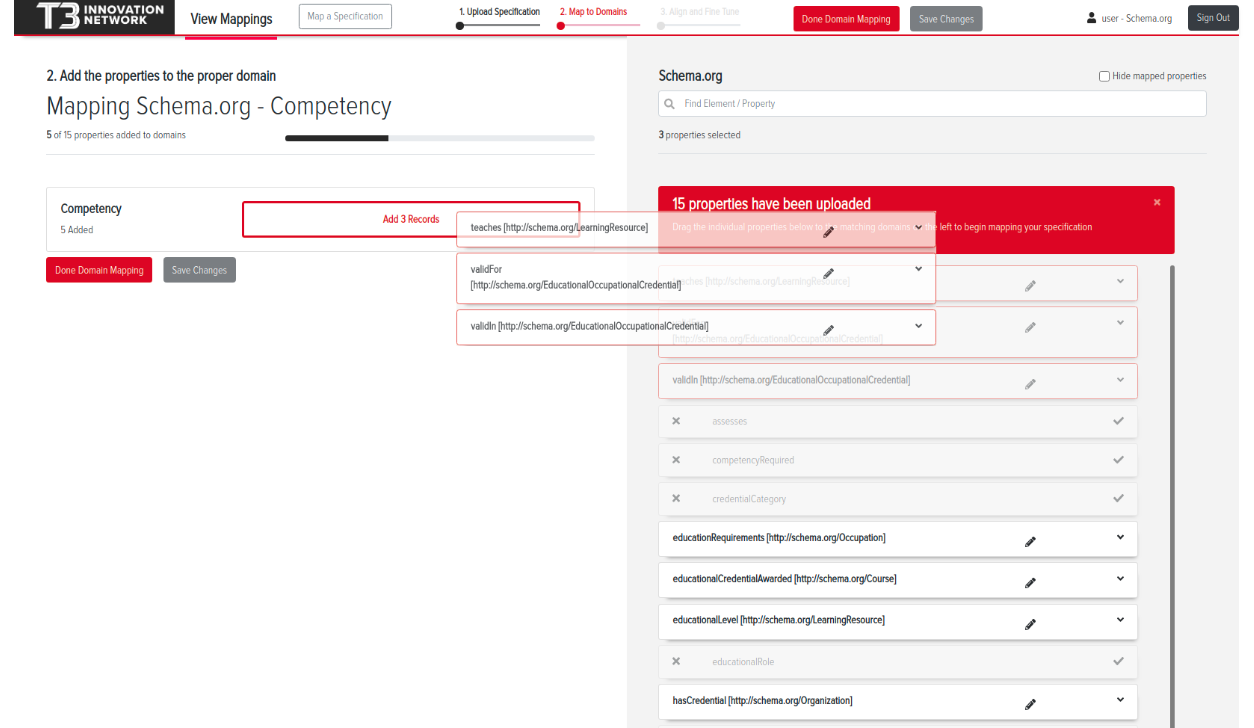
In order to drag one or many properties to the domain being processed by the specification, the user will need to click in the property card, and it will light the borders. Each selected property will be placed at the top of the list to be dragged together.
If the user needs to continue working on the properties later, the button Save Changes will save the changes to our records, so the user can come later, even from a different device, and continue the work.
If a property that appears as selected, specially after saving changes, it is perfectly possible to deselect it by clicking on the x icon at the left side of the property card.
If the user is fine with the selected properties, the mapping can be marked as In-Progress meaning that the mapping started. This is achieved by clicking on the Done Domain Mapping button in the top navigation bar.
Now the tool will mark the mapping as In-Progress, as mentioned, and the mapping begins...