Eclipse Environment Setup
If this is your first time using Eclipse it will prompt you to select a Workspace location when you open it up. For the Workspace DO NOT use the default workspace. Instead we're going to use your my_mods folder as the workspace. If you did end up using the default workspace or have used Eclipse before we're going to switch workspaces over to my_mods. The black bars in the image are just covering up some personal information. 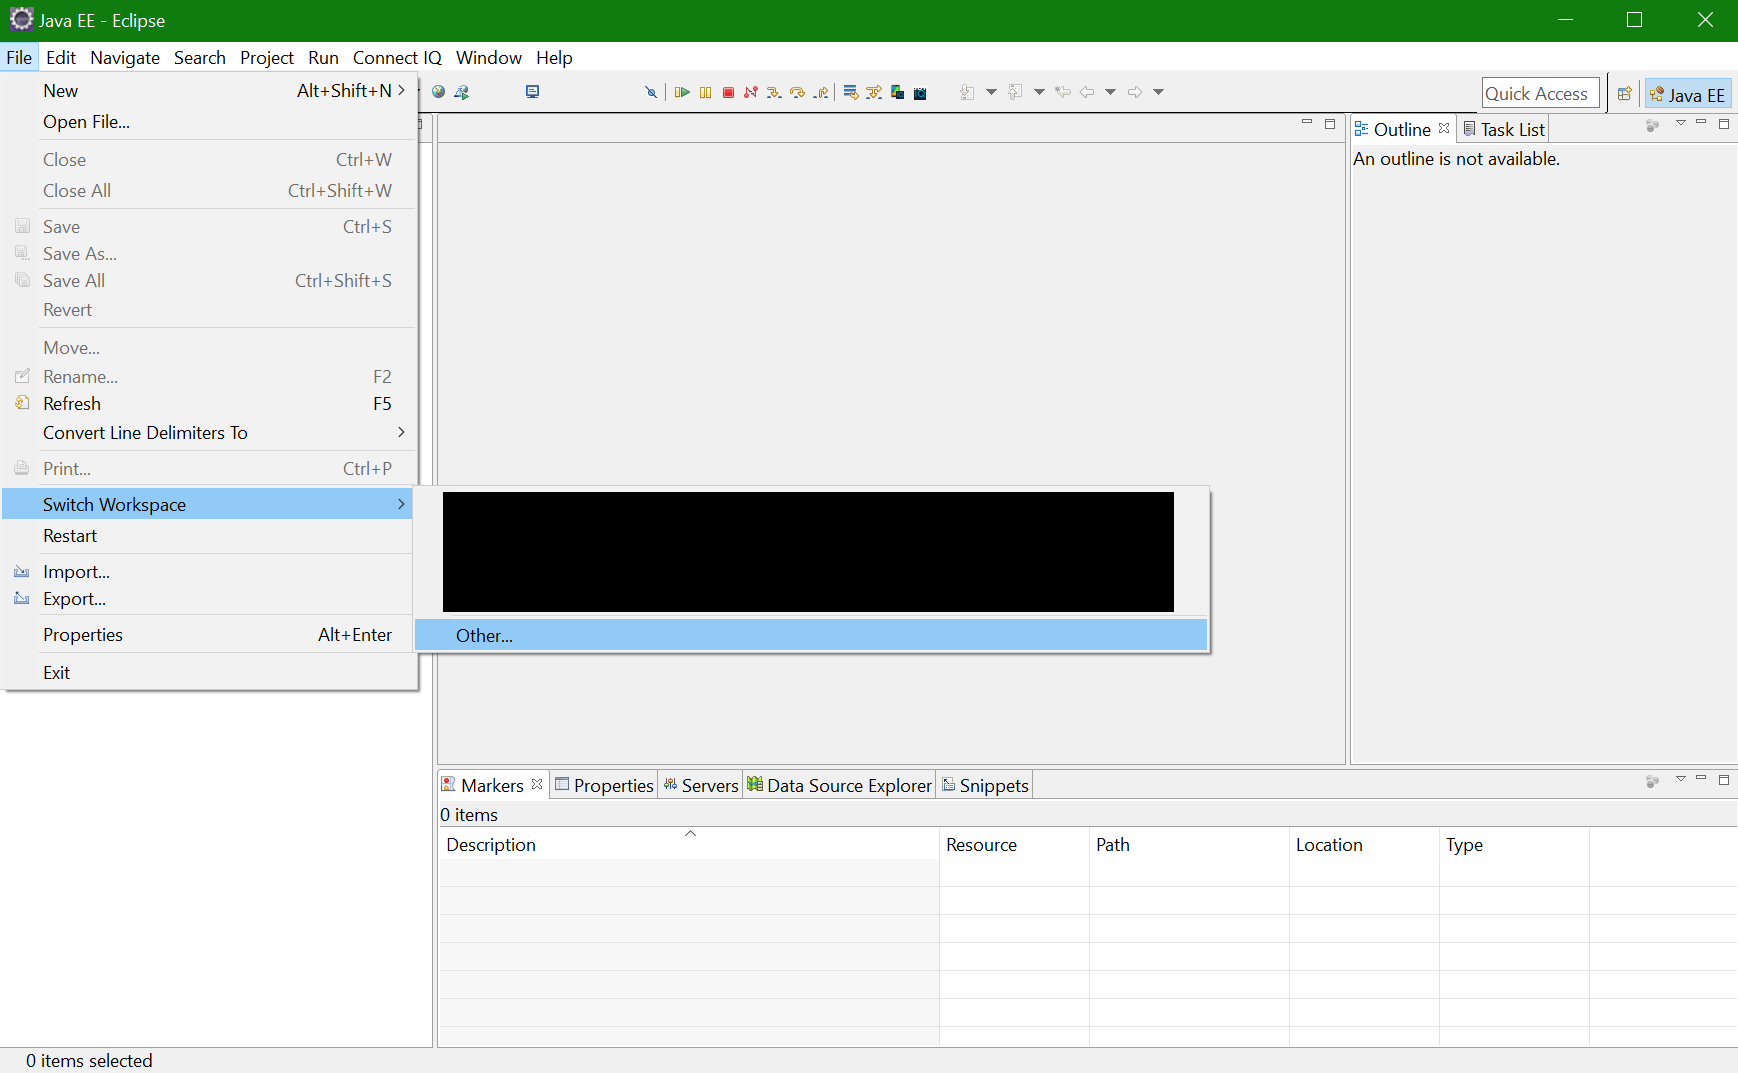
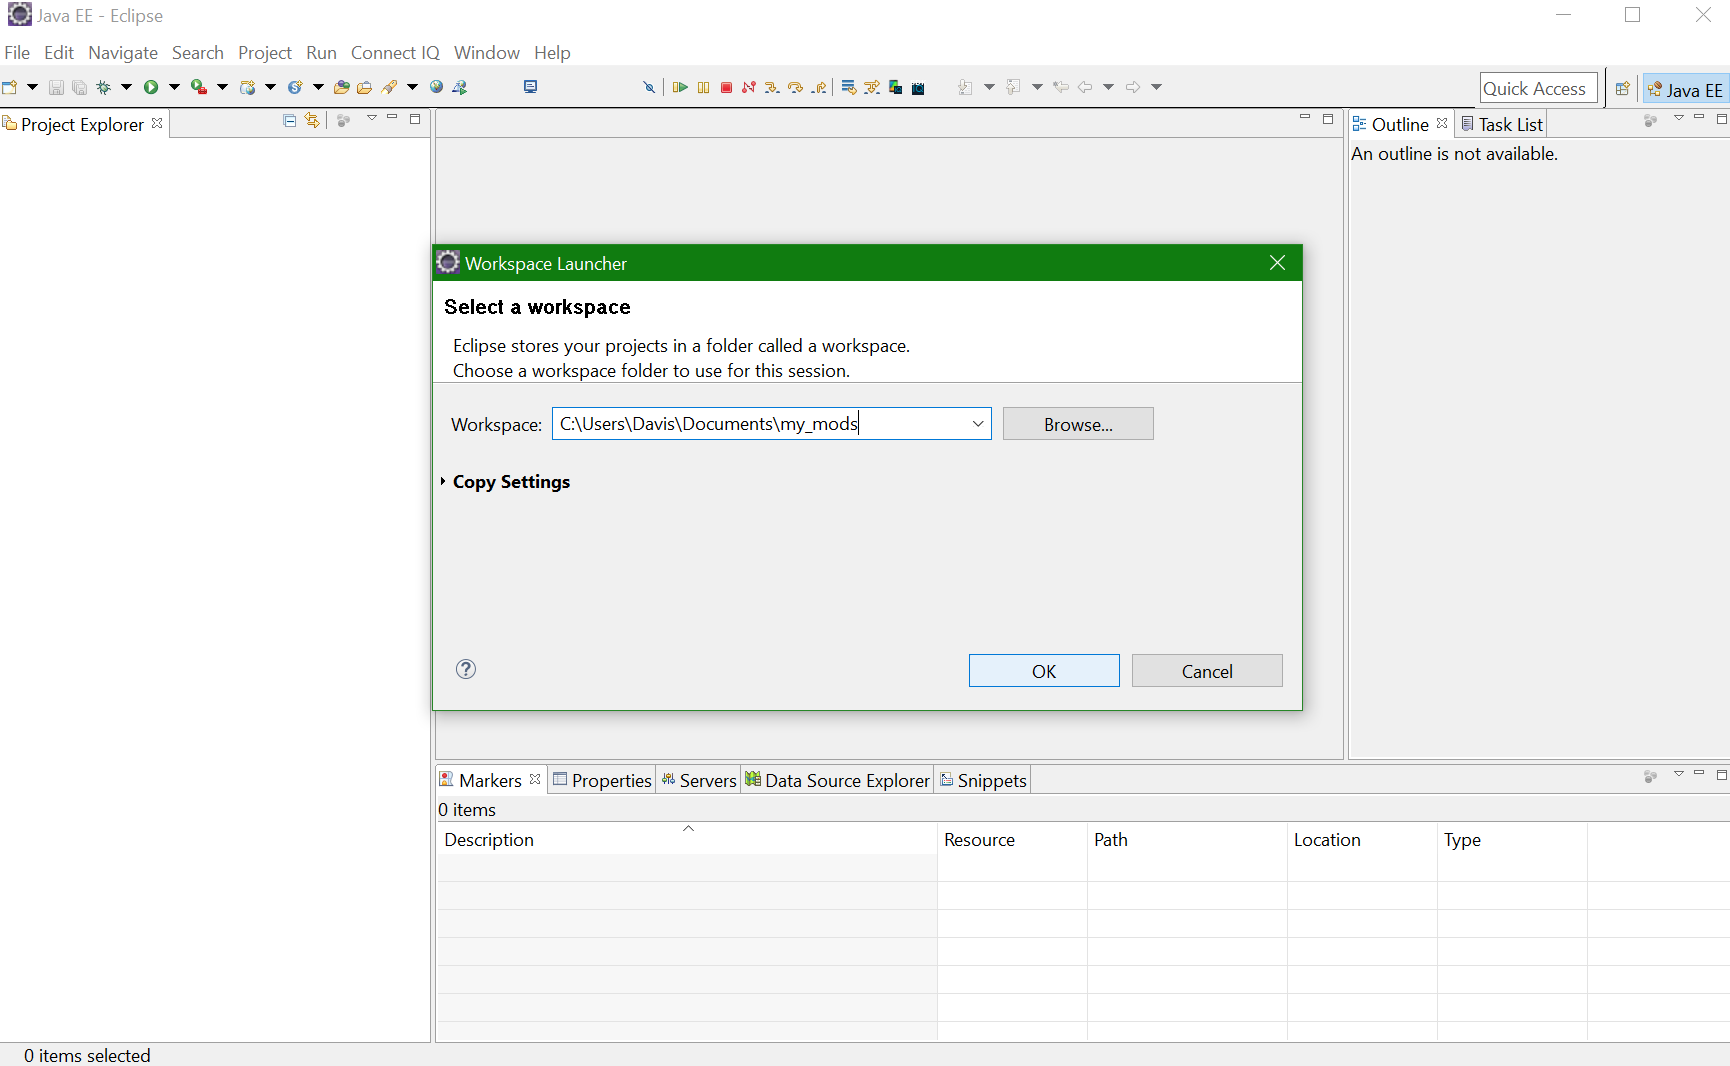
Now we can go ahead an create our mod using what Eclipse calls a project. So we will go to File -> New -> Java Project. 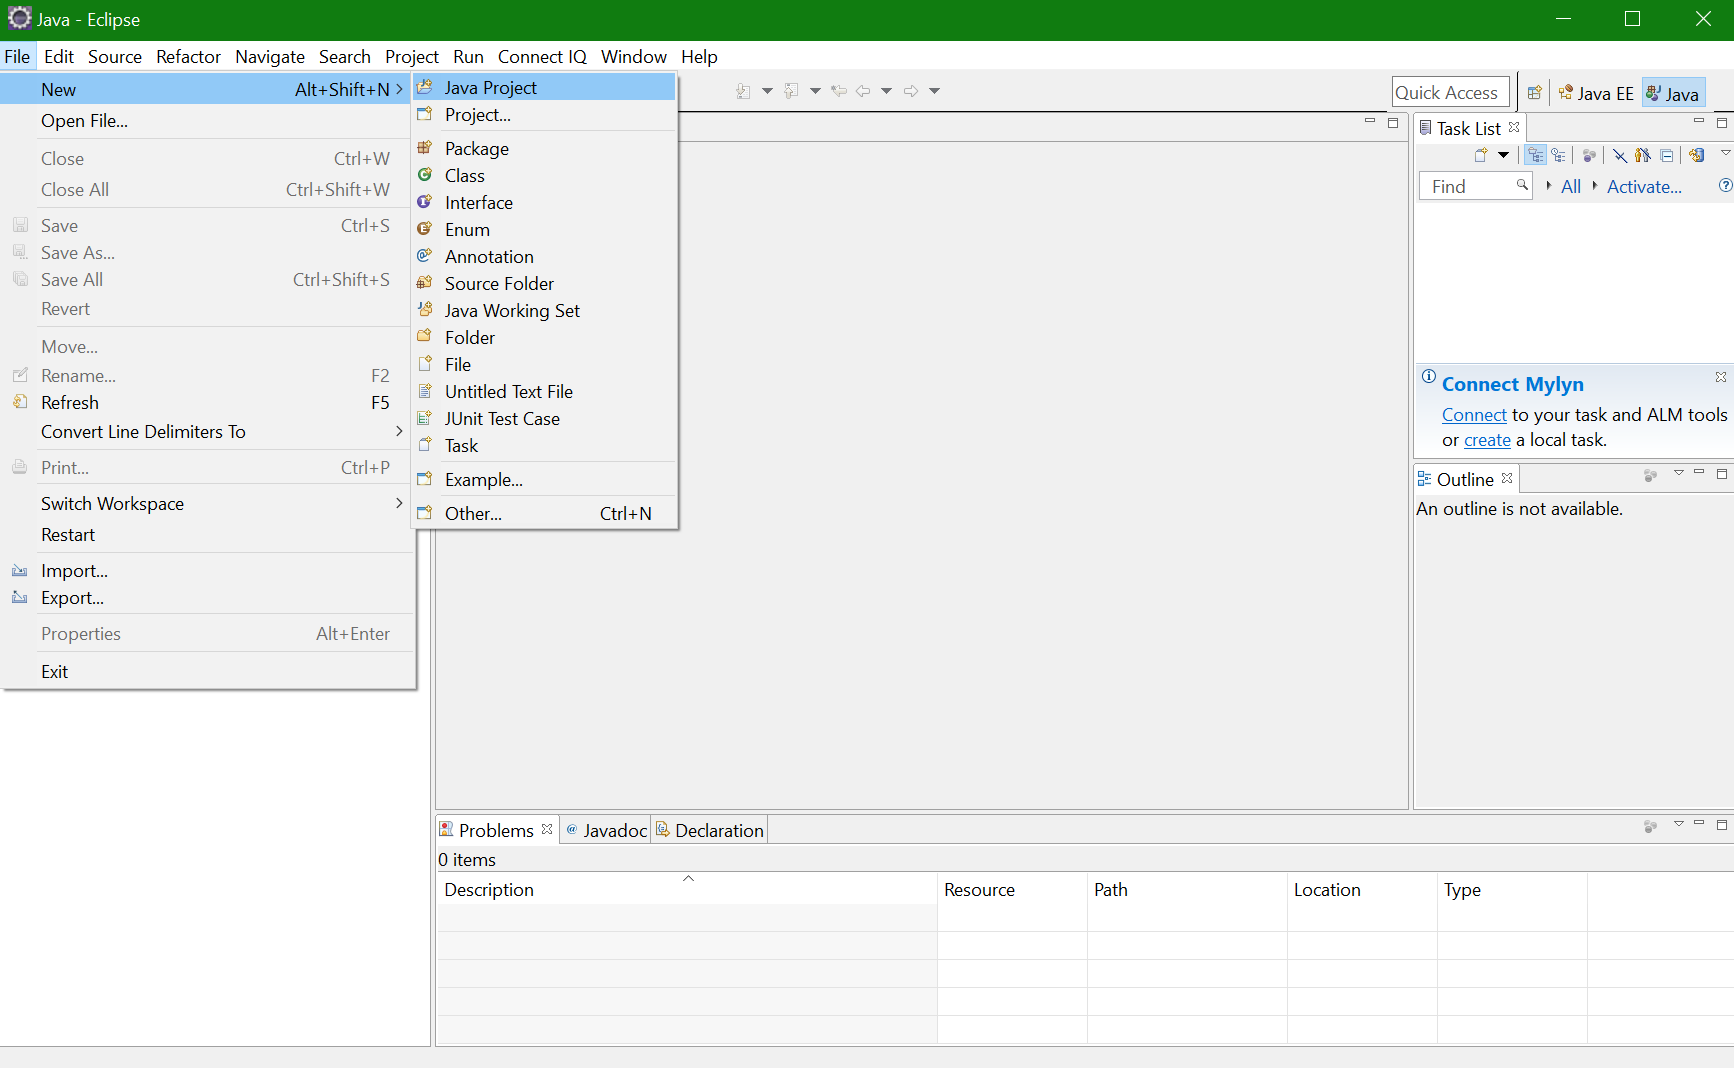 This will popup a modal. In the spot for the name of the project enter
 example_mod and then click Finish. 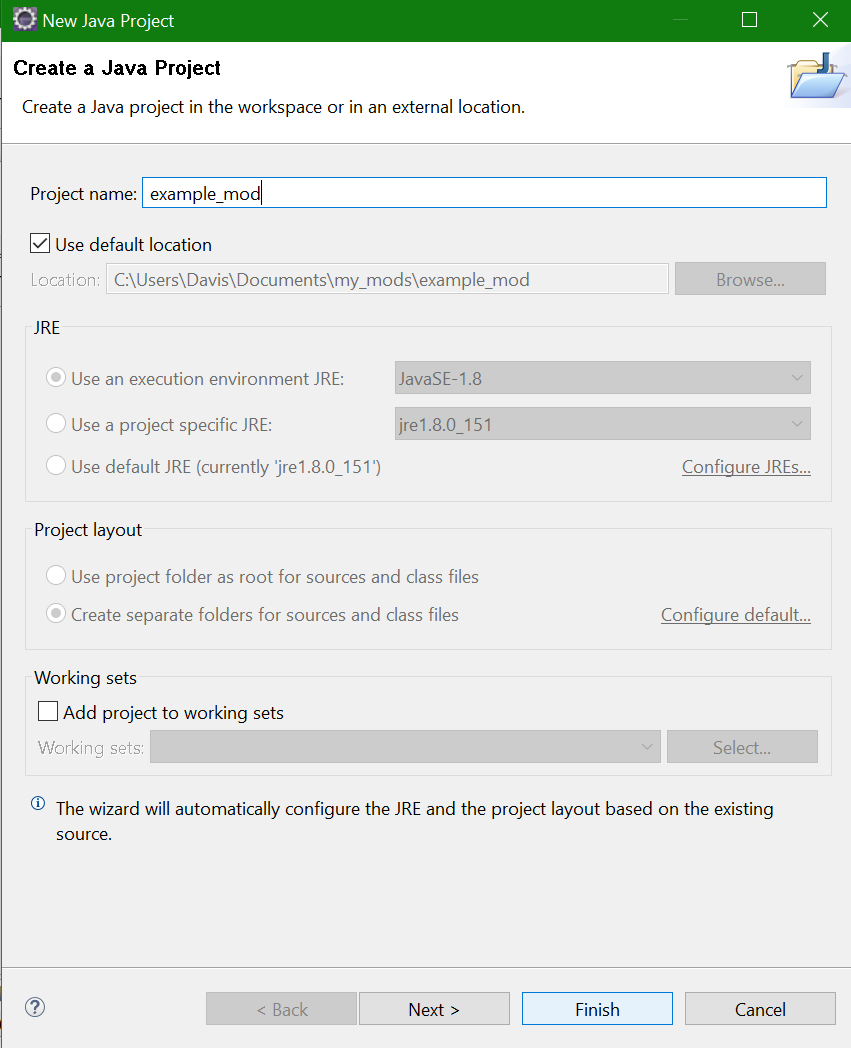 . This will create a new project for your mod! However we're not done yet because we have to configure its dependencies. Remember how earlier we put
 ModTheSpire.jar and BaseMod.jar in the lib folder? Well now we have to tell Eclipse that we actually put the dependencies there since it won't automatically know.
Your mod actually has one more dependency that we didn't download earlier (because if we could have downloaded it earlier it would be piracy). This is because we now need desktop-1.0.jar as a dependency. So copy it over from your Slay The Spire directory into lib so that your lib folder now looks like this. 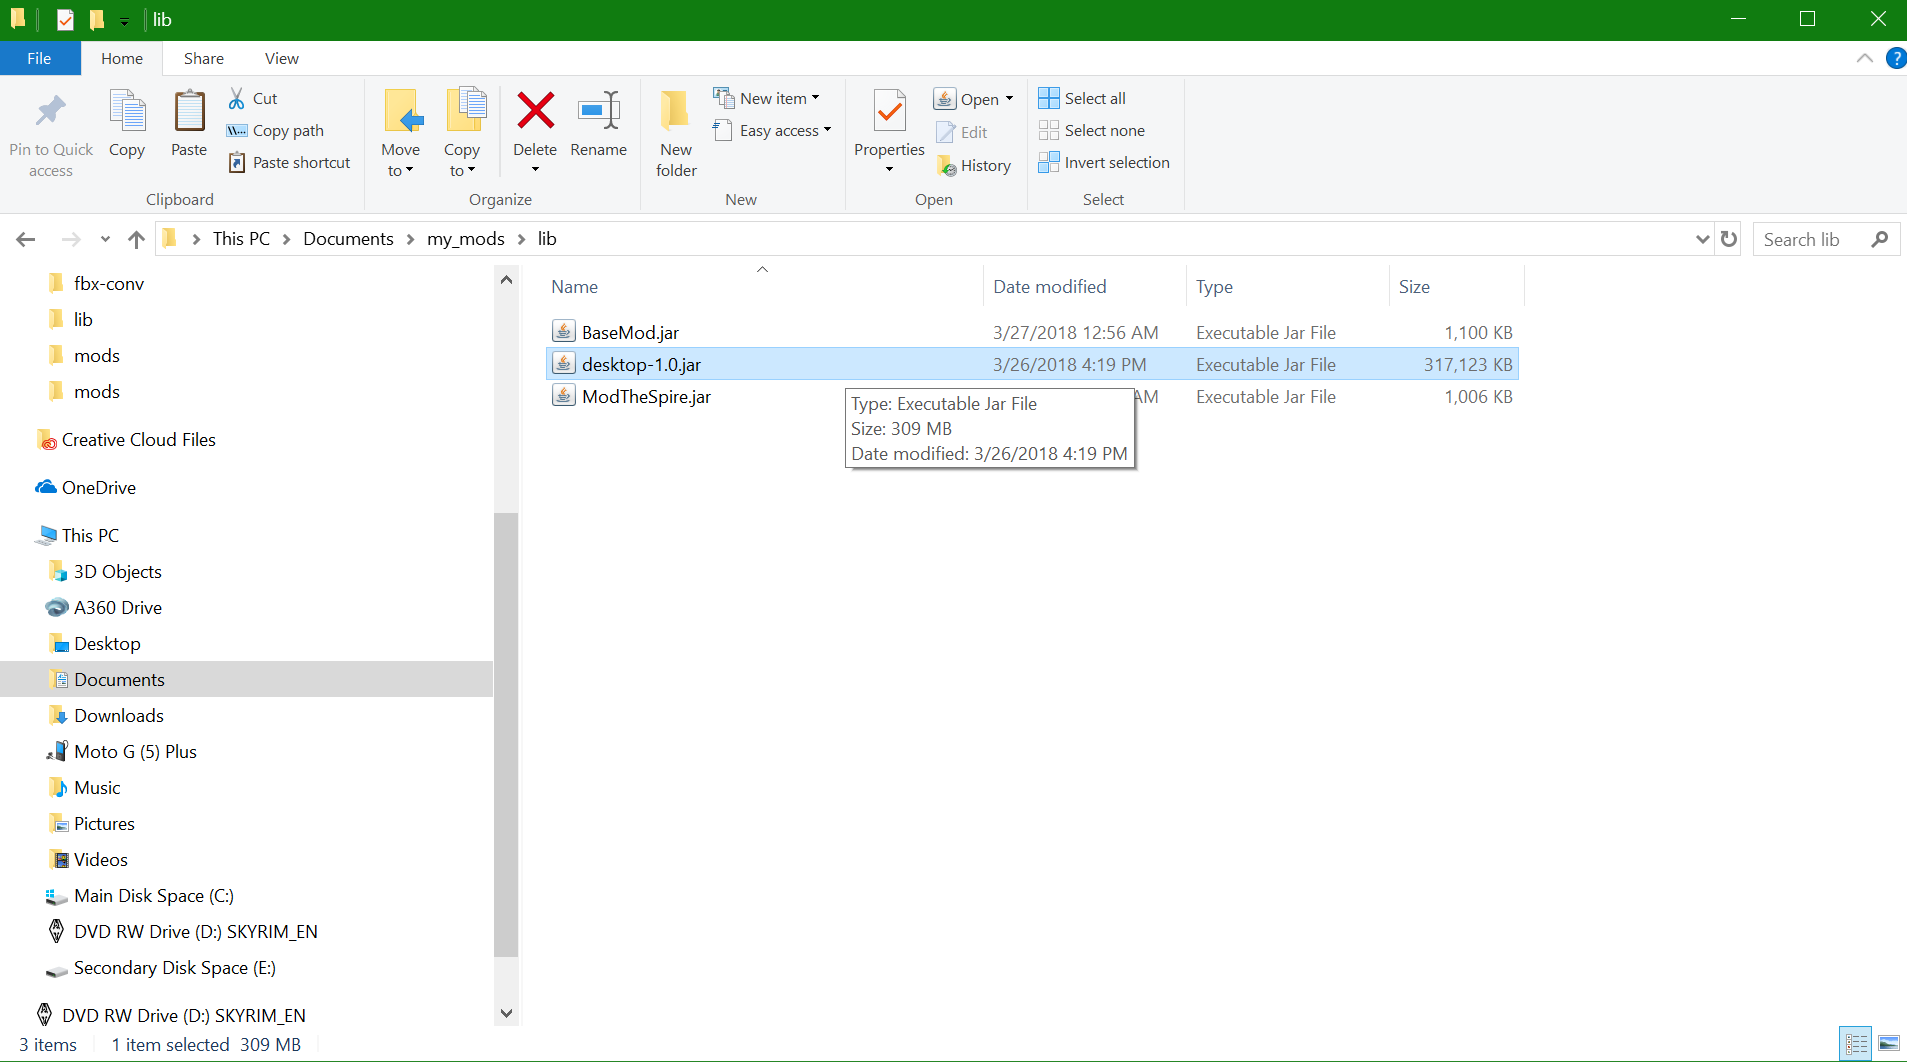 .
.
To tell Eclipse about these dependencies we're going to need to go into the settings for your example_mod. To do this right click on example_mod and go down to Properties. 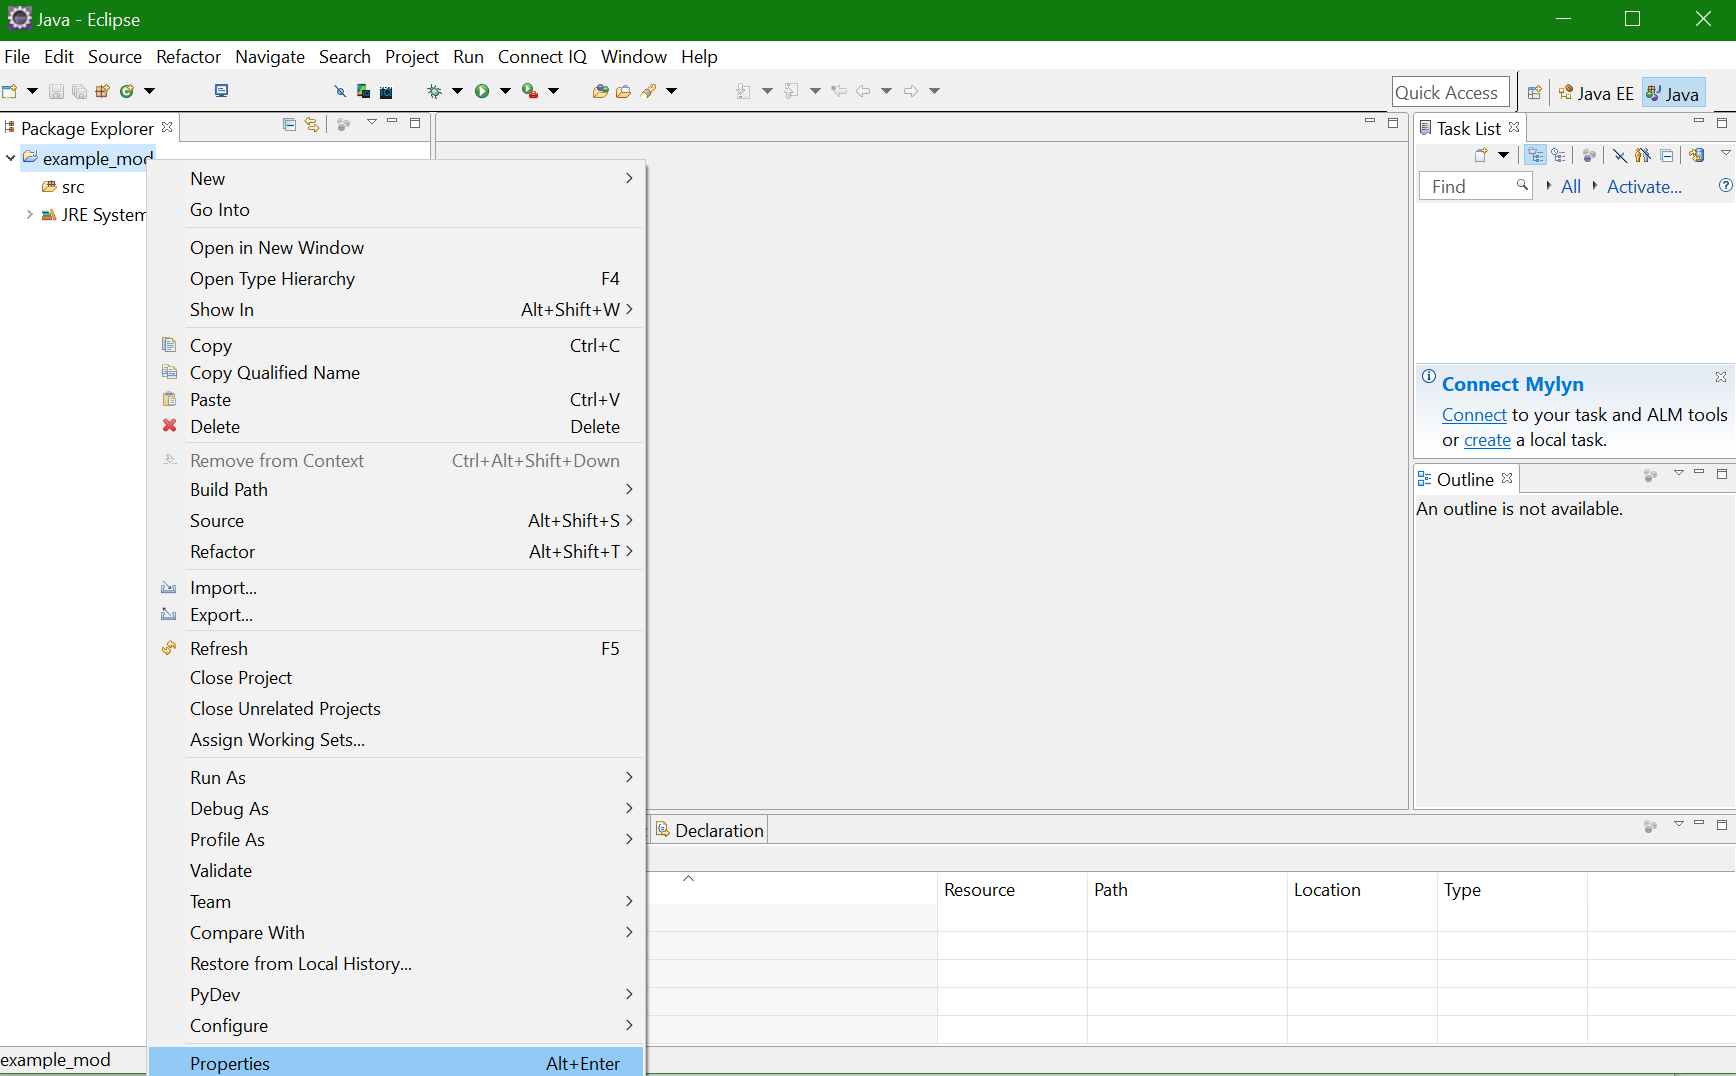 .
.
From here we're going to go to Java Build Path -> Libraries. 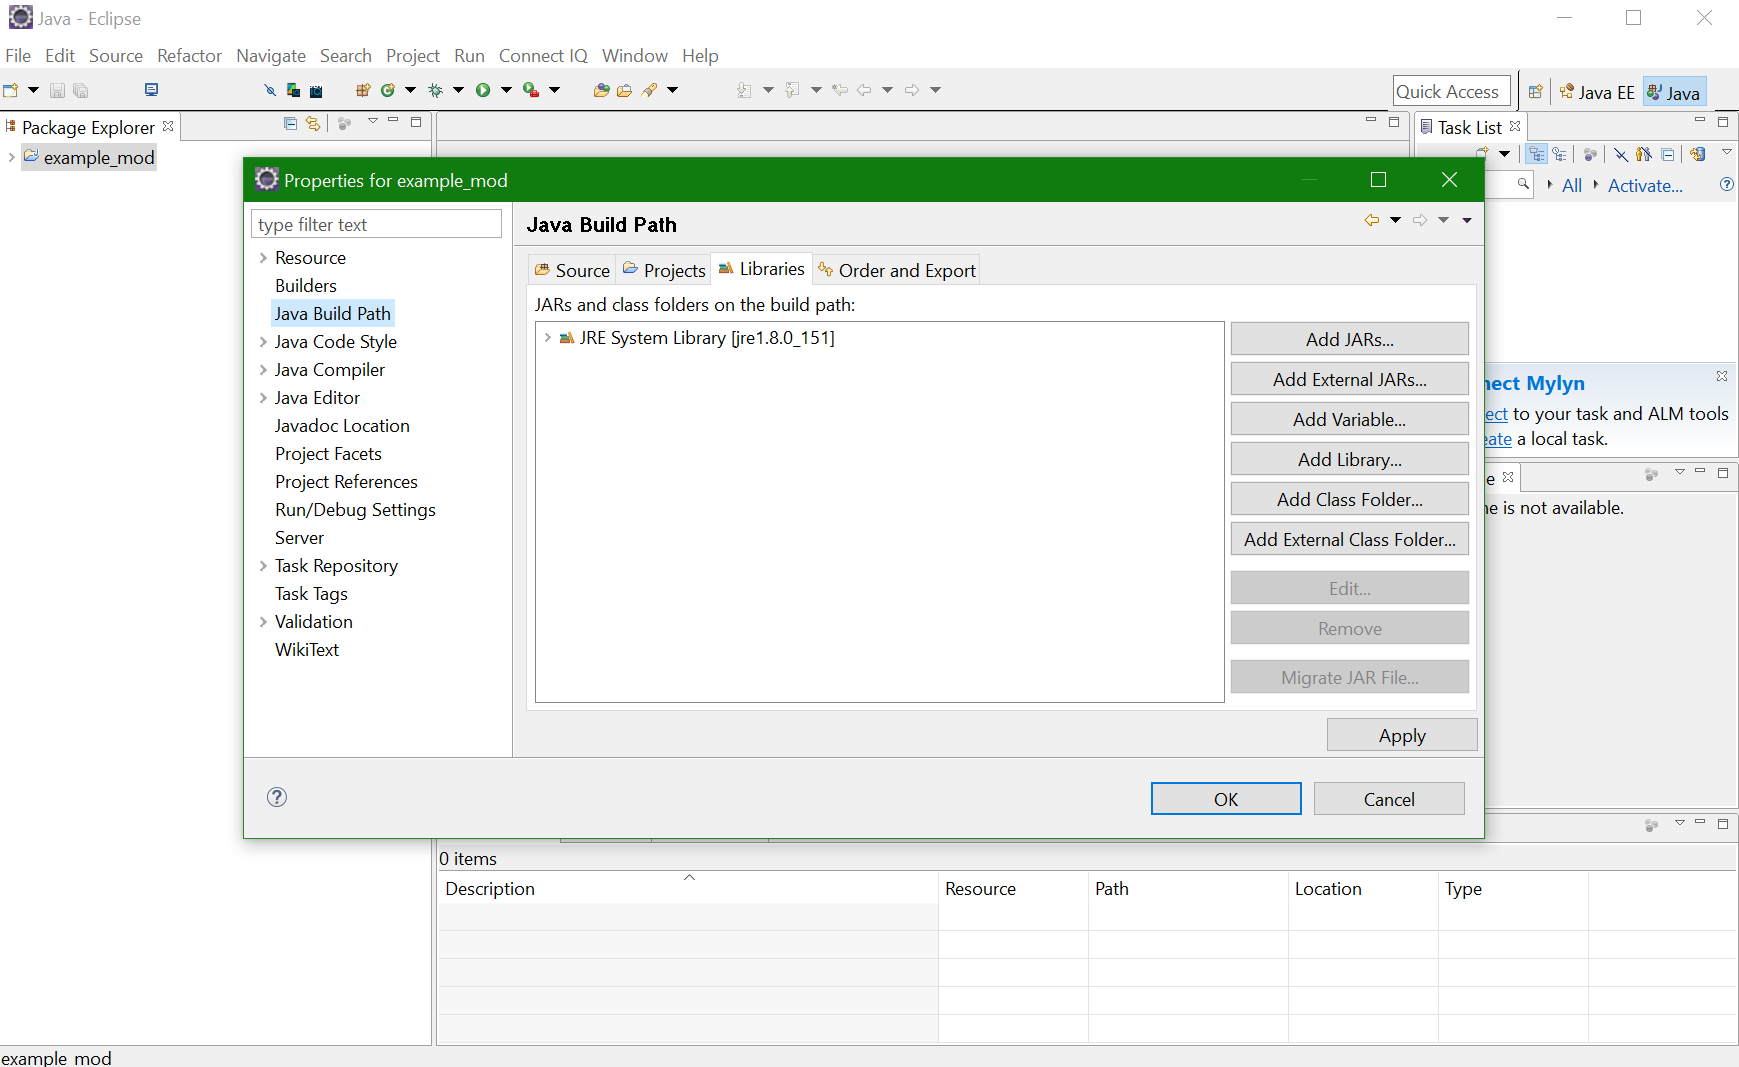 .
.
Now use Add External JARs... to add ModTheSpire.jar, BaseMod.jar, and desktop-1.0.jar. Click okay once you've added all of them. It should look like this: 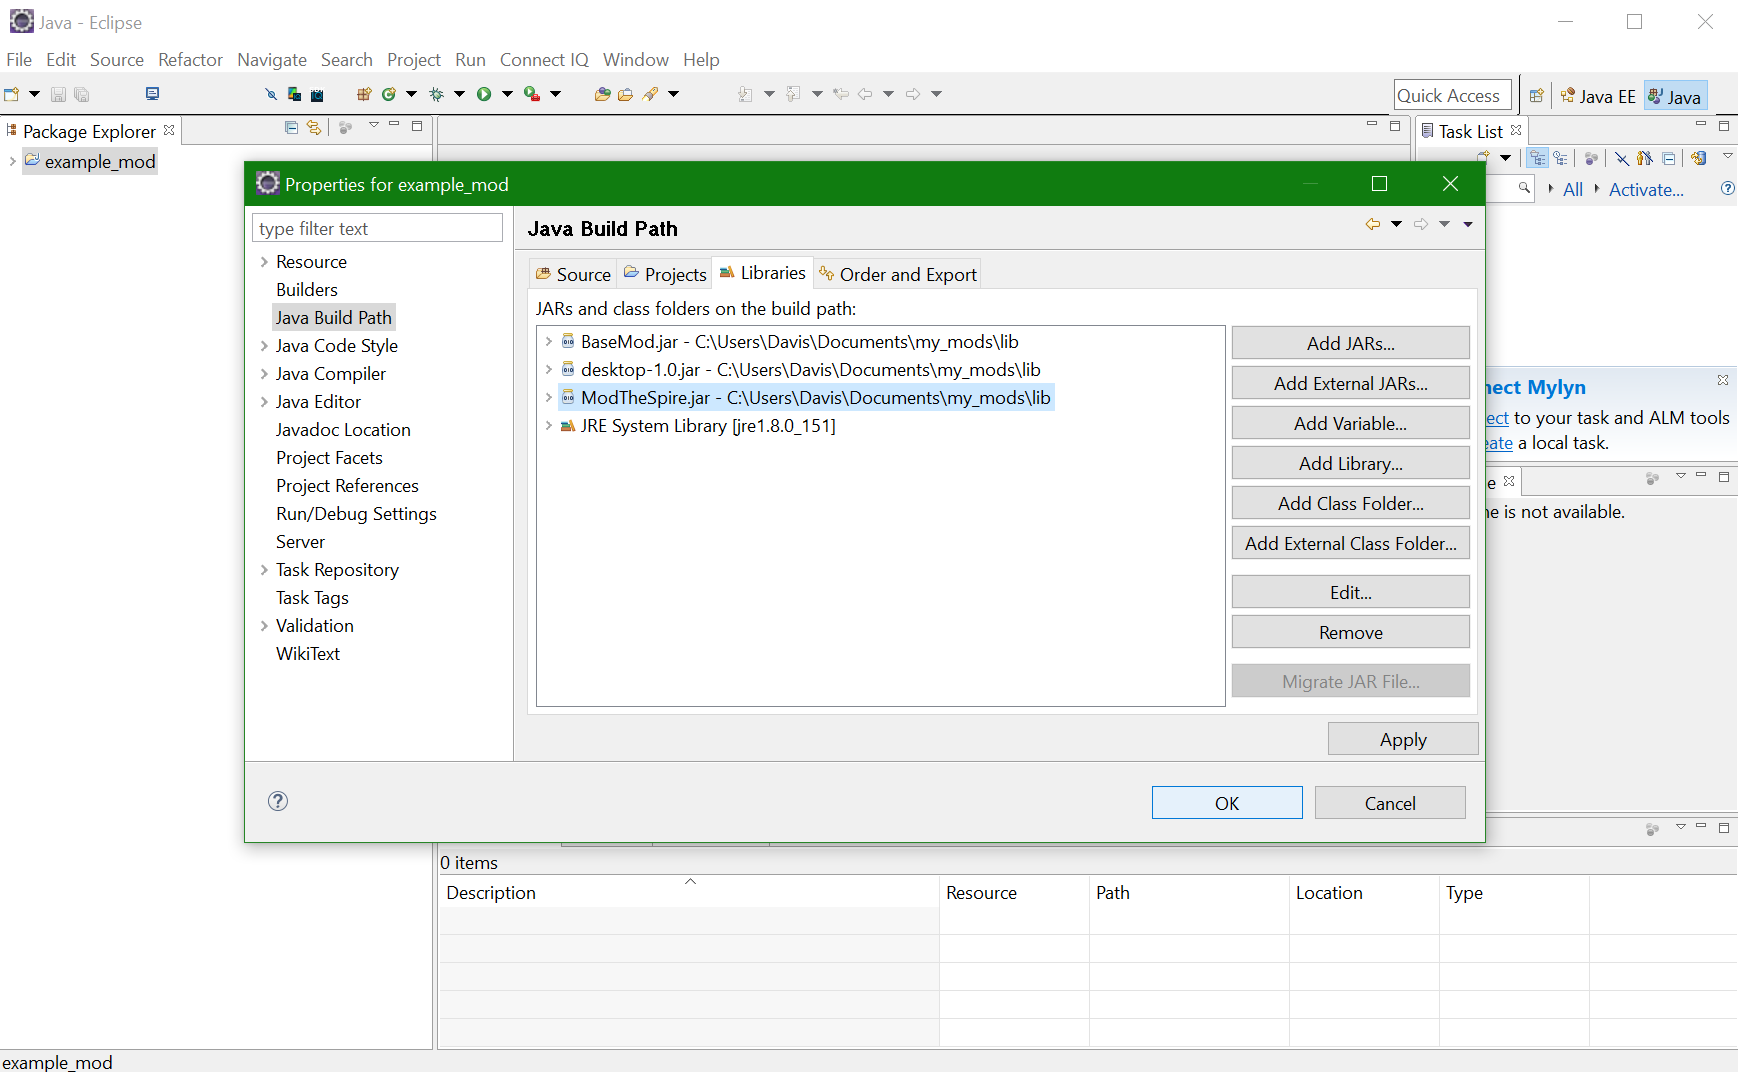 .
.
Slay The Spire mods for the most part use Maven for building. If you have not installed Maven, go ahead and do that first. Maven requires your mod's folder structure to be set up in a specific way. Specifically all of your source code will need to be in the src/main/java folder. To make this happen go back to the settings for your mod. .
From here we're going to go to Java Build Path -> Source and then highlight the example_mod/src folder and click Remove to remove it. Then use Add Folder to add src/main/java as a source folder. Click okay once you've done this. It should like like: 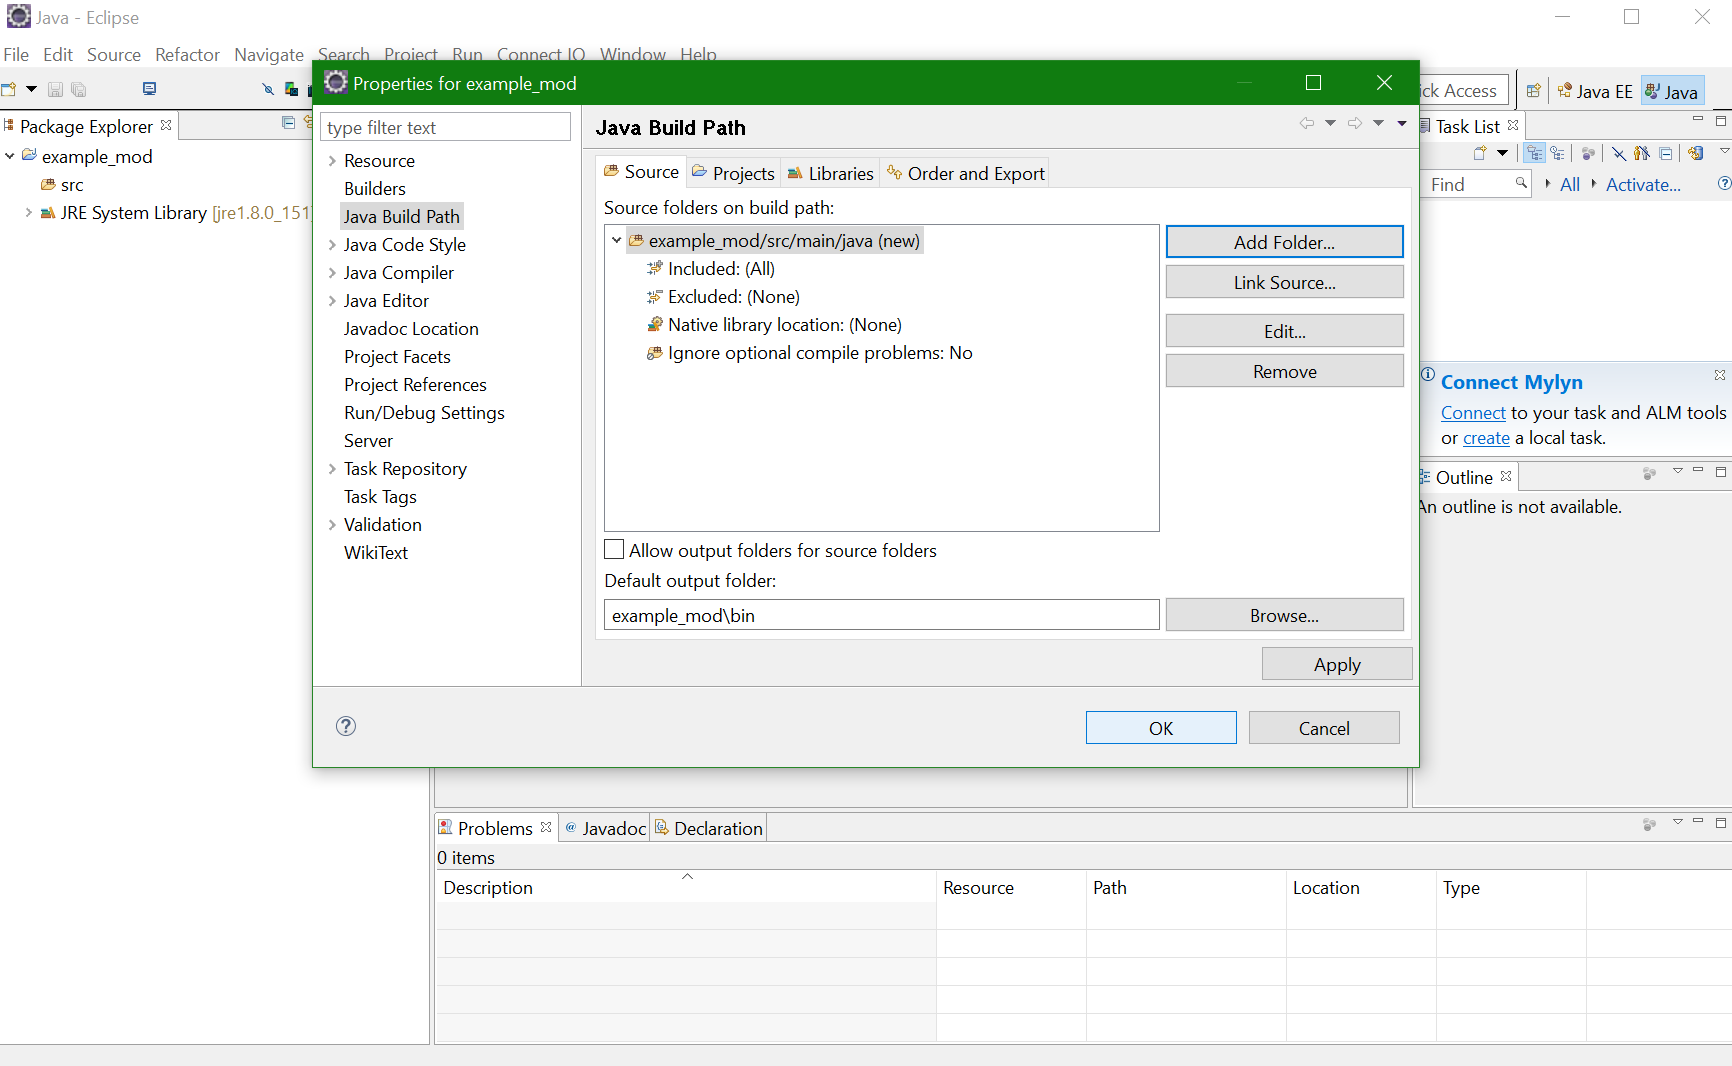
You will need to have a file called pom.xml in your top level directory. This is required for Maven to build your project. An example pom.xml file can be found in this gist.
Make sure your dependencies are pointing to the location of the correct .jar files. ${basedir} is the directory where your pom.xml file is located. .. is the parent directory.
<dependency>
    <groupId>basemod</groupId>
    <artifactId>basemod</artifactId>
    <version>2.10.0</version>
    <scope>system</scope>
    <systemPath>${basedir}/../lib/BaseMod.jar</systemPath> // systemPath should be the path to where BaseMod.jar is located
</dependency>
Use mvn package to build your mod! Maven will build a .jar file with your mod. Your compiled .jar file location is specified in the pom.xml file
<target>
    <copy file="target/ExampleMod.jar" tofile="../lib/ExampleMod.jar"/> // tofile location is where you can find your compiled .jar file
</target>You can start making your mod at the next part of the tutorial here:
- Starting Your Mod: Link